【FastAPI】--基础教程-CSDN博客
app.get和post的参数:
| 参数 | 类型 | 说明 |
|---|---|---|
path | str | 路由路径(如 "/marks"),必填。 |
response_model | Type[T] | 定义响应数据的模型(如 percent),会自动校验和序列化输出。 |
status_code | int | 自定义 HTTP 状态码(默认 200,成功创建可用 201)。 |
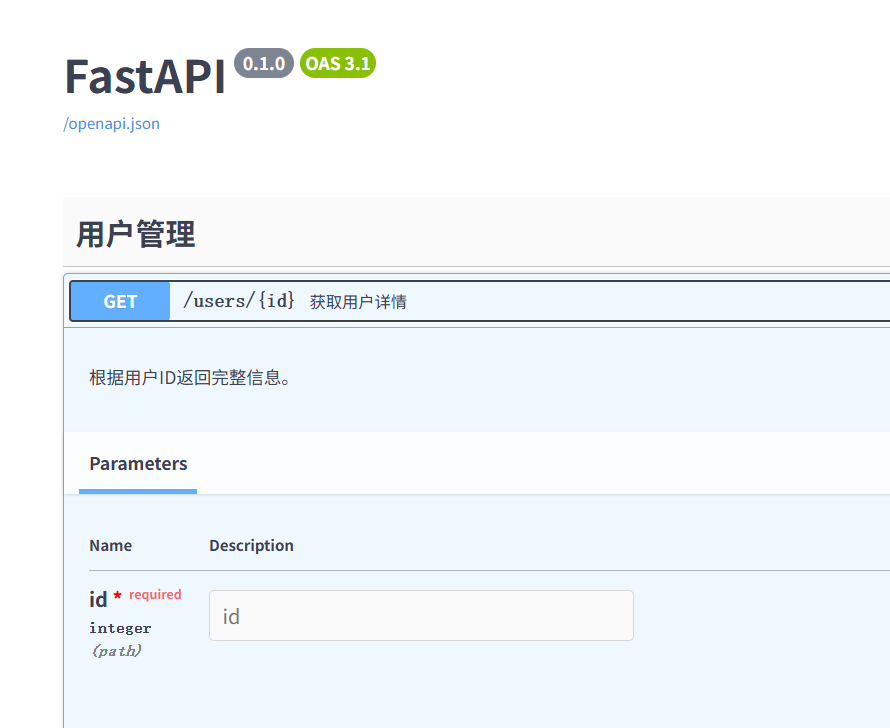
tags | List[str] | 为 OpenAPI 分组(如 tags=["成绩管理"])。 |
summary | str | 接口的简短描述。 |
description | str | 详细说明(支持 Markdown)。 |
deprecated | bool | 标记接口为弃用(True 时显示为灰色)。 |
response_class | Response | 自定义响应类(如 JSONResponse、HTMLResponse)。 |
responses | Dict | 扩展 OpenAPI 文档,定义额外响应(如错误码)。 |
目录
1.FastAPI--模板
2.FastAPI--静态文件
2.1.例子1
2.2.例子2
3.FastAPI--HTML 表单模板
4.FastAPI - 访问表单数据
5.FastAPI - 上传文件
6.FastAPI - Cookie 参数
7.FastAPI - Header 标头参数
8. FastAPI - Response 响应模型
9.FastAPI - 嵌套模型
10. FastAPI - 依赖关系
1.FastAPI--模板
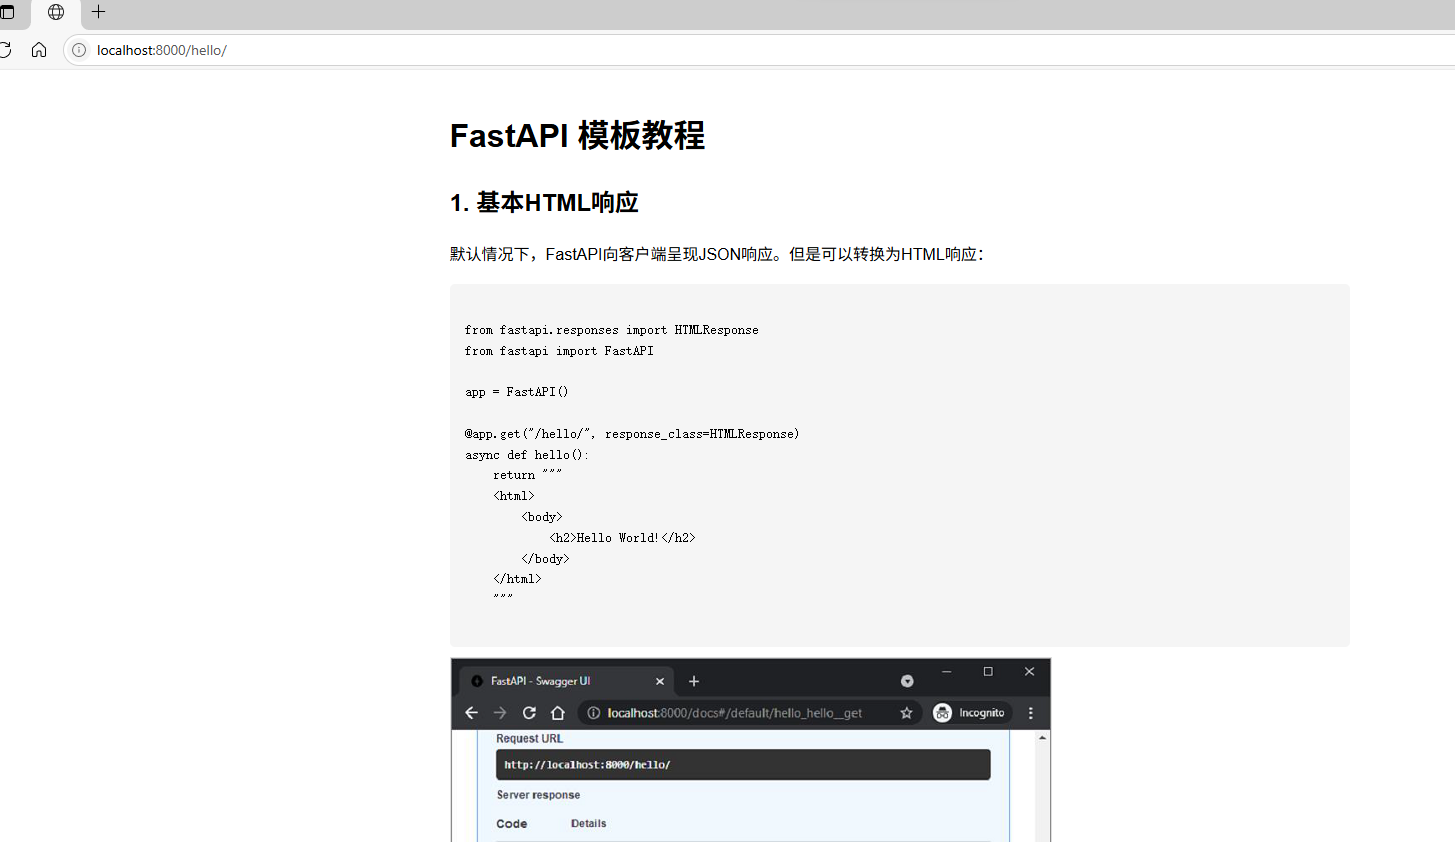
默认情况下,FastAPI 向客户端呈现 JSON 响应。
但是如果我们需要返回前端网页html应该如何操作?
可以将其转换为 HTML 响应。
为此,FastAPI 在 fastapi.responses 模块中定义了 HTMLResponse 类。
- 将 response_class 添加为操作装饰器的附加参数,
- 将 HTMLResponse 对象作为其值。
from fastapi.responses import HTMLResponse
from fastapi import FastAPI
import uvicorn
app = FastAPI()
@app.get("/hello/")
async def hello():ret='''
<html>
<body>
<h2>Hello World!</h2>
</body>
</html>
'''return HTMLResponse(content=ret)if __name__ == "__main__":uvicorn.run(app='__main__:app', host='127.0.0.1', port=8000, reload=True)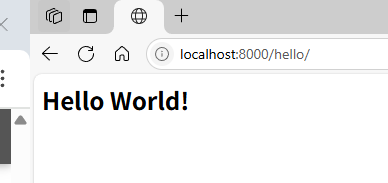
请求 URL (http://localhost:8000/hello/) 也应该在浏览器中呈现消息。
另外一种方式:
Web 模板库有一个模板引擎,可以合并一个带有占位符变量的静态网页。 合并来自任何来源(例如数据库)的数据以动态生成和呈现网页。FastAPI 没有任何预打包的模板库。 因此,一个人可以自由使用适合他需要的任何一种模板库。
from fastapi.responses import HTMLResponse
from fastapi.templating import Jinja2Templates
from fastapi import FastAPI, Request# 创建FastAPI应用实例
app = FastAPI()# 初始化Jinja2模板引擎,指定模板文件存放的目录为"templates"
templates = Jinja2Templates(directory="html")# 定义路由,指定路径为"/hello/",并声明返回类型为HTMLResponse
@app.get("/hello/", response_class=HTMLResponse)
async def hello(request: Request):"""处理/hello/路径的GET请求参数:request: Request对象,包含HTTP请求信息返回:TemplateResponse: 渲染后的HTML模板响应"""# 使用模板引擎渲染hello.html模板# 第一个参数是模板文件名# 第二个参数是传递给模板的上下文字典,必须包含request对象return templates.TemplateResponse("gyp.html", {"request": request})
if __name__ == '__main__':import uvicornuvicorn.run(app='__main__:app', host='127.0.0.1', port=8000, reload=True)
项目结构树:
project/
├── main.py
└── html/
└── gyp.html
jinja2 模板允许将某些占位符嵌入到 HTML 代码中。 jinja2 代码元素放在大括号内。 一旦浏览器的 HTML 解析器遇到这种情况,模板引擎就会接管并使用 HTTP 响应提供的可变数据填充这些代码元素。 Jinja2 提供以下代码元素 −
{% %} – 声明
{{ }} – 打印到模板输出的表达式
{# #} − 未包含在模板输出中的注释
# # # − 行语句
hello.html 修改如下,通过替换名称参数来显示动态消息。
<html lang="en"><body>
<h2>Hello {{name}} Welcome to FastAPI</h2>
</body>
</html>操作函数hello()也被修改为接受name作为路径参数。 TemplateResponse 还应的括。 "name":name 的 JSON 表示以及请求上下文
from fastapi.responses import HTMLResponse
from fastapi.templating import Jinja2Templates
from fastapi import FastAPI, Request# 创建FastAPI应用实例
app = FastAPI()# 初始化Jinja2模板引擎,指定模板文件存放的目录为"templates"
templates = Jinja2Templates(directory="html")# 定义路由,指定路径为"/hello/",并声明返回类型为HTMLResponse
@app.get("/hello/{name}", response_class=HTMLResponse)
async def hello(request: Request, name: str):"""处理/hello/路径的GET请求参数:request: Request对象,包含HTTP请求信息返回:TemplateResponse: 渲染后的HTML模板响应"""# 使用模板引擎渲染hello.html模板# 第一个参数是模板文件名# 第二个参数是传递给模板的上下文字典,必须包含request对象return templates.TemplateResponse("test.html", {"request": request, "name": name})
if __name__ == '__main__':import uvicornuvicorn.run(app='__main__:app', host='127.0.0.1', port=8000, reload=True)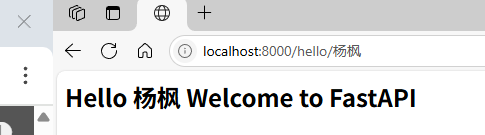
2.FastAPI--静态文件
经常需要在模板响应中包含一些资源,这些资源即使有一定的动态数据也保持不变。 此类资源称为静态资源。 媒体文件(.png、.jpg 等)、用于执行某些前端代码的 JavaScript 文件或用于格式化 HTML 的样式表(.CSS 文件)都是静态文件的示例。
为了处理静态文件,您需要一个名为aiofiles 的库
app.mount("/static", StaticFiles(directory="static"), name="static")
"/static"
- 访问路径前缀,比如
http://yourdomain.com/static/style.css会映射到本地./static/style.css文件。
StaticFiles(directory="static")
- 指定静态文件存放的目录(这里是项目根目录下的
static文件夹)。
name="static"
- 可选参数,用于标识这个挂载点(OpenAPI 文档或调试时有用)。
2.1.例子1
在下面的示例中,FastAPI 徽标将在 hello.html 模板中呈现。 因此,"fa-logo.png"文件首先放在静态文件夹中。 它现在可用作 HTML 代码中 <img> 标记的 src 属性。

from fastapi import FastAPI, Request
from fastapi.responses import HTMLResponse
from fastapi.templating import Jinja2Templates
from fastapi.staticfiles import StaticFiles
import uvicorn
app = FastAPI()
templates = Jinja2Templates(directory="html")app.mount("/static", StaticFiles(directory="html/static"), name="static")
@app.get("/hello/{name}", response_class=HTMLResponse)async def hello(request: Request, name:str):return templates.TemplateResponse("hello.html", {"request": request, "name":name})if __name__ == "__main__":uvicorn.run(app='__main__:app', host='127.0.0.1', port=8000, reload=True)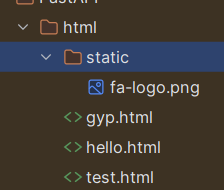
hello.html:
<html><body><h2>Hello {{name}} Welcome to FastAPI</h2><img src="{{ url_for('static', path='fa-logo.png') }}" alt="" width="300"></body>
</html>
</pre>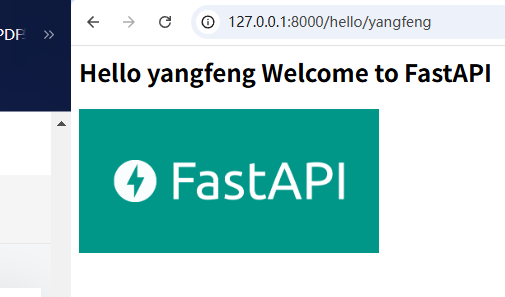
2.2.例子2
这是静态文件的另一个例子。 JavaScript 代码 hello.js 包含 myfunction() 的定义,该定义将在以下 HTML 脚本 (\templates\hello.html) 中的 onload 事件上执行。
<html><head><title>My Website</title><script src="{{ url_for('static', path='hello.js') }}"></script></head><body onload="myFunction()"><div id="time" style="text-align:right; width="100%"></div><h1><div id="ttl">{{ name }}</div></h1></body>
</html>hello.js代码如下 − (\static\hello.js)
function myFunction() {var today = new Date();var h = today.getHours();var m = today.getMinutes();var s = today.getSeconds();var msg="";if (h<12) {msg="早上好, ";}if (h>=12 && h<18) {msg="下午好, ";}if (h>=18) {msg="晚上好, ";}var x=document.getElementById('ttl').innerHTML;document.getElementById('ttl').innerHTML = msg+x;document.getElementById('time').innerHTML = h + ":" + m + ":" + s;
}
该函数检测当前时间的值,并根据一天中的时间将适当的值分配给 msg 变量(早上好、下午好或晚上好)。

3.FastAPI--HTML 表单模板
让我们向我们的应用程序添加另一个路由 "/login" ,它呈现一个具有简单登录表单的 html 模板。 登录页面的HTML代码如下 。
<html><body><form action="/submit" method="POST"><h3>Enter User name</h3><p><input type='text' name='nm'/></p><h3>Enter Password</h3><p><input type='password' name='pwd'/></p><p><input type='submit' value='Login'/></p></form></body>
</html>
请注意,action 参数设置为"/submit"路由,method 设置为 POST。 这对于进一步讨论具有重要意义。
from fastapi import FastAPI, Request
from fastapi.responses import HTMLResponse
from fastapi.templating import Jinja2Templates
from fastapi.staticfiles import StaticFiles
import uvicorn
app = FastAPI()
templates = Jinja2Templates(directory="./login")@app.get("/hello", response_class=HTMLResponse)async def hello(request: Request):return templates.TemplateResponse("login.html", {"request": request})if __name__ == "__main__":uvicorn.run(app='__main__:app', host='127.0.0.1', port=8000, reload=True)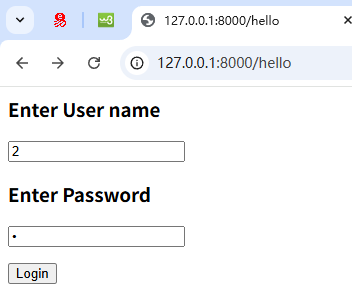
4.FastAPI - 访问表单数据
下面我们将看到如何在 FastAPI 操作函数中访问 HTML 表单数据。 在上面的示例中,/login 路由呈现了一个登录表单。 用户输入的数据以 POST 为请求方式提交到 /submit URL。 现在我们必须提供一个视图函数来处理用户提交的数据。
FastAPI 有一个 Form 类来处理通过提交 HTML 表单作为请求接收到的数据。 但是,您需要安装 python-multipart 模块。 它是一个用于 Python 的流式部分表单解析器。
pip3 install python-multipart让我们定义一个 submit() 函数,由@app.post() 修饰。 为了接收表单数据,声明两个 Form 类型的参数,与表单属性同名。
from fastapi import FastAPI, Request
from fastapi import Form
import uvicorn
app = FastAPI()@app.post("/submit/")
async def submit(nm: str = Form(...), pwd: str = Form(...)):return {"username": nm}if __name__ == "__main__":uvicorn.run(app='__main__:app', host='127.0.0.1', port=8000, reload=True)
甚至可以使用 HTML 表单数据填充和返回 Pydantic 模型。 在下面的代码中,我们将 User 类声明为 Pydantic 模型并将其对象作为服务器的响应发送。
from pydantic import BaseModel
class User(BaseModel):username:strpassword:str
@app.post("/submit/", response_model=User)
async def submit(nm: str = Form(...), pwd: str = Form(...)):return User(username=nm, password=pwd)
5.FastAPI - 上传文件
<html><body><form action="http://localhost:8000/uploader" method="POST" enctype="multipart/form-data"><input type="file" name="file" /><input type="submit"/></form></body>
</html>
首先,要将文件发送到服务器,您需要设置 HTML 表单的 enctype 为 multipart/form-data,并使用 input 输入类型为 file 来呈现按钮, 单击时允许您从文件系统中选择一个文件。
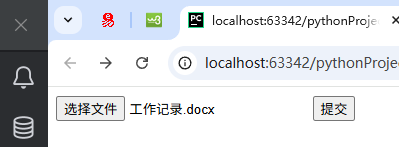
请注意,表单的 action 参数到端点 http://localhost:8000/uploader 并且 method 设置为 POST。
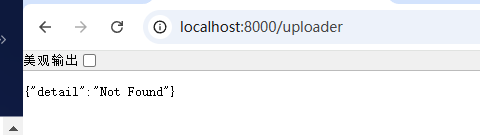
通过fastapi:
from fastapi import FastAPI, File, UploadFile, Request
import uvicorn
import shutil
from fastapi.responses import HTMLResponse
from fastapi.templating import Jinja2Templatesapp = FastAPI()
templates = Jinja2Templates(directory="templates")@app.get("/upload/", response_class=HTMLResponse)
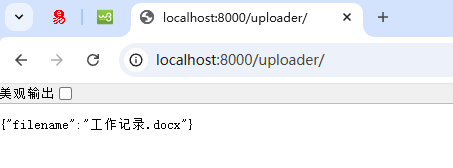
async def upload(request: Request):return templates.TemplateResponse("上传文件.html", {"request": request})@app.post("/uploader/") # 定义POST请求路由,处理文件上传到/uploader/路径
async def create_upload_file(file: UploadFile = File(...)): # 接收上传文件,file参数是UploadFile类型,File(...)表示必填with open("destination.png", "wb") as buffer: # 以二进制写入模式打开/创建destination.png文件shutil.copyfileobj(file.file, buffer) # 将上传文件内容复制到目标文件return {"filename": file.filename} # 返回JSON响应,包含原始文件名if __name__ == "__main__":uvicorn.run(app='__main__:app', host='127.0.0.1', port=8000, reload=True)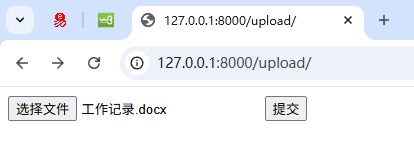
6.FastAPI - Cookie 参数
cookie 是 HTTP 标头之一。 Web 服务器向客户端发送响应,除了请求的数据外,它还会插入一个或多个 cookie。 cookie 是存储在客户机器中的非常少量的数据。 在同一客户端的后续连接请求中,此 cookie 数据也随 HTTP 请求一起附加。
cookie 可用于记录有关客户浏览的信息。 Cookie 是通过 HTTP 协议在无状态通信中检索有状态信息的可靠方法。
在 FastAPI 中,通过 set_cookie() 方法在 response 响应对象上设置 cookie 参数
response.set_cookie(key, value)
这里是 set_cookie() 方法的一个例子。 我们有一个名为 content 的 JSON 响应对象。 调用 set_cookie() 方法将 cookie 设置为 key="usrname" 和 value="admin" −
from fastapi import FastAPI
from fastapi.responses import JSONResponse
from fastapi import FastAPI, Cookie
app = FastAPI()
@app.post("/cookie/")
def create_cookie():content = {"message": "cookie set"}response = JSONResponse(content=content)response.set_cookie(key="username", value="admin")return response
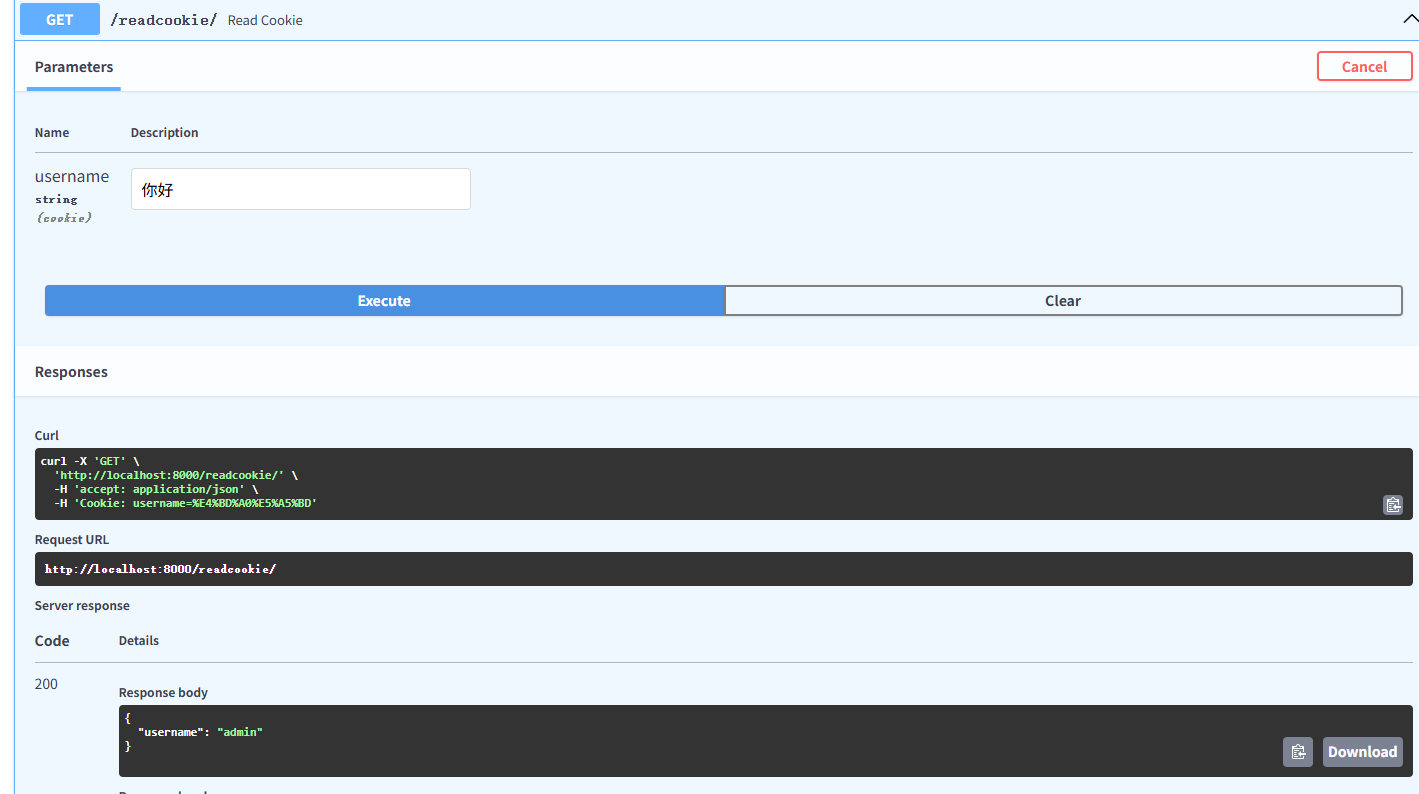
@app.get("/readcookie/")
async def read_cookie(username: str = Cookie(None)):return {"username": username}if __name__ == "__main__":import uvicornuvicorn.run(app='__main__:app', host='127.0.0.1', port=8000, reload=True)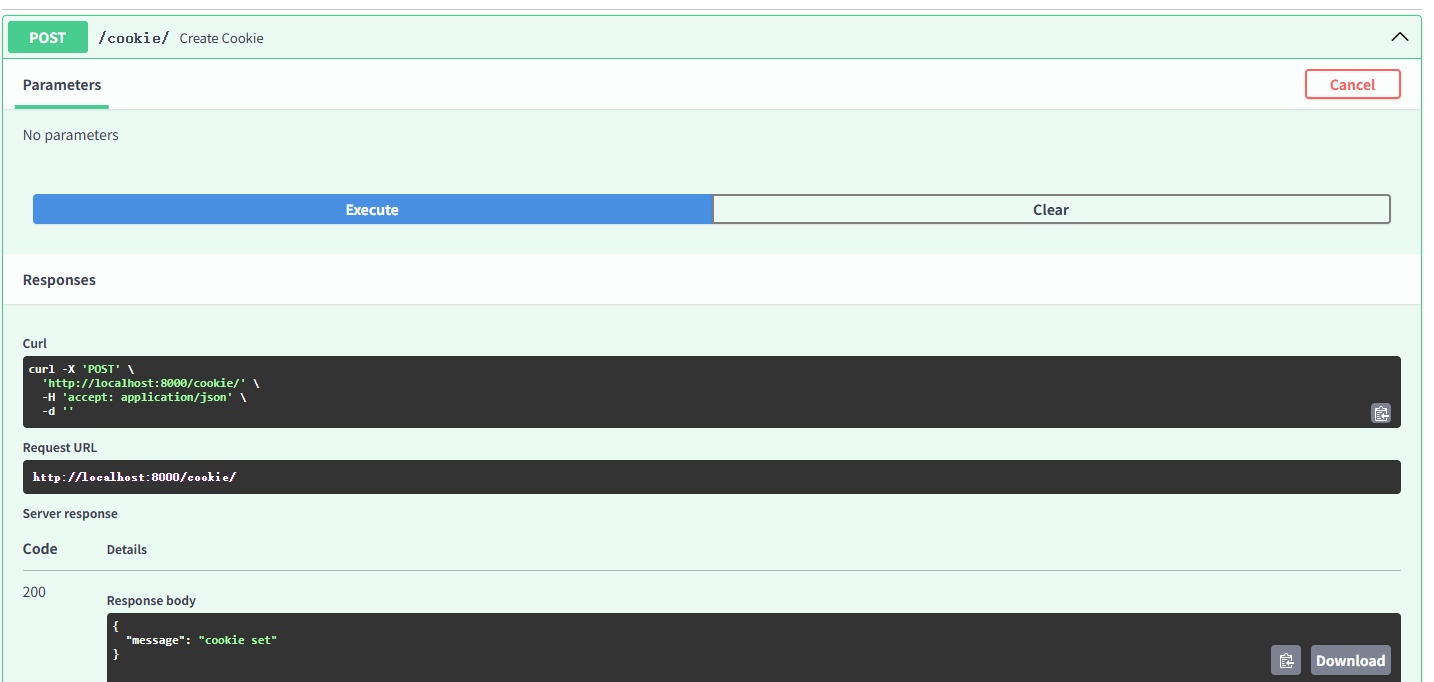
当执行read_cookie() 函数时,cookie 会被读回并作为响应出现。
7.FastAPI - Header 标头参数
为了读取作为客户端请求的一部分的 HTTP header 标头的值,从 FastAPI 库中导入 Header 对象,并在操作函数定义中声明一个 Header 类型的参数。参数的名称应与以 camel_case 转换的 HTTP 标头相匹配。
在以下示例中,将检索"accept-language"标头。 由于 Python 不允许在标识符名称中使用"-"(破折号),因此将其替换为"_"(下划线)
from typing import Optional
from fastapi import FastAPI, Header
from fastapi.responses import JSONResponse
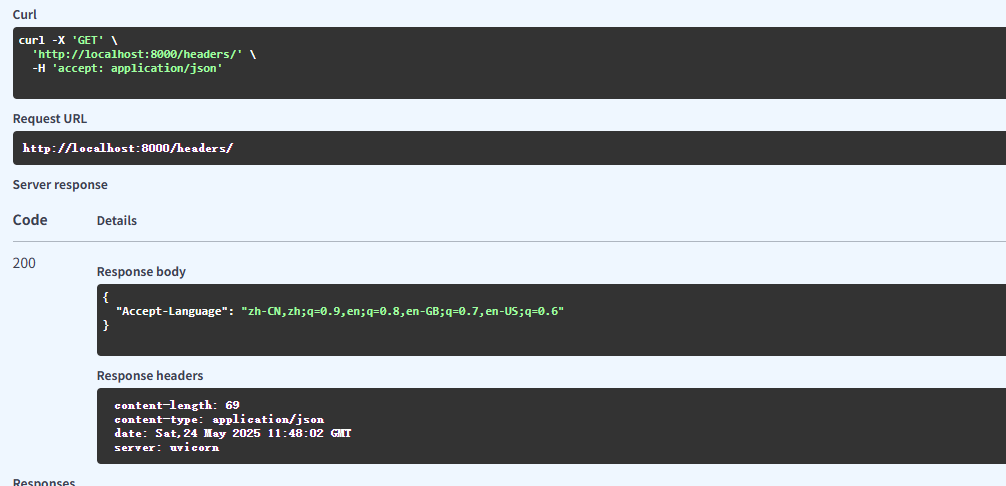
app = FastAPI()@app.get("/headers/")
async def read_header(accept_language: Optional[str] = Header(None)):return {"Accept-Language": accept_language}@app.get("/rspheader/")
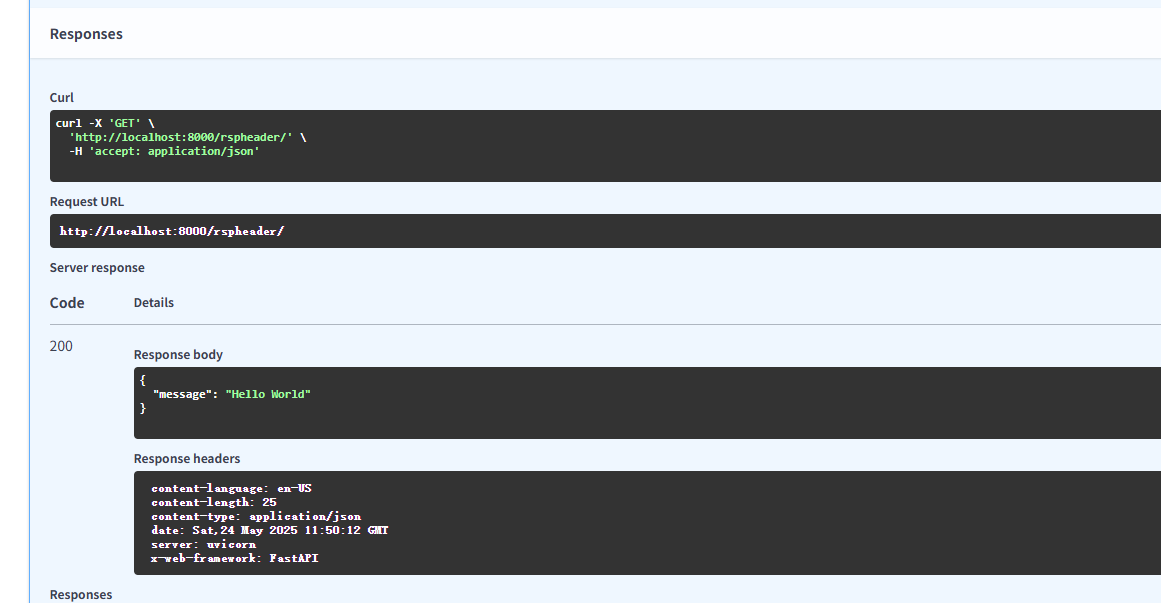
def set_rsp_headers():content = {"message": "Hello World"}headers = {"X-Web-Framework": "FastAPI", "Content-Language": "en-US"}return JSONResponse(content=content, headers=headers)if __name__ == "__main__":import uvicornuvicorn.run(app='__main__:app', host='127.0.0.1', port=8000, reload=True)检索到的标头显示为响应正文。
 您可以在响应对象中推送自定义和预定义的标头。操作函数应该有一个Response类型的参数。 为了设置自定义标头,其名称应以"X" 为前缀。在以下情况下,将添加一个名为"X-Web-Framework"的自定义标头和一个预定义标头"Content-Language"以及操作功能的响应。
新添加的标头将出现在文档的响应标头部分。
8. FastAPI - Response 响应模型
一个操作函数向客户端返回一个 JSON 响应。 响应可以是 Python 主要类型的形式,即数字、字符串、列表或字典等。它也可以是 Pydantic 模型的形式。 对于返回模型对象的函数,操作装饰器应该声明一个 respone_model 参数。
在 response_model 的帮助下,FastAPI 将输出数据转换为模型类的结构。 它在 OpenAPI 路径操作中验证数据,为响应添加 JSON 模式。
response_model 参数的一个重要优点是,我们可以通过从模型中选择字段来格式化输出,从而将响应转换为输出模型。
from typing import List
from fastapi import FastAPI
from pydantic import BaseModel, Field
app = FastAPI()
class student(BaseModel):id: intname :str = Field(None, title="name of student", max_length=10)marks: List[int] = []percent_marks: float
class percent(BaseModel):id:intname :str = Field(None, title="name of student", max_length=10)percent_marks: float
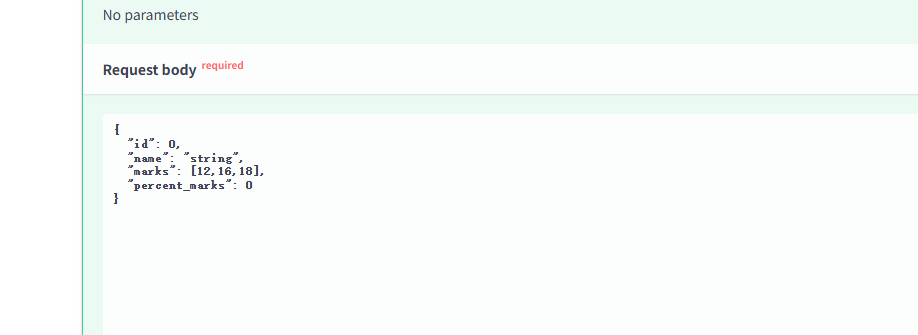
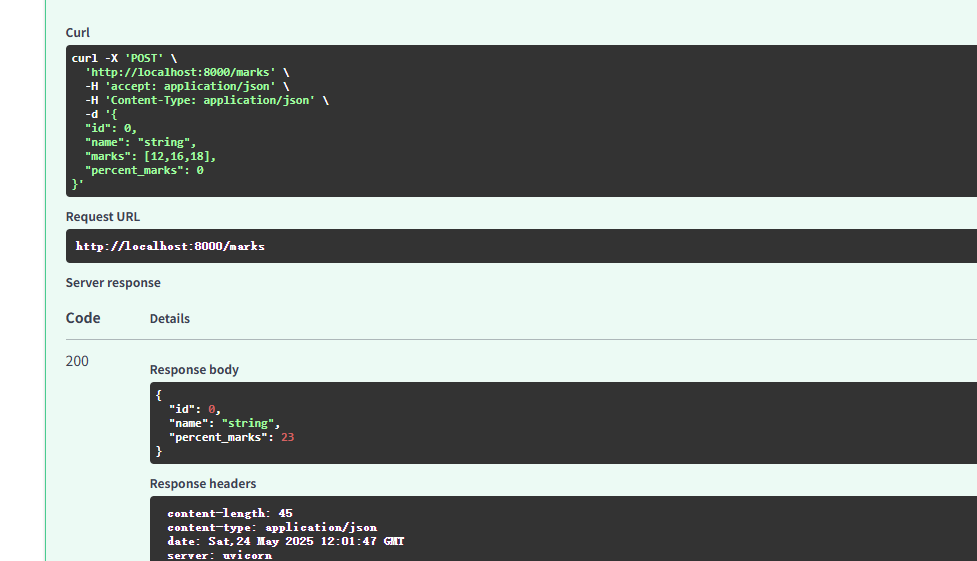
@app.post("/marks", response_model=percent)
async def get_percent(s1:student):s1.percent_marks=sum(s1.marks)/2return s1POST 操作装饰器以 student 学生类(BaseModel 的子类)对象的形式接收请求主体。 作为此类中的一个字段,即响应中不需要 marks(标记列表),我们定义了另一个名为 percent 的模型,并将其用作 response_model 参数。
9.FastAPI - 嵌套模型
Pydantic 模型的每个属性都有一个类型。 类型可以是内置的 Python 类型或模型本身。 因此,可以使用特定的属性名称、类型和验证来声明嵌套的 JSON"对象"。
示例
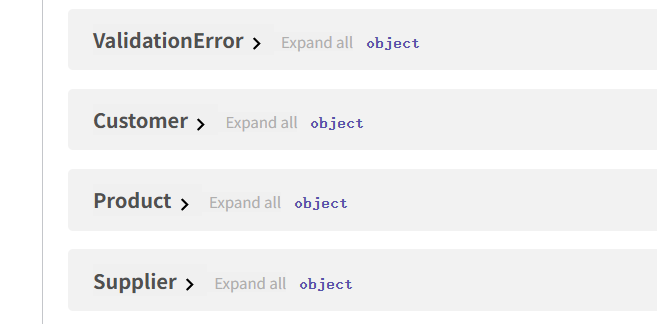
在下面的示例中,我们构建了一个客户模型,其中一个属性作为产品模型类。 反过来,产品模型具有供应商类属性。
from typing import Tuple
from fastapi import FastAPI
from pydantic import BaseModel
app = FastAPI()
class supplier(BaseModel):supplierID:intsupplierName:str
class product(BaseModel):productID:intprodname:strprice:intsupp:supplier
class customer(BaseModel):custID:intcustname:strprod:Tuple[product]@app.post('/invoice')
async def getInvoice(c1:customer):return c1if __name__ == "__main__":import uvicornuvicorn.run(app='__main__:app', host='127.0.0.1', port=8000, reload=True)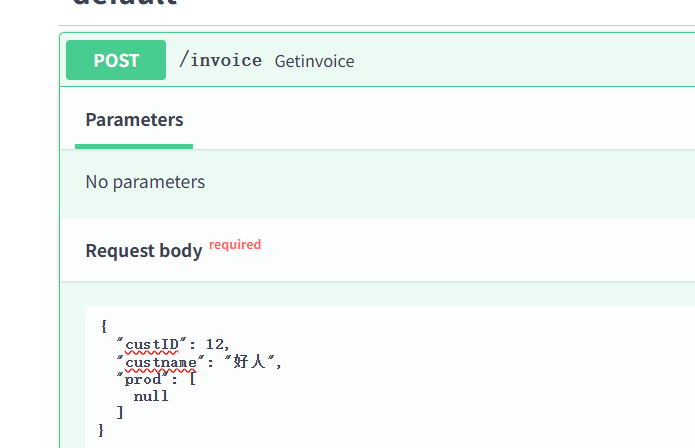
10. FastAPI - 依赖关系
FastAPI 内置的依赖注入系统使得在构建 API 时集成组件变得更加容易。 在编程中,依赖注入是指一个对象接收它所依赖的其他对象的机制。 其他对象称为依赖项。 依赖注入有以下优点 −
重复使用相同的共享逻辑
共享数据库连接
实施身份验证和安全功能
假设一个FastAPI应用程序有两个操作函数,都具有相同的查询参数id、name和age。
from fastapi import FastAPI
app = FastAPI()
@app.get("/user/")
async def user(id: str, name: str, age: int):return {"id": id, "name": name, "age": age}
@app.get("/admin/")
async def admin(id: str, name: str, age: int):return {"id": id, "name": name, "age": age}
如果有任何更改,例如添加/删除查询参数,则路由装饰器和函数都需要更改。
FastAPI 提供了Depends 类,它的对象在这种情况下用作公共参数。 首先从 FastAPI 导入 Depends 并定义一个函数来接收这些参数 −
async def dependency(id: str, name: str, age: int):return {"id": id, "name": name, "age": age}@app.get("/user/")
async def user(dep: dict = Depends(dependency)):return dep
对于每一个新的Request,FastAPI使用对应的参数调用依赖函数,返回结果,并将结果赋值给你的操作。
您可以使用类而不是函数来管理依赖项。 声明一个具有 id、name 和 age 作为属性的类。
class dependency:def __init__(self, id: str, name: str, age: int):self.id = idself.name = nameself.age = age 使用这个类作为参数的类型。
@app.get("/user/")
async def user(dep: dependency = Depends(dependency)):return dep
@app.get("/admin/")
async def admin(dep: dependency = Depends(dependency)):return dep
里,我们在操作函数中使用了依赖注入。 它也可以用作操作装饰。 例如,我们要检查查询参数 age 的值是否小于 21。如果是,则应抛出异常。 因此,我们编写一个函数来检查它并将其用作依赖项。
async def validate(dep: dependency = Depends(dependency)):if dep.age > 18:raise HTTPException(status_code=400, detail="You are not eligible")
@app.get("/user/", dependencies=[Depends(validate)])
async def user():return {"message": "You are eligible"}
在 FastAPI 依赖管理中,可以使用 yield 代替 return 来增加一些额外的步骤。 例如,以下函数使用带有 yield 的数据库依赖项。
async def get_db():db = DBSession()try:yield dbfinally:db.close()


)


Java学习-5.15(模糊搜索,收藏,购物车))
)


详解)


