Three.js Journey — Learn WebGL with Three.jsThe ultimate Three.js course whether you are a beginner or a more advanced developer![]() https://threejs-journey.com/?c=p3
https://threejs-journey.com/?c=p3
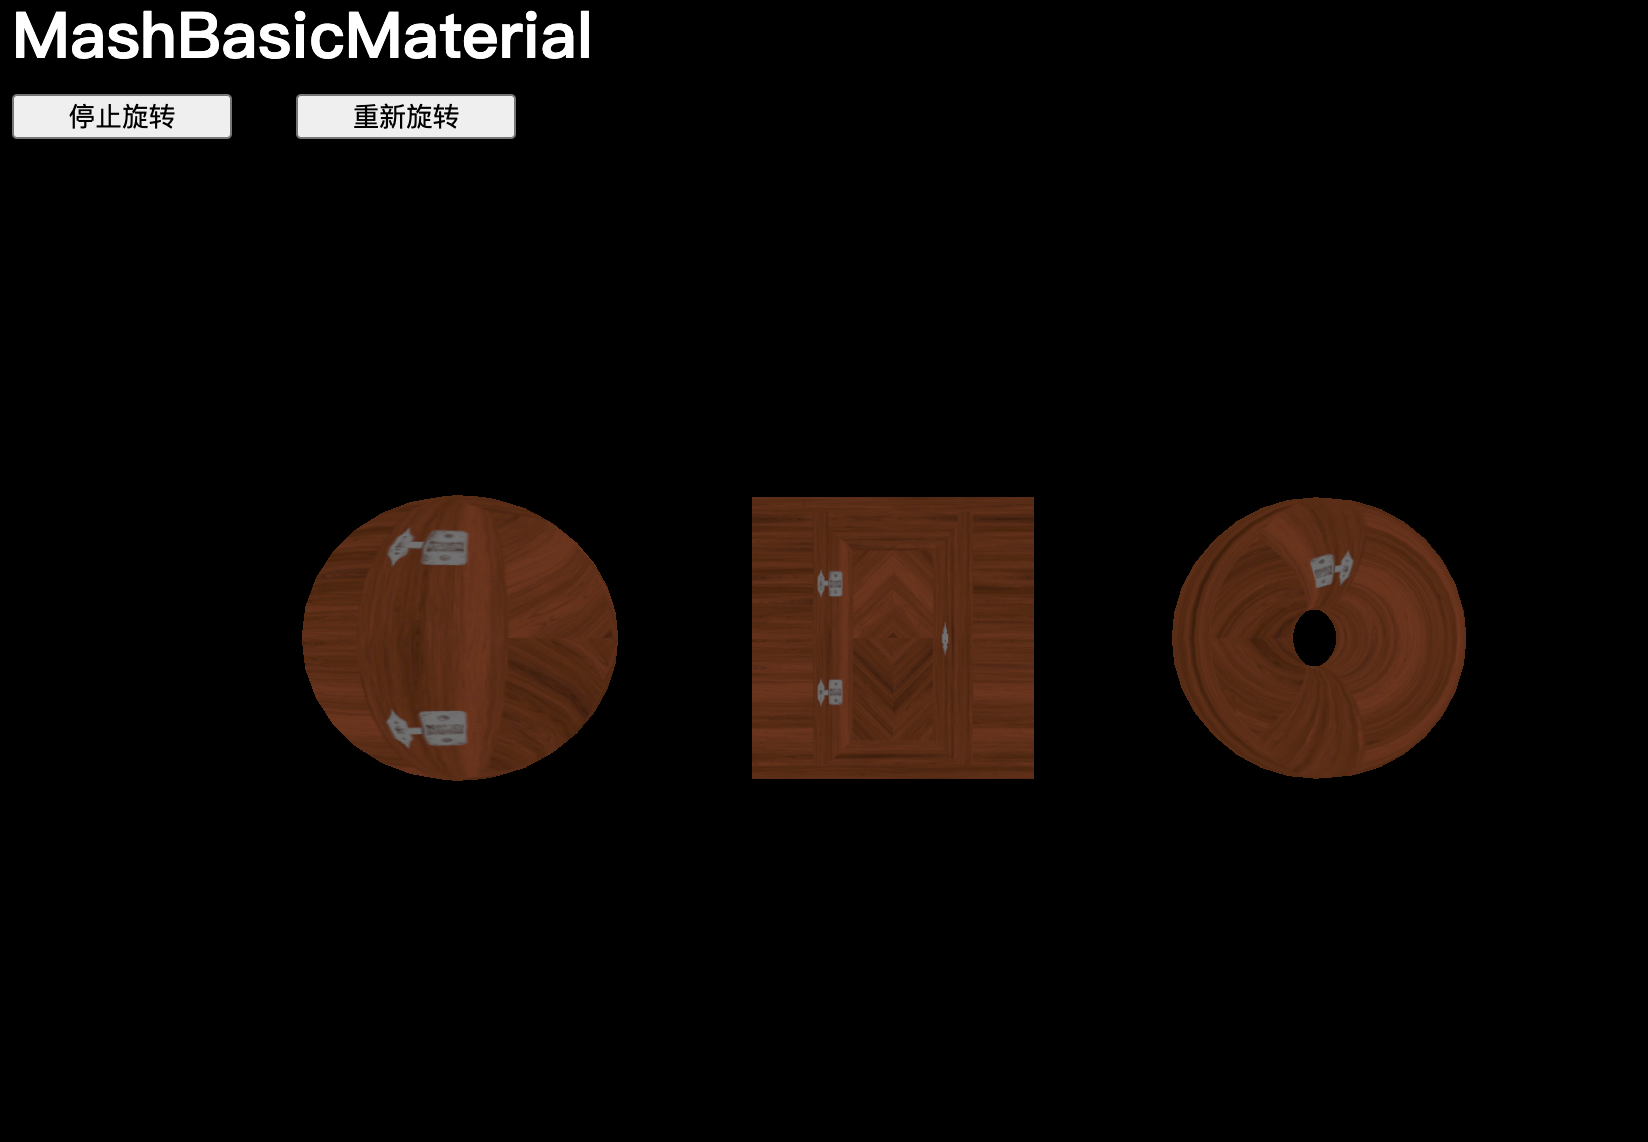
MeshBasicMaterial
添加3个网格体:
/*** Object*/
// MashBasicMaterial
const material = new THREE.MeshBasicMaterial()const sphere = new THREE.Mesh(new THREE.SphereGeometry(0.5, 16, 16),material
)const plane = new THREE.Mesh(new THREE.PlaneGeometry(1,1),material
)const torus = new THREE.Mesh(new THREE.TorusGeometry(0.3, 0.2, 16, 32),material
)sphere.position.x = -1.5
torus.position.x = 1.5scene.add(sphere, plane, torus)
在 tick 函数中旋转对象:
/*** Animate*/
const clock = new THREE.Clock()const tick = () =>
{const elapsedTime = clock.getElapsedTime()// Update objectssphere.rotation.y = 0.1 * elapsedTimeplane.rotation.y = 0.1 * elapsedTimetorus.rotation.y = 0.1 * elapsedTimesphere.rotation.x = -0.15 * elapsedTimeplane.rotation.x = -0.15 * elapsedTimetorus.rotation.x = -0.15 * elapsedTime// ...
}tick()
【复习点】作为 `map` 和 `matcap` 使用的纹理应该以 `sRGB` 编码
// 作为 `map` 和 `matcap` 使用的纹理应该以 `sRGB` 编码
const matcapTexture = textureLoader.load('./textures/matcaps/1.png')
const doorColorTexture = textureLoader.load('./textures/door/color.jpg')doorColorTexture.colorSpace = THREE.SRGBColorSpace
matcapTexture.colorSpace = THREE.SRGBColorSpace
可以在材质的 map 属性中使用所有纹理:
const material = new THREE.MeshBasicMaterial({ map: doorColorTexture })Map
map 属性将在几何体表面应用纹理,下面2种赋值式是相等的:
const material = new THREE.MeshBasicMaterial({map: doorColorTexture
})// Equivalent
const material = new THREE.MeshBasicMaterial()
material.map = doorColorTexture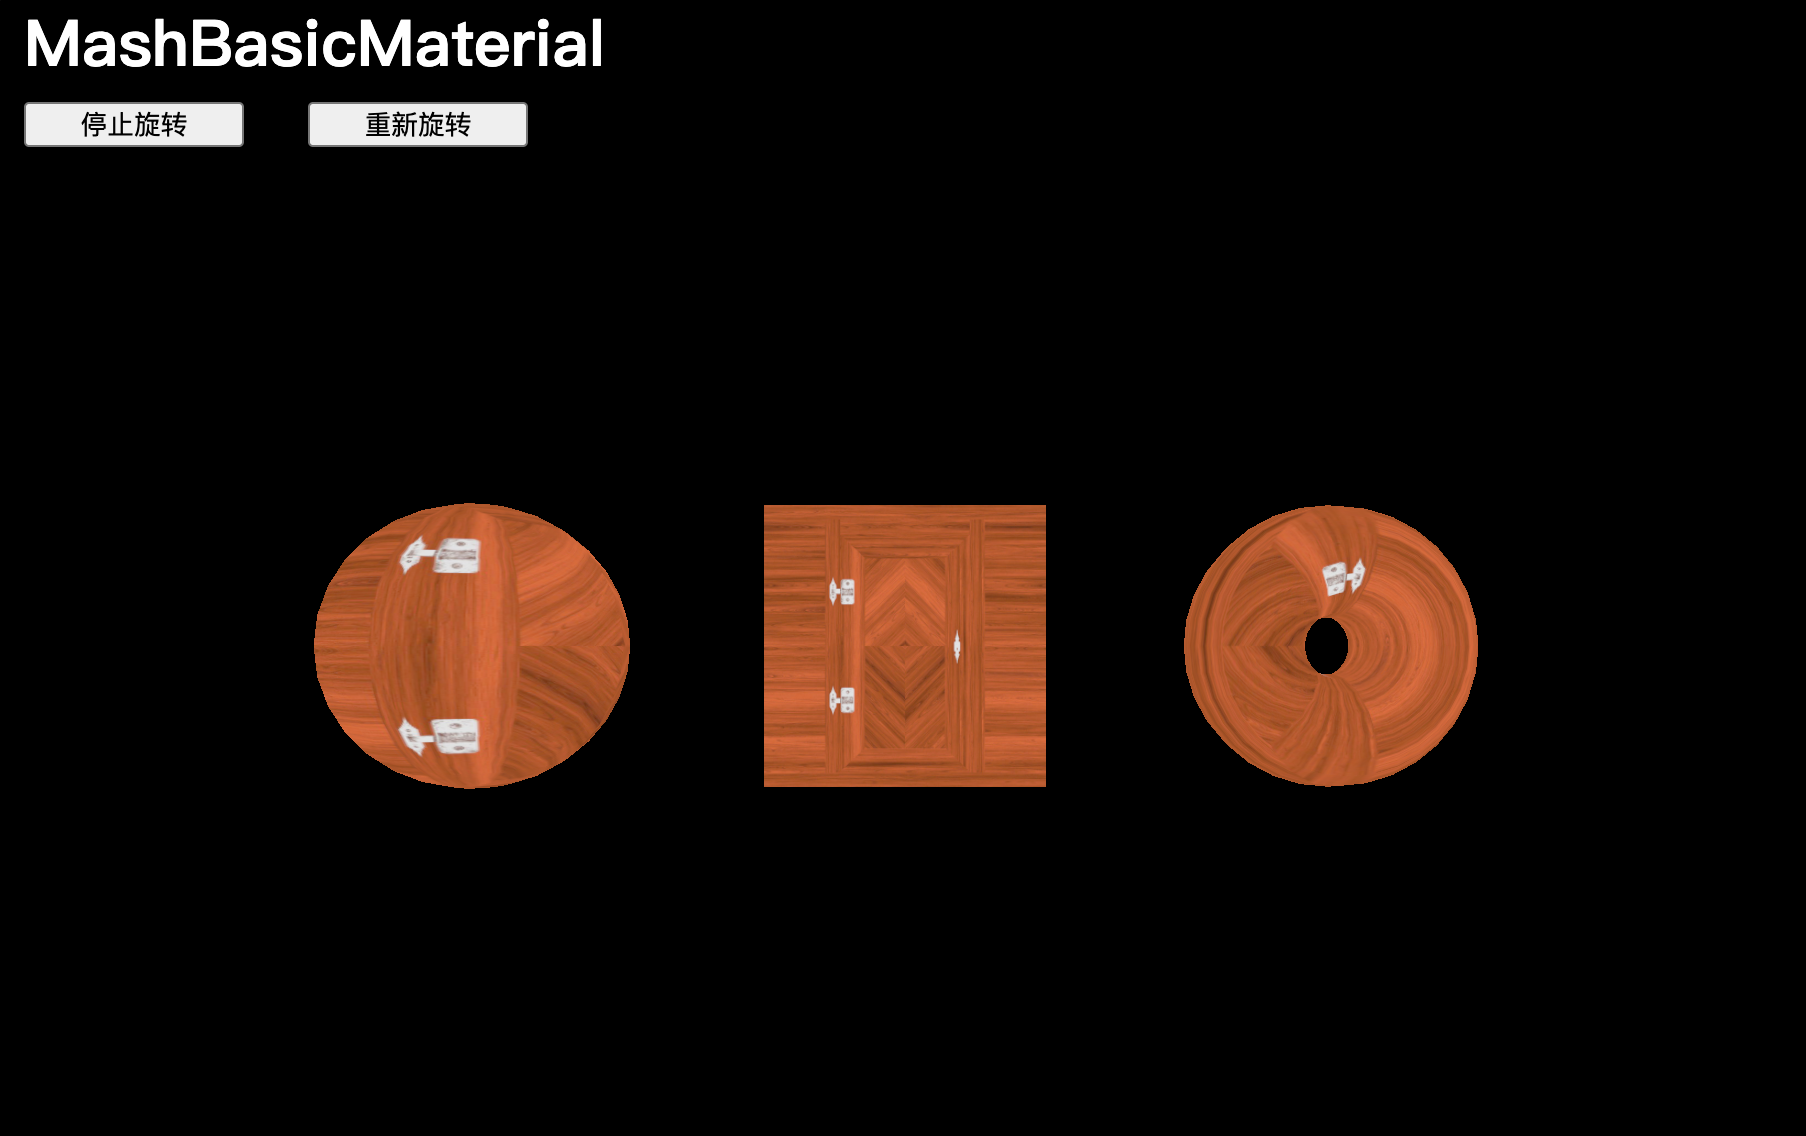
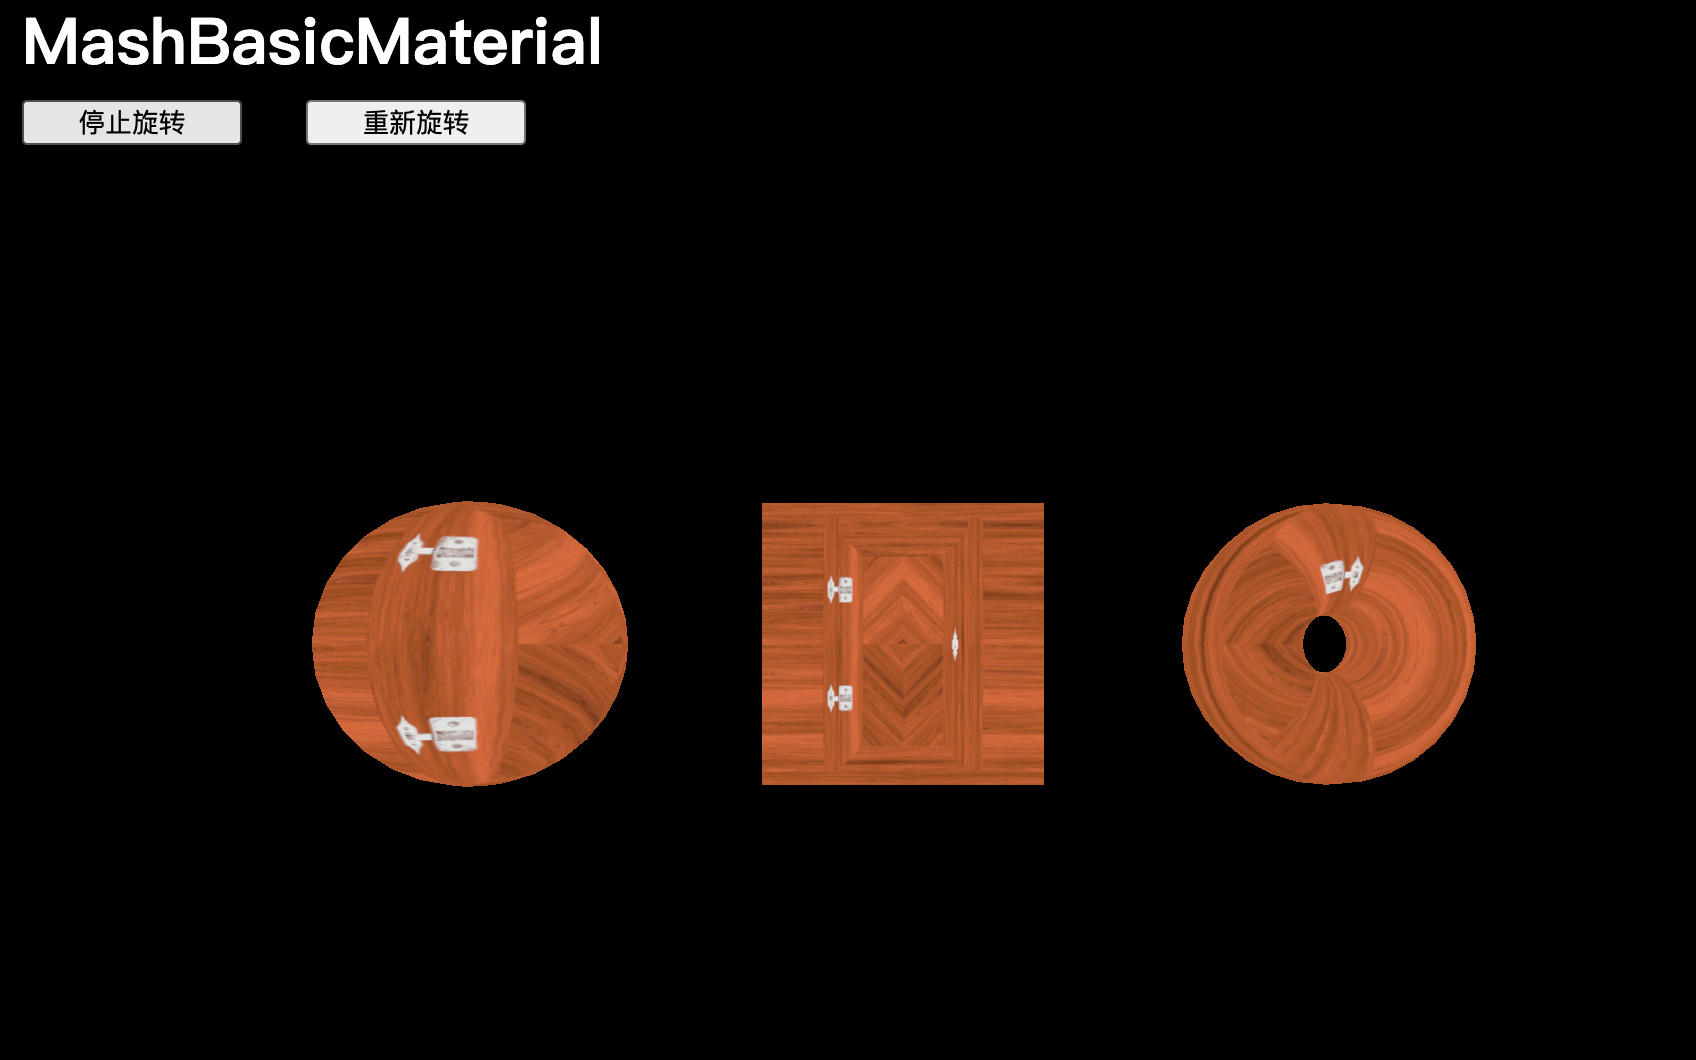
Color
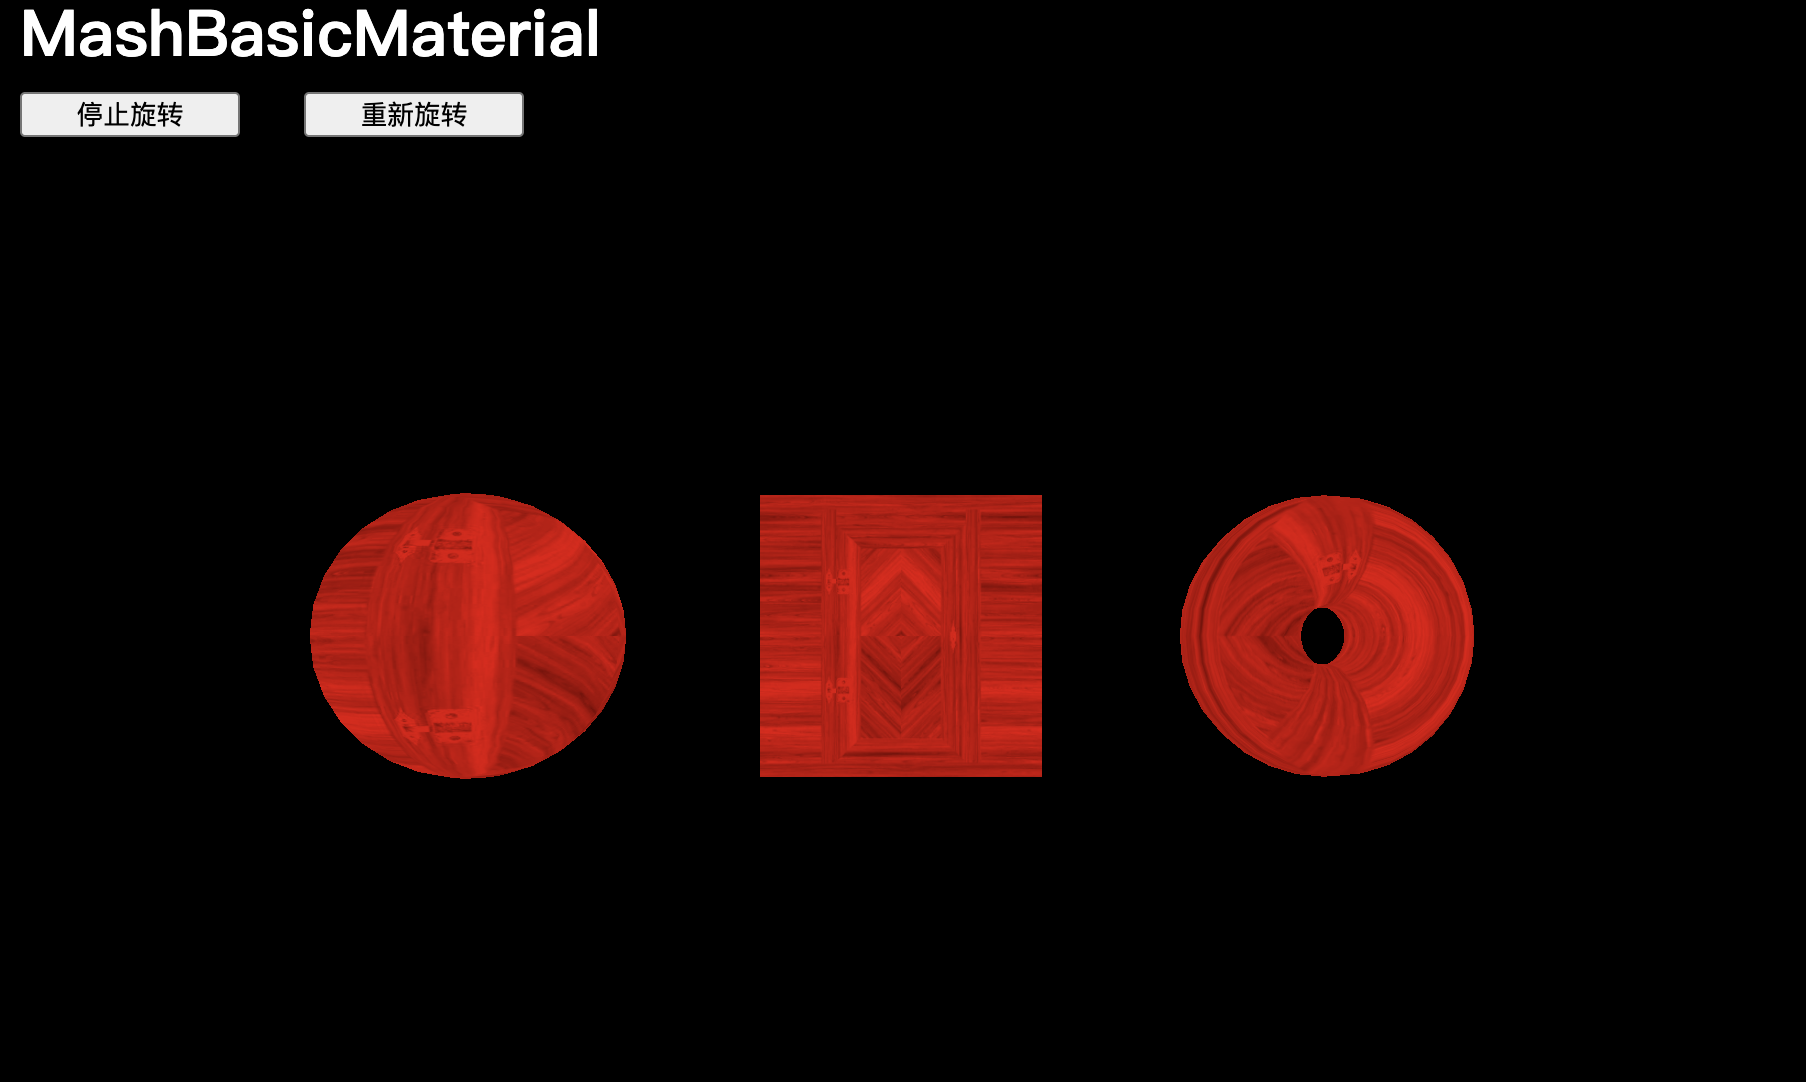
当直接更改 color 属性时,必须实例化一个 Color 类。color 属性将在几何体表面应用统一颜色:
material.color = new THREE.Color('#ff0000')
material.color = new THREE.Color('#f00')
material.color = new THREE.Color('red')
material.color = new THREE.Color('rgb(255, 0, 0)')
material.color = new THREE.Color(0xff0000)
将 `color` 和 `map` 结合起来会用颜色给纹理上色:
wireframe
(有些属性,比如 wireframe 或 opacity,可以与大多数后续材质一起使用。)
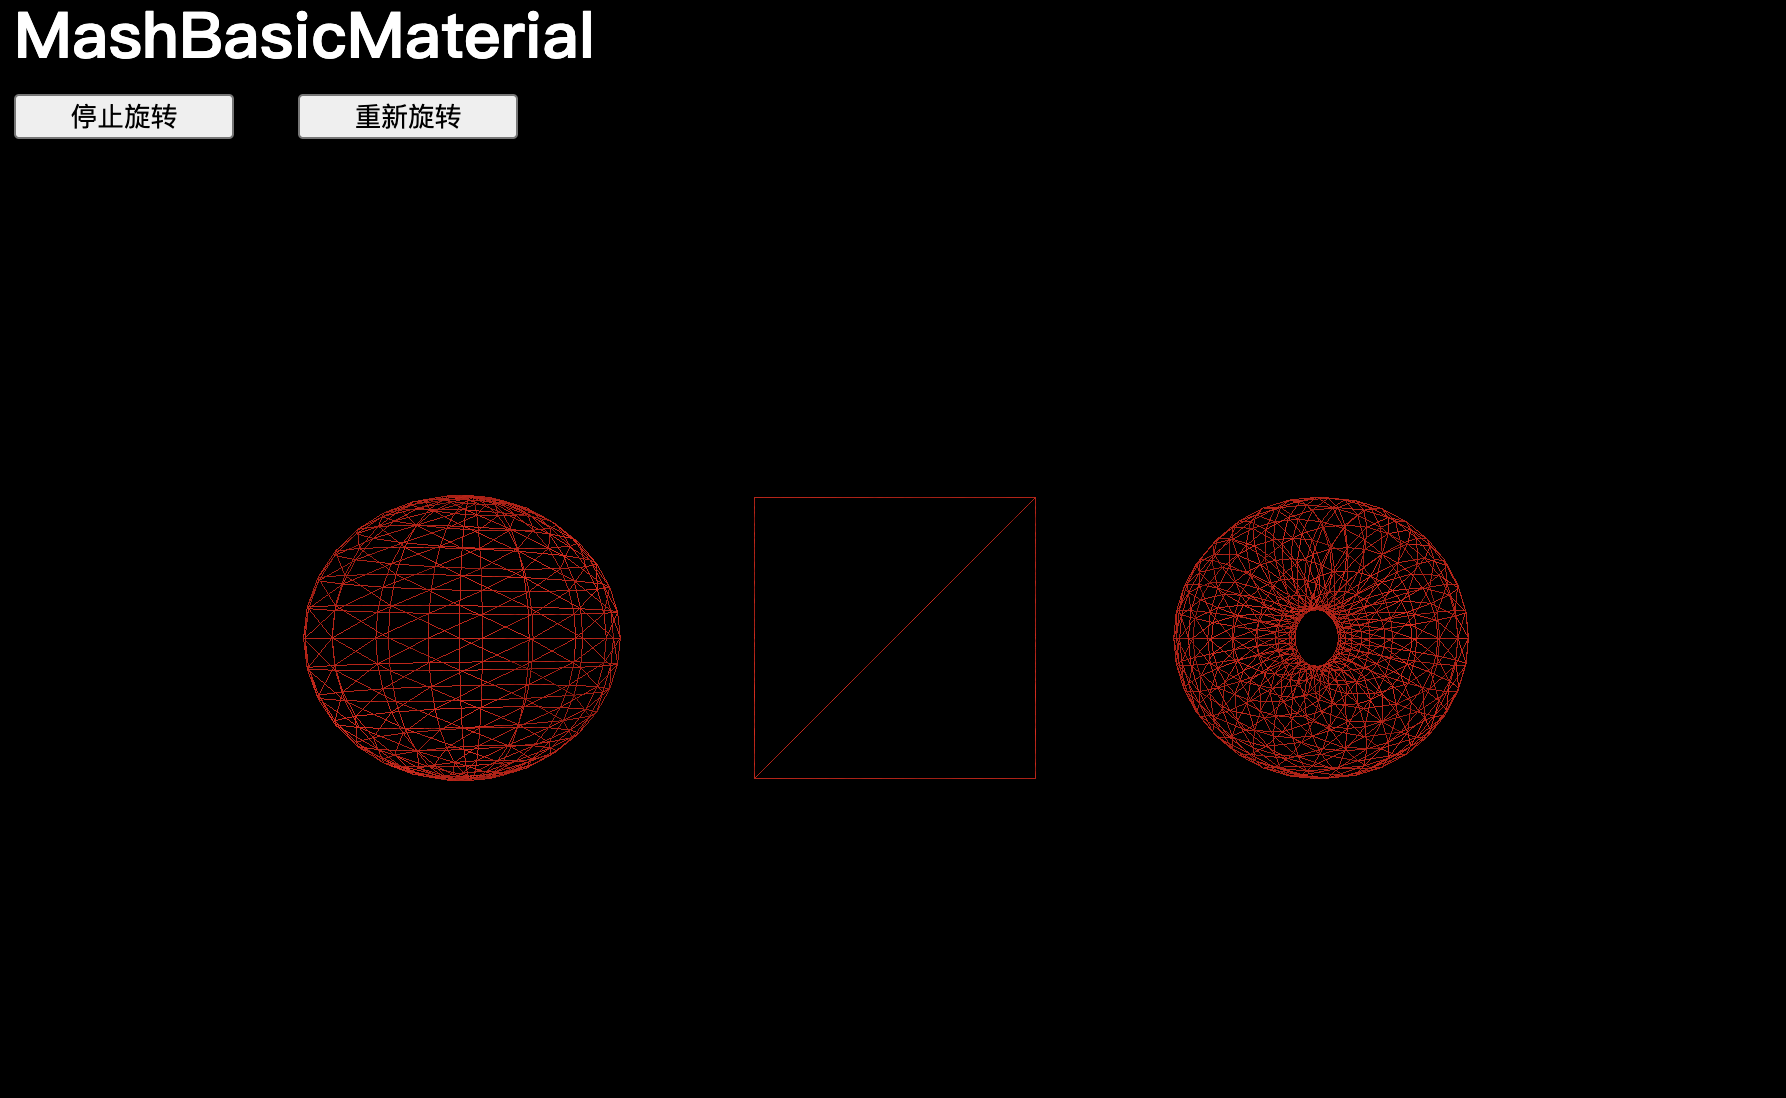
线框模式,`wireframe` 属性会以 1px 的细线显示组成几何体的三角形:
material.wireframe = true【注意】平面由两个三角形组成
opacity
(有些属性,比如 wireframe 或 opacity,可以与大多数后续材质一起使用。)
需要先将 transparent 属性设置为 true,告知 Three.js 这种材质现在支持透明度,再用opacity 属性控制透明度。
material.transparent = true
material.opacity = 0.5
不透明度设置为0.5:
不透明度设置为1:
AlphaMap
配合 .transparent,可以使用 alphaMap 属性通过纹理来控制透明度:
material.transparent = true
// material.opacity = 0.5
material.alphaMap = doorAlphaTexture
Side
side 属性决定允许哪些面的哪一面可见。尽量避免在渲染时使用 THREE.DoubleSide,因为即使这个面不可见,它也会消耗更多的资源。
正面可见 (THREE.FrontSide),背面可见 (THREE.BackSide) 或两面可见 (THREE.DoubleSide):
material.side = THREE.DoubleSideMeshNormalMaterial
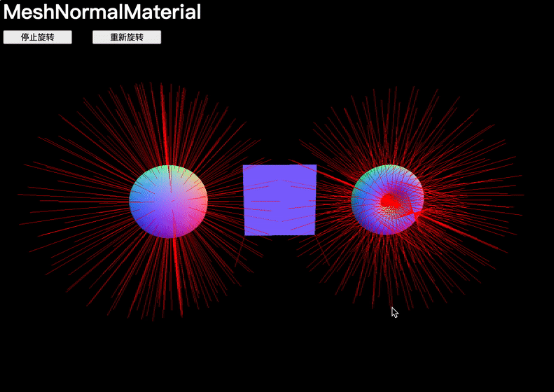
MeshNormalMaterial与“法线”有关:
// MeshNormalMaterial
const material = new THREE.MeshNormalMaterial()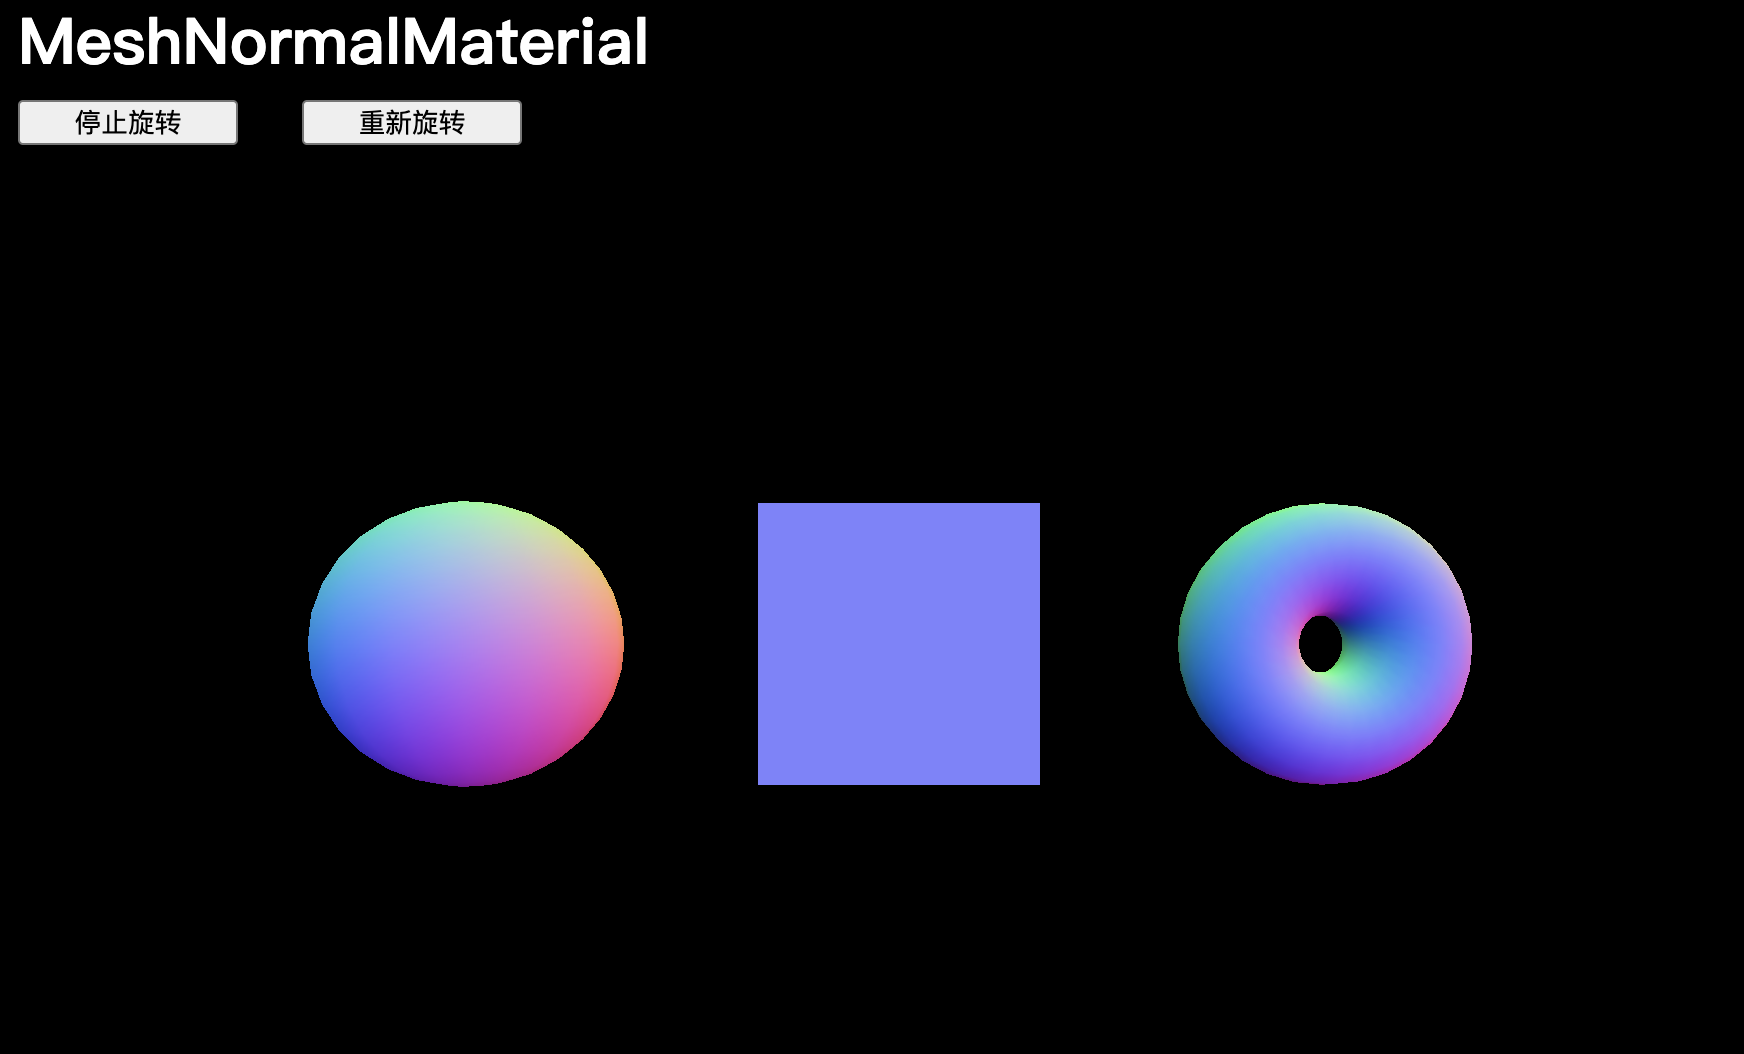
法线是编码在每个顶点中的信息,包含了面的外法线方向。如果将这些法线显示为箭头,会看到从每个顶点延伸出来的直线,这些直线构成了几何形状。
【扩展】使用Three.js内置的VertexNormalsHelper
import { VertexNormalsHelper } from 'three/examples/jsm/helpers/VertexNormalsHelper.js';const mesh = new THREE.Mesh(geometry, material);
const normalsHelper = new VertexNormalsHelper(mesh, 1, 0xff0000);
scene.add(mesh);
scene.add(normalsHelper);
flatShading
flatShading 会使面变得平坦,这意味着法线不会在顶点之间进行插值。
material.flatShading = true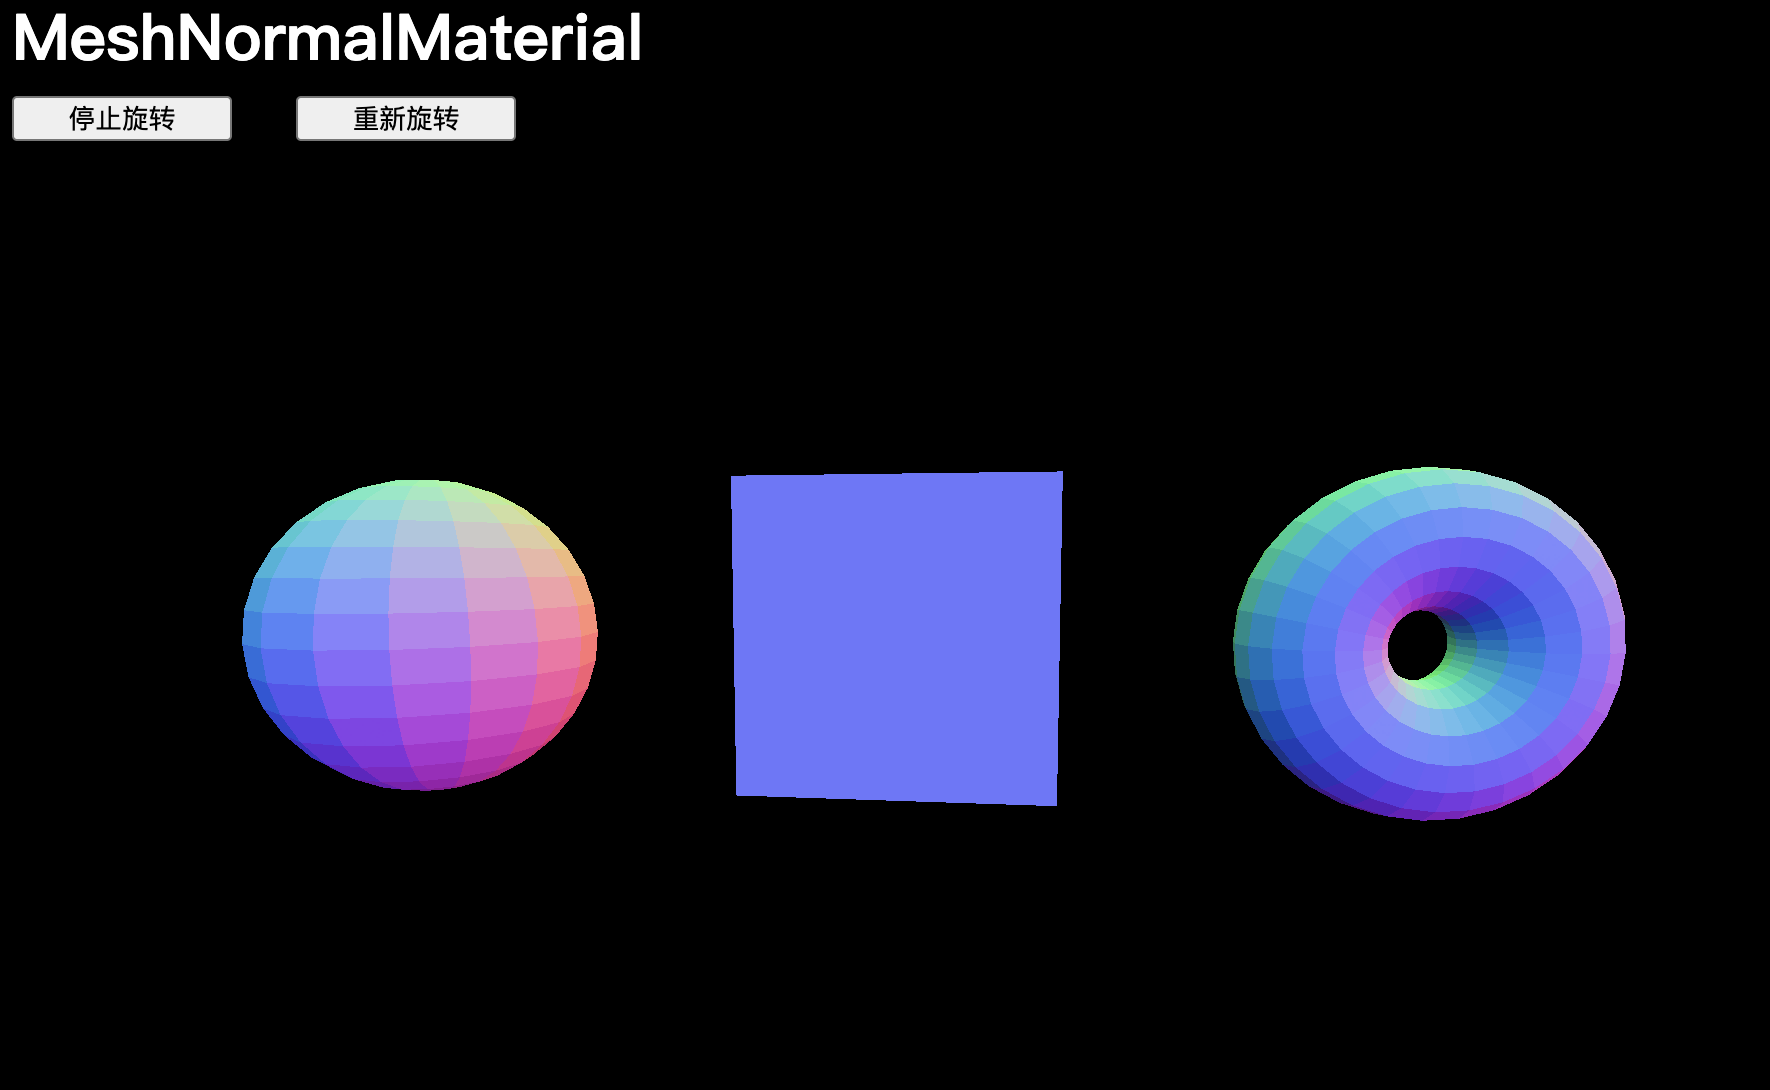
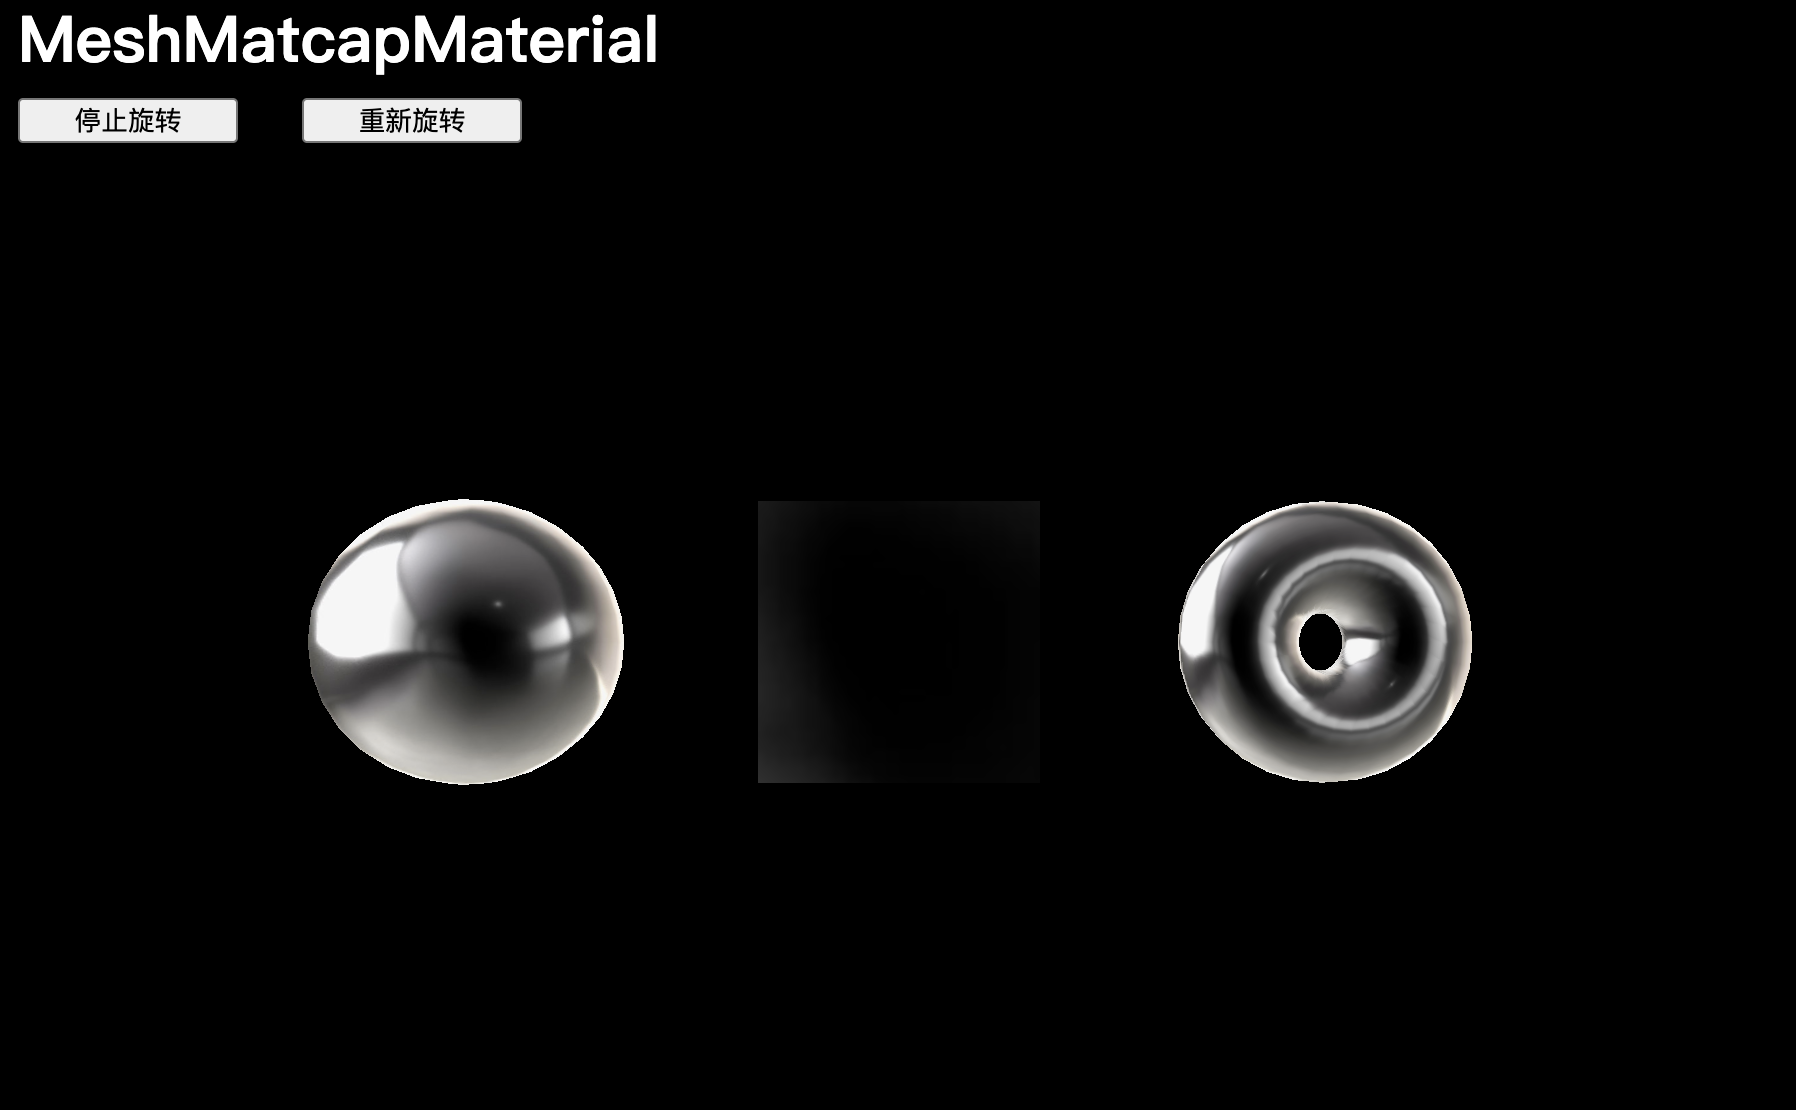
MeshMatcapMaterial
MeshMatcapMaterial 在保持高性能的同时还能呈现出极佳的效果,它需要一个看起来像球体的参考纹理:
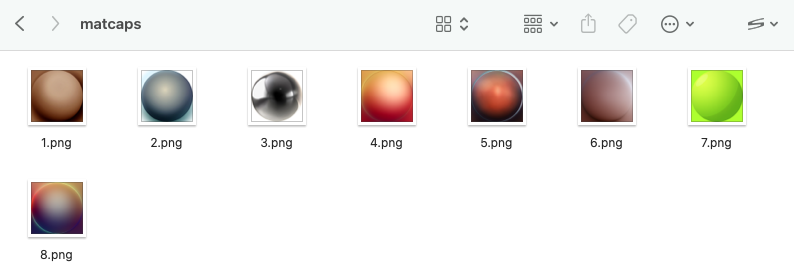
// MeshMatcapMaterial
const material = new THREE.MeshMatcapMaterial()
// 材质会根据法线相对于相机的方向从纹理中选择颜色
material.matcap = matcapTexture
【注意】网格将显得被照亮,但这只是由纹理创造的幻象,场景中没有光源。
唯一的问题是,结果无论相机方向如何都相同。此外,无法更新光源,因为根本就没有光源。
MeshDepthMaterial
MeshDepthMaterial 会将几何体在接近相机的near值时着色为白色,在接近相机的far值时着色为黑色:
// MeshDepthMaterial
const material = new THREE.MeshDepthMaterial()
MeshLambertMaterial
MeshLambertMaterial 是列表中第一个需要光源才能看到的材质,我们需要加一些光源。
// MeshLambertMaterial
const material = new THREE.MeshLambertMaterial() // 没有灯源,画布漆黑
添加灯光
创建一个 AmbientLight 并将其添加到场景中:
/*** Lights*/
const ambientLight = new THREE.AmbientLight(0xffffff, 1)
scene.add(ambientLight)
创建一个 PointLight 并将其添加到场景中:
/*** Lights*/
const ambientLight = new THREE.AmbientLight(0xffffff, 1)
scene.add(ambientLight)const pointLight = new THREE.PointLight(0xffffff, 30)
pointLight.position.x = 2
pointLight.position.y = 3
pointLight.position.z = 4
scene.add(pointLight)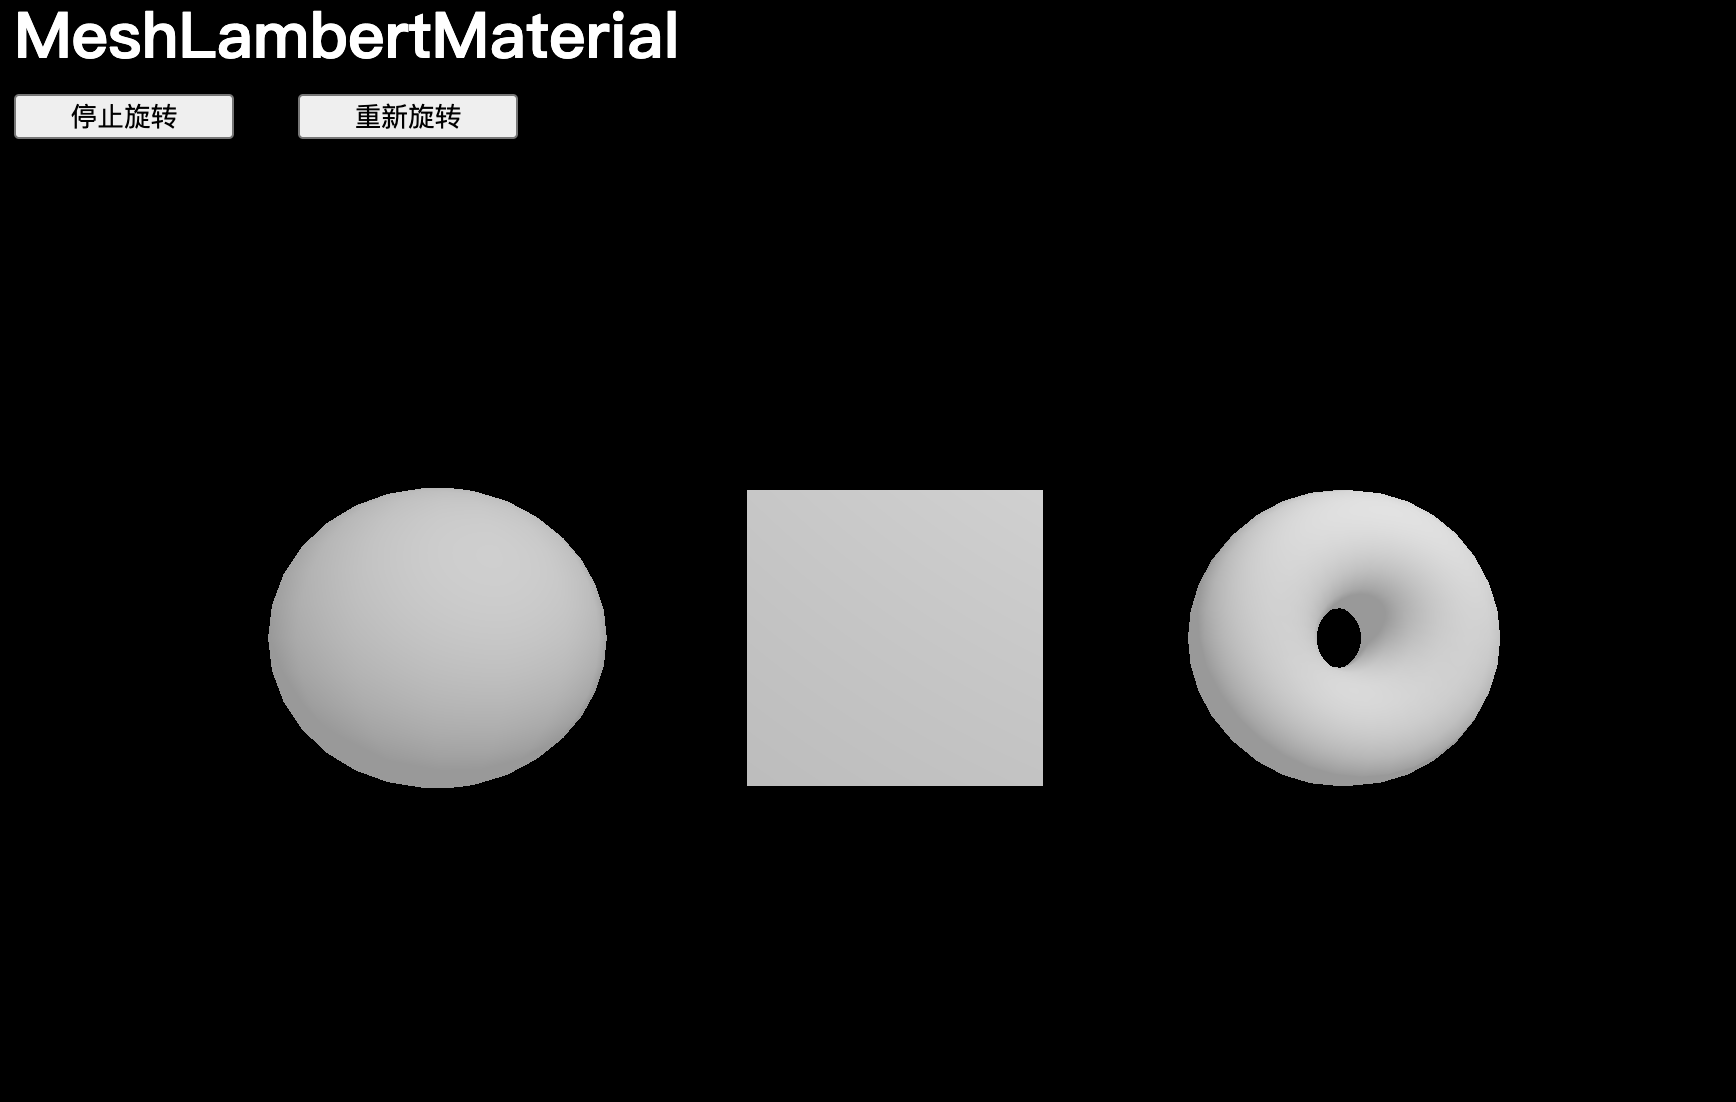
MeshPhongMaterial
MeshPhongMaterial 与 MeshLambertMaterial 非常相似,但奇怪的图案不那么明显,可以看到几何体表面的光反射:
// MeshPhongMaterial
const material = new THREE.MeshPhongMaterial()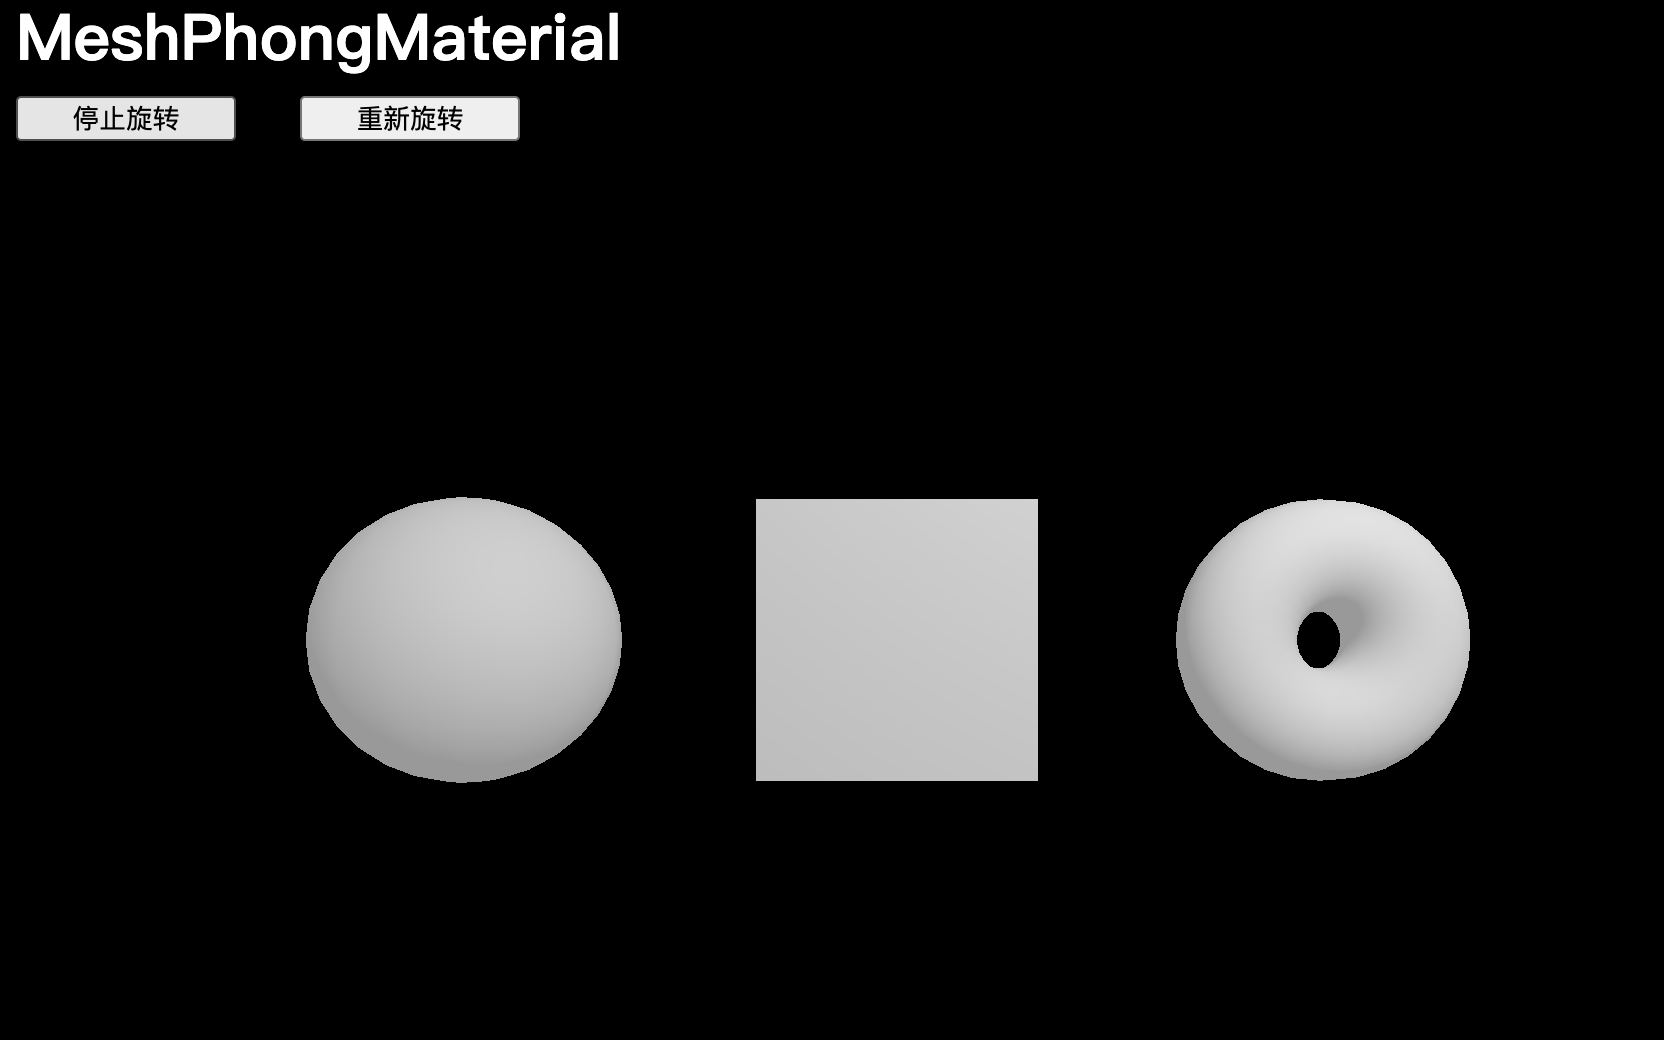
可以通过 shininess 属性来控制光反射,数值越大,表面越光滑。
还可以通过 specular 属性来改变反射的颜色:
// MeshPhongMaterial
const material = new THREE.MeshPhongMaterial()
material.shininess = 100
material.specular = new THREE.Color(0x1188ff)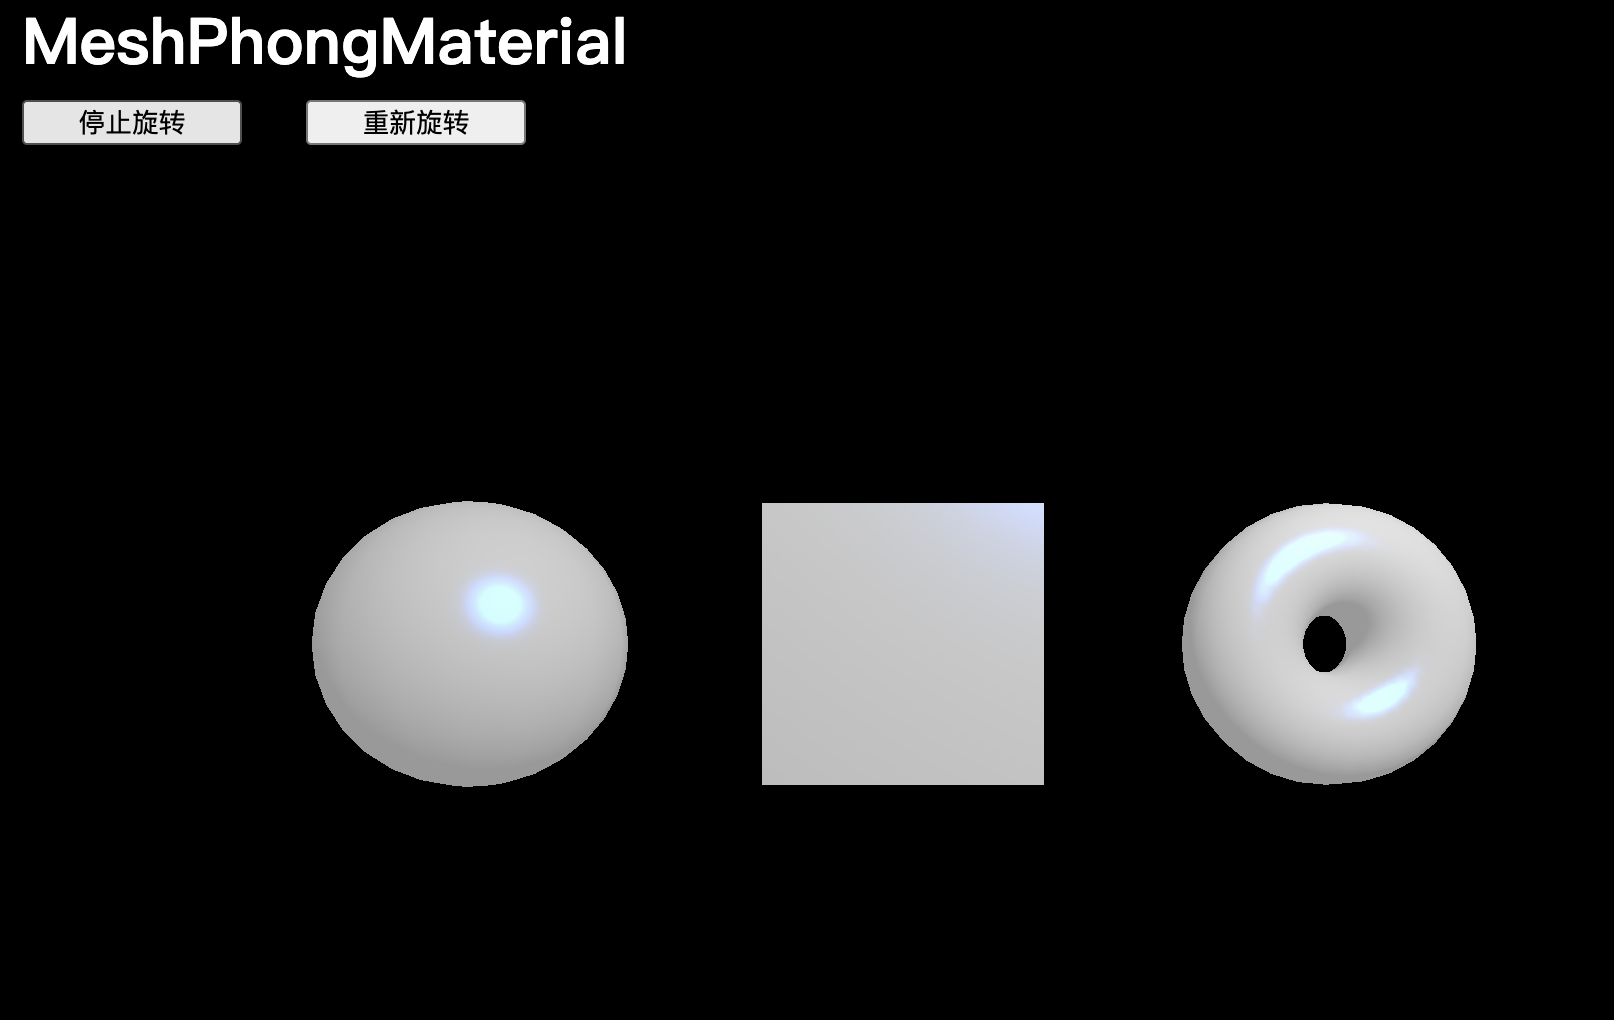
MeshToonMaterial
MeshToonMaterial 在属性上类似于 MeshLambertMaterial,但具有卡通风格。默认情况下,只能得到两部分着色,一部分用于阴影,另一部分用于光照。
// MeshToonMaterial
const material = new THREE.MeshToonMaterial()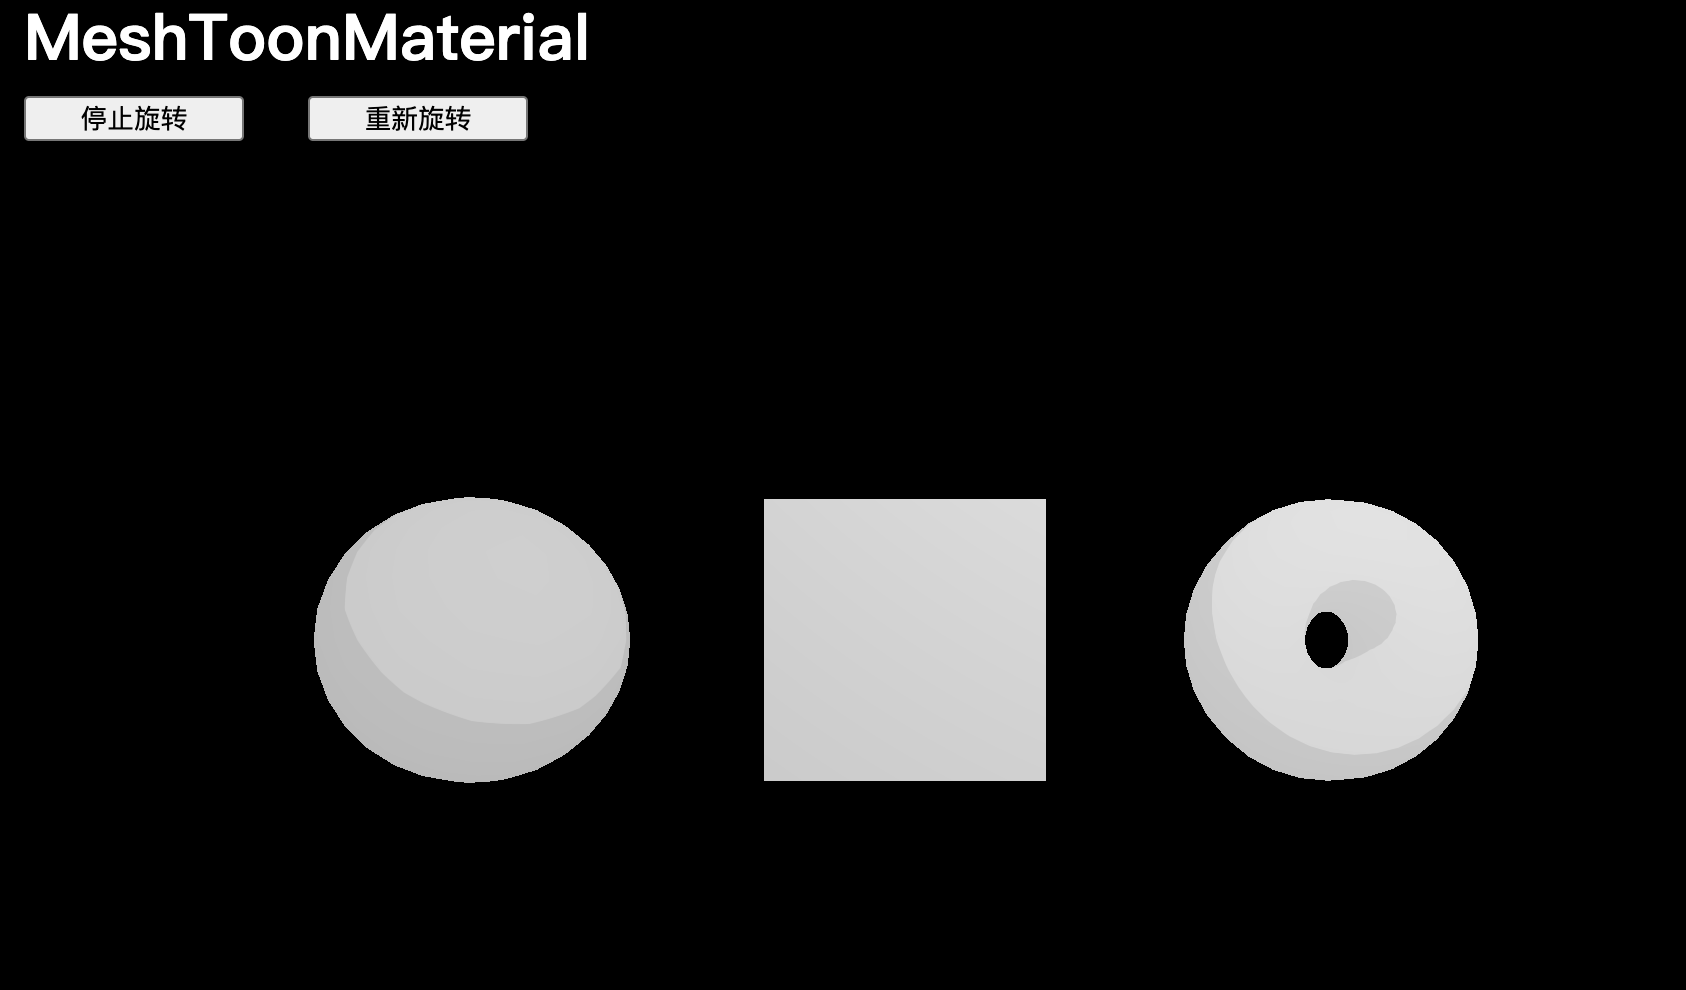
如果想增加着色的步骤,可以在 gradientMap 属性上使用在课程开始时加载的 gradientTexture,卡通效果将不再起作用,因为 gradientTexture 实际上是一个非常非常小的 3x1 像素的纹理。从这个纹理中提取像素时,GPU 会将它们混合。
// MeshToonMaterial
const material = new THREE.MeshToonMaterial()
material.gradientMap = gradientTexture
可以通过 minFilter 和 magFilter 控制 GPU 处理这些纹理的方式,将 minFilter 和 magFilter 更改为 THREE.NearestFilter:
// MeshToonMaterial
const material = new THREE.MeshToonMaterial()
gradientTexture.minFilter = THREE.NearestFilter
gradientTexture.magFilter = THREE.NearestFilter
material.gradientMap = gradientTexture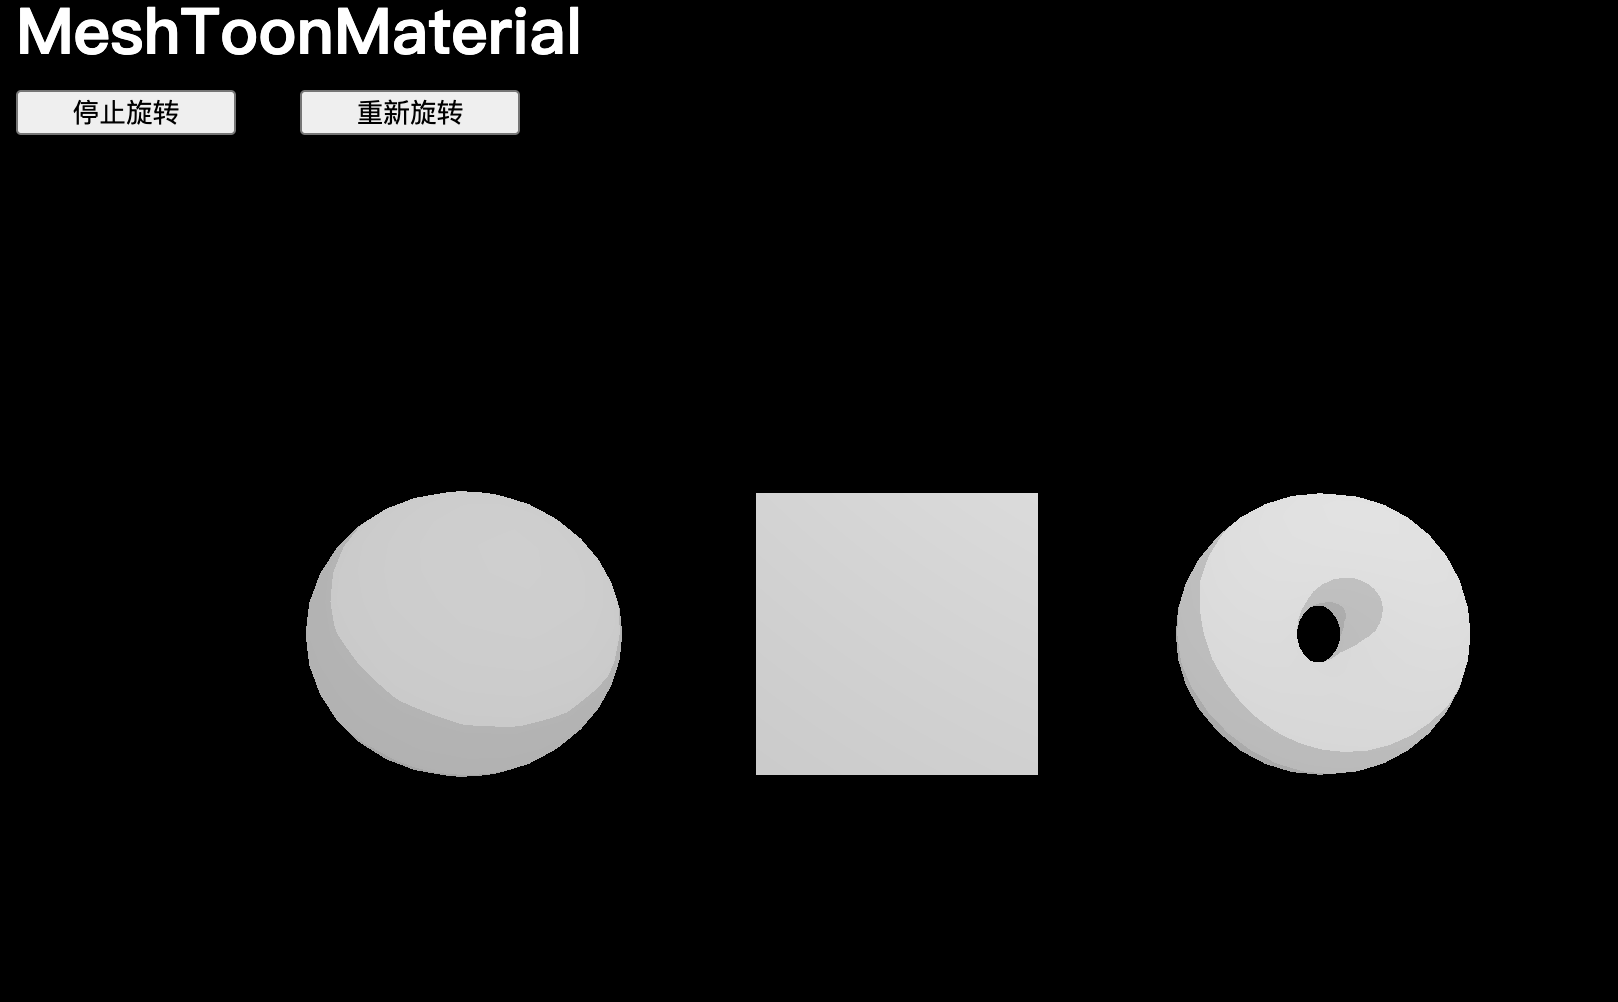
【优化】由于 THREE.NearestFilter 实际上并没有使用任何.mipmap 版本的纹理,我们可以通过将 gradientTexture.generateMipmaps 设置为 false 来禁用 mipmaps 的生成,从而释放一些内存:
// MeshToonMaterial
const material = new THREE.MeshToonMaterial()
gradientTexture.minFilter = THREE.NearestFilter
gradientTexture.magFilter = THREE.NearestFilter
gradientTexture.generateMipmaps = false
material.gradientMap = gradientTexture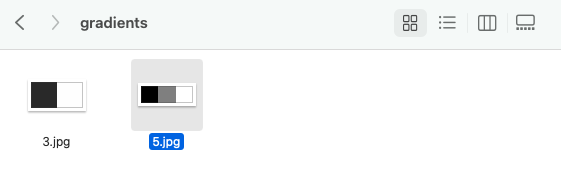
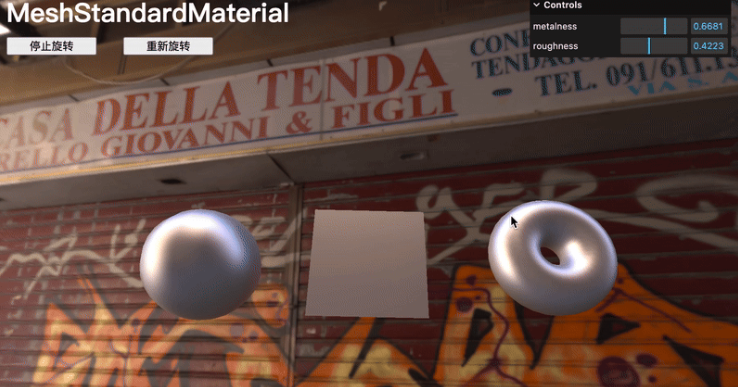
MeshStandardMaterial
MeshStandardMaterial支持光源,但使用更真实的算法和更好的参数,如粗糙度和金属度。
因为 PBR 已经成为许多软件、引擎和库的标准,其目的是获得真实的结果,并使用真实参数。
// MeshStandardMaterial
const material = new THREE.MeshStandardMaterial()
可以直接更改 粗糙度 和 金属度 属性:
// MeshStandardMaterial
const material = new THREE.MeshStandardMaterial()
material.metalness = 0.45
material.roughness = 0.65
添加调试界面
可以创建一个 GUI 的实例,在创建材质之后,添加调整项:
import GUI from 'lil-gui'// ...// MeshStandardMaterial
const material = new THREE.MeshStandardMaterial()
material.metalness = 0.45
material.roughness = 0.65gui.add(material, 'metalness').min(0).max(1).step(0.0001)
gui.add(material, 'roughness').min(0).max(1).step(0.0001)
RGBELoader 与 environmentMap
添加一个名为 环境贴图 的额外功能,环境贴图就像是场景周围环境的图像。可以使用它来添加反射、折射以及光照,除此之外,还可以使用当前的 DirectionalLight 和 AmbientLight。
为了加载之前提到的环境贴图文件,需要使用 RGBELoader,接下来,需要实例化它为 rgbeLoader,并使用其 load() 方法加载 ./textures/environmentMap/2k.hdr 文件。
RGBELoader 与 textureLoader 不同,我们需要将回调函数作为第二个参数传递,我们可以在该函数的参数中获取加载的环境贴图。
(由于环境贴图已经足够,可以移除或注释掉 AmbientLight 和 PointLight)
import { RGBELoader } from 'three/examples/jsm/loaders/RGBELoader.js'// ...// MeshStandardMaterial
const material = new THREE.MeshStandardMaterial()
material.metalness = 0.7
material.roughness = 0.2gui.add(material, 'metalness').min(0).max(1).step(0.0001)
gui.add(material, 'roughness').min(0).max(1).step(0.0001)/*** Environment map*/
const rgbeLoader = new RGBELoader()
rgbeLoader.load('./textures/environmentMap/2k.hdr', (environmentMap) =>
{environmentMap.mapping = THREE.EquirectangularReflectionMappingscene.background = environmentMapscene.environment = environmentMap
})
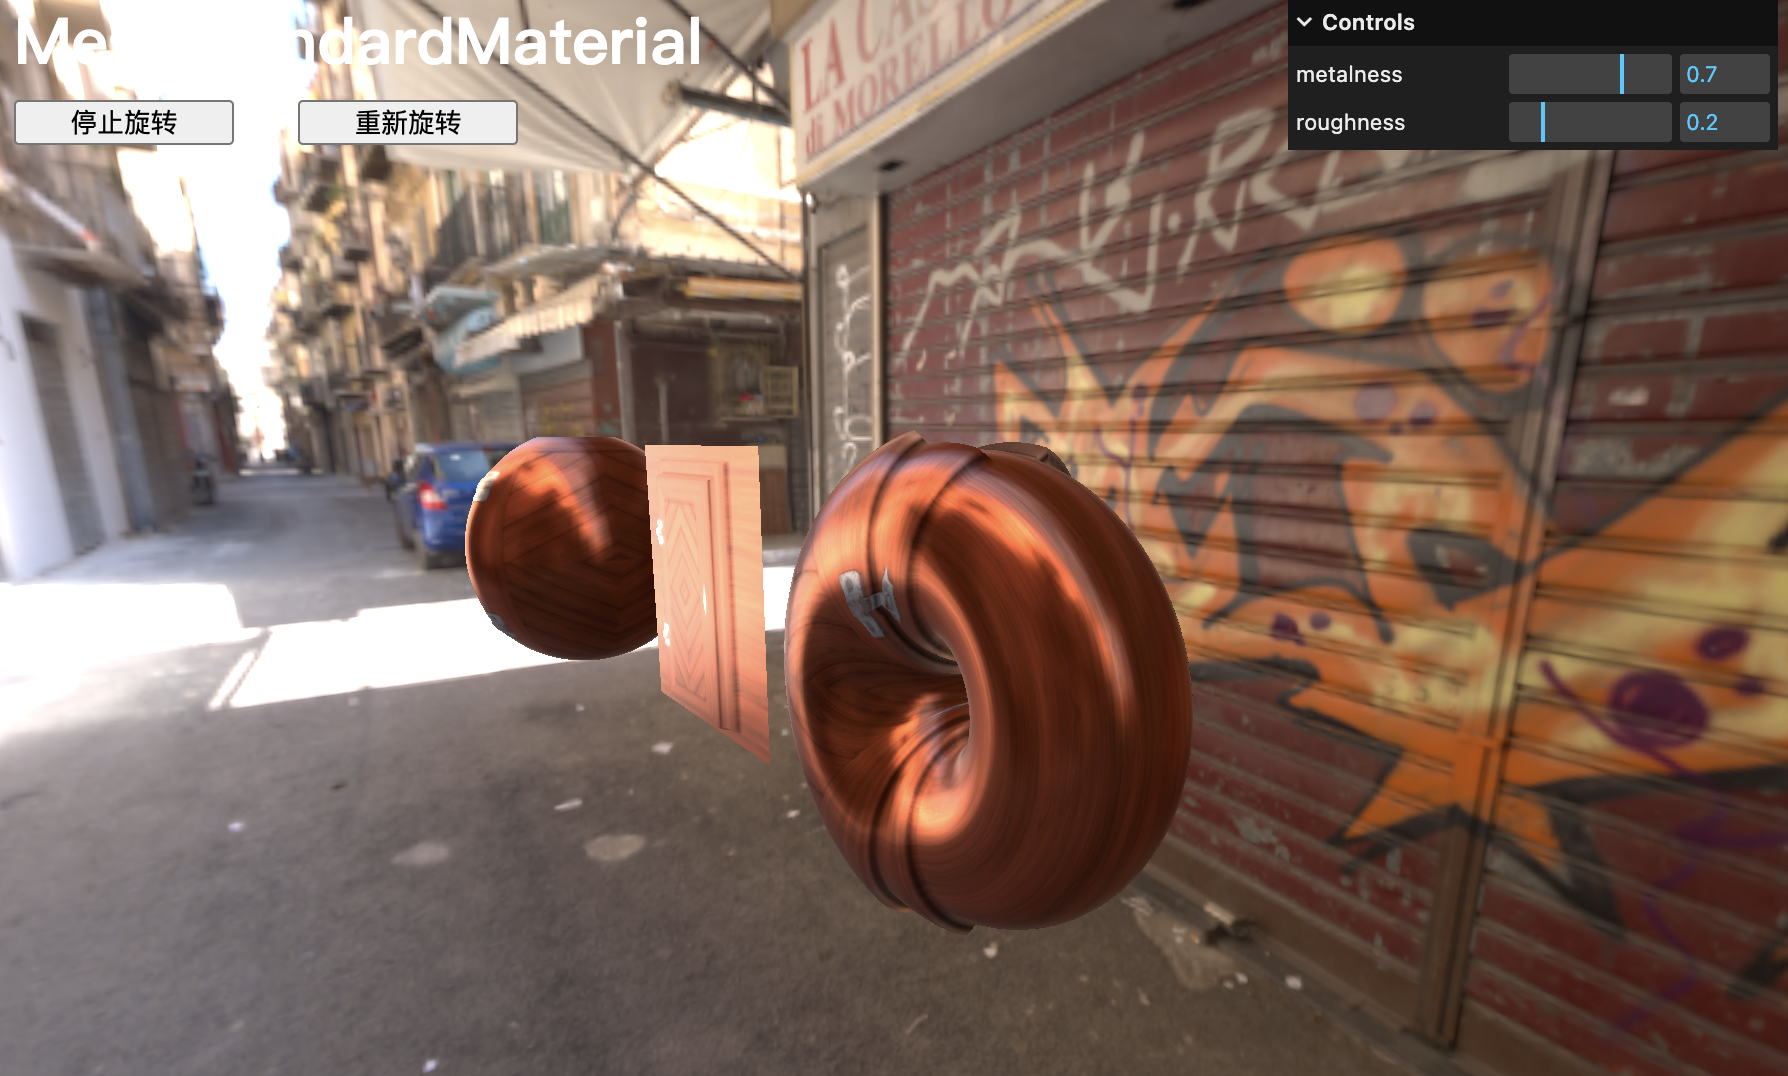
MeshStandardMaterial 的其他属性
Map
该属性允许应用一个简单的纹理:
// MeshStandardMaterial
const material = new THREE.MeshStandardMaterial()
material.metalness = 0.7
material.roughness = 0.2
material.map = doorColorTexture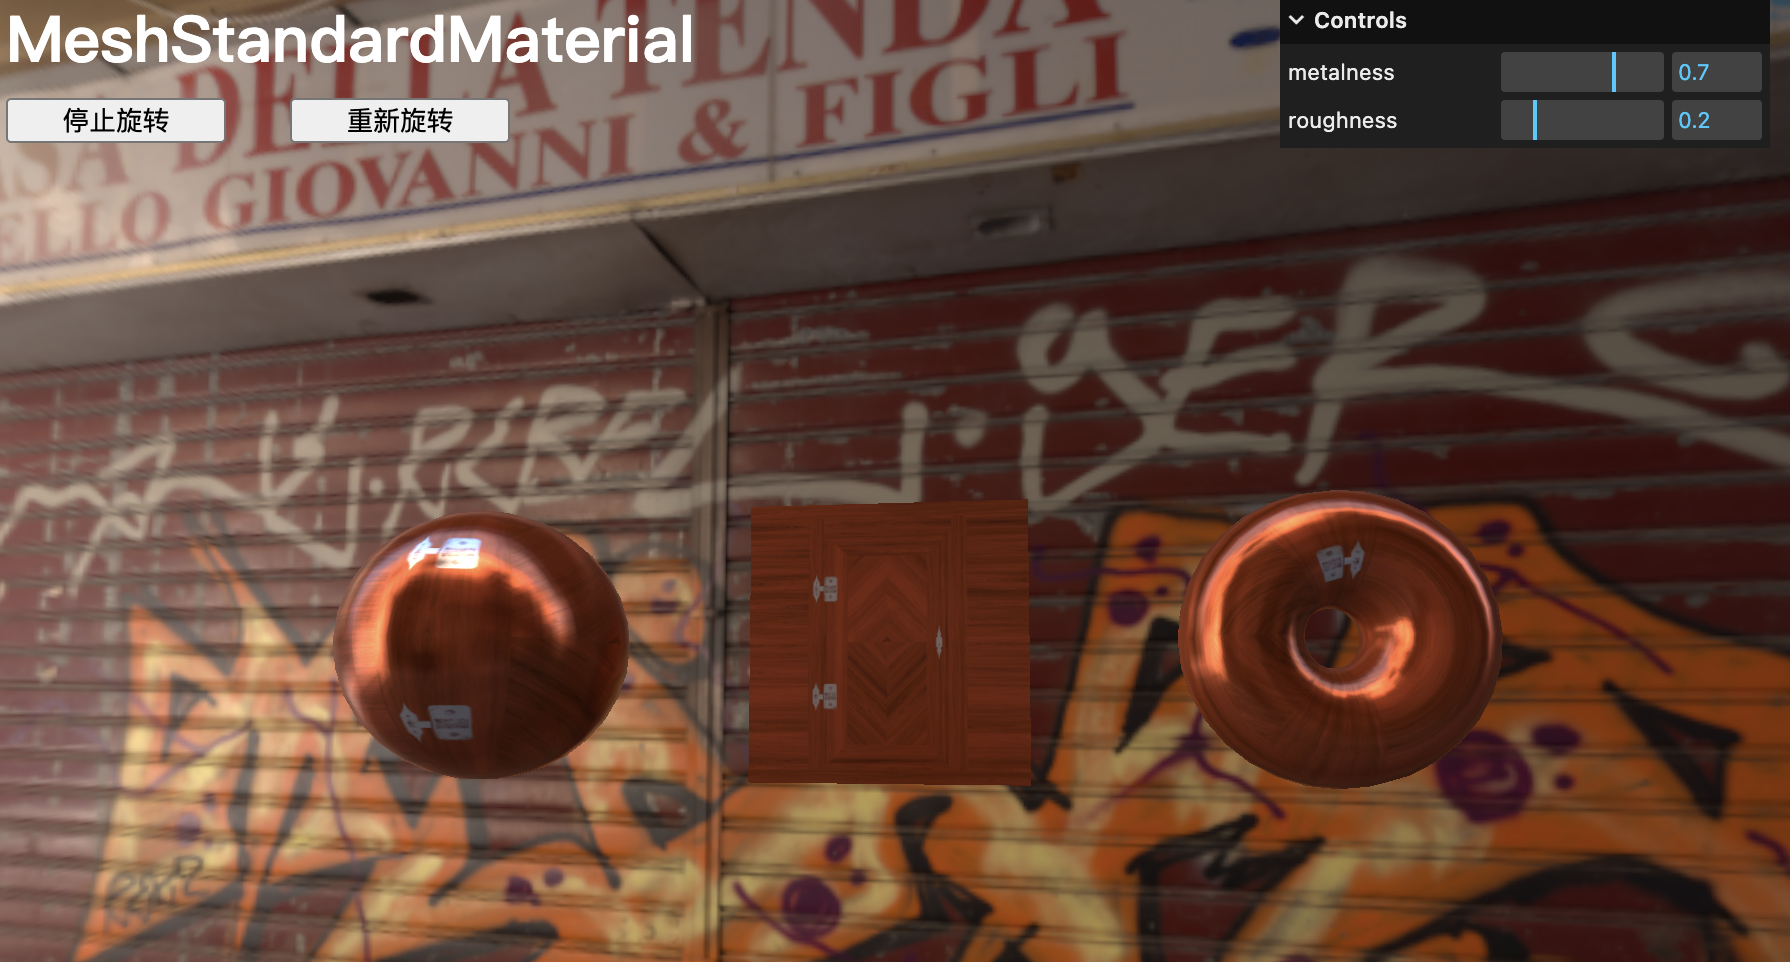
aoMap
直译为“环境遮挡图”,会在纹理较暗的地方添加阴影。
aoMap 只会影响由 AmbientLight、环境贴图以及 HemisphereLight 创建的光线。
使用 doorAmbientOcclusionTexture 纹理添加 aoMap,并通过 aoMapIntensity 属性控制其强度:
// MeshStandardMaterial
const material = new THREE.MeshStandardMaterial()
material.metalness = 0.7
material.roughness = 0.2
material.map = doorColorTexture
material.aoMap = doorAmbientOcclusionTexture
material.aoMapIntensity = 1
displacementMap
该属性会移动顶点以创建真实的浮雕效果,因为我们的几何体顶点数量不足,且浮雕效果过于强烈,现在增加几何体的细分层级,再使用 displacementScale 属性来控制这一点:
// MeshStandardMaterial
const material = new THREE.MeshStandardMaterial()
material.metalness = 0.7
material.roughness = 0.2
material.map = doorColorTexture
material.aoMap = doorAmbientOcclusionTexture
material.aoMapIntensity = 1
material.displacementMap = doorHeightTexture
material.displacementScale = 0.1// ... const sphere = new THREE.Mesh(new THREE.SphereGeometry(0.5, 64, 64),material
)const plane = new THREE.Mesh(new THREE.PlaneGeometry(1, 1, 100, 100),material
)const torus = new THREE.Mesh(new THREE.TorusGeometry(0.3, 0.2, 64, 128),material
)
metalnessMap与roughnessMap
我们不需要为整个几何体指定统一的 metalness 和 roughness,而是可以使用 metalnessMap 和 roughnessMap。
由于 metalness 和 roughness 属性仍然会影响 metalnessMap 和 roughnessMap,需要将 metalness 和 roughness 都设置为 1:
terial.metalness = 1
material.roughness = 1
material.map = doorColorTexture
material.aoMap = doorAmbientOcclusionTexture
material.aoMapIntensity = 1
material.displacementMap = doorHeightTexture
material.displacementScale = 0.1
material.metalnessMap = doorMetalnessTexture
material.roughnessMap = doorRoughnessTexture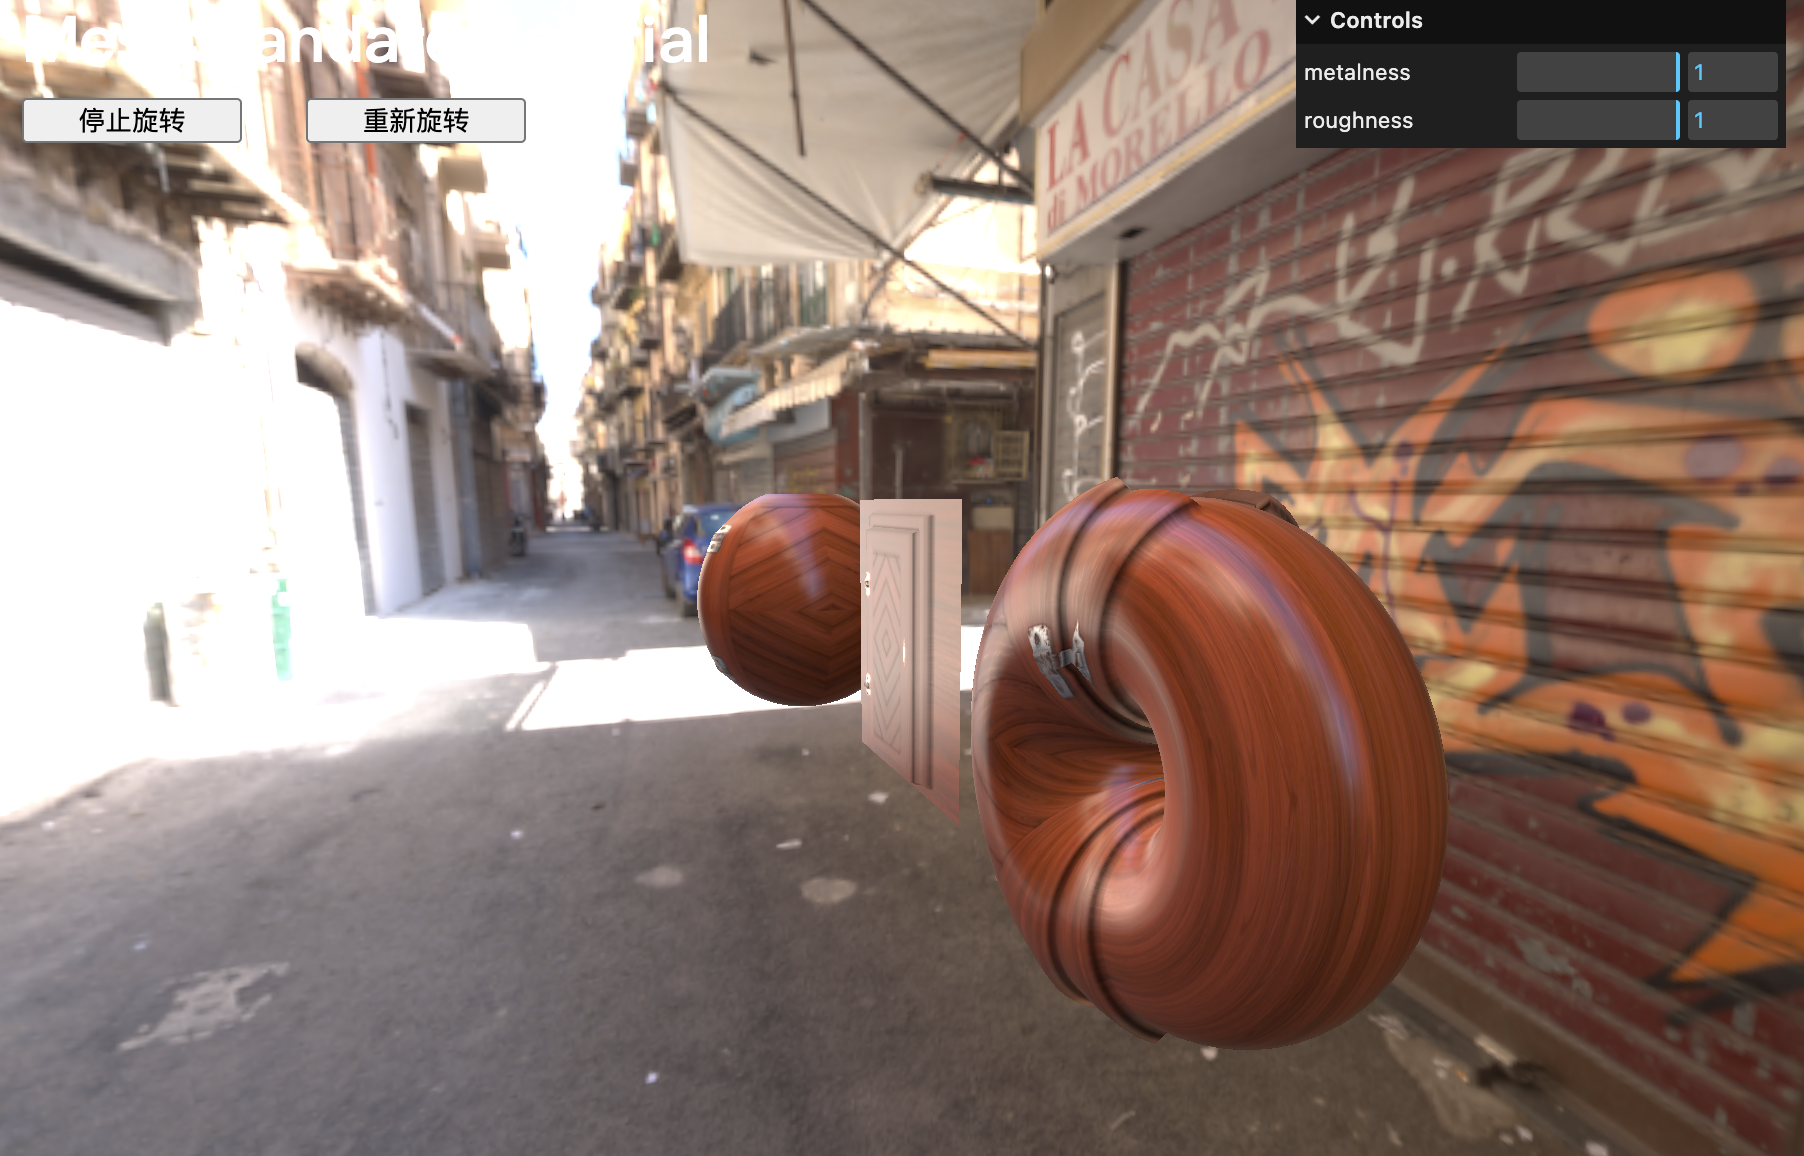
normalMap
通过 .normalMap 可以在门的金属部分增加反射效果,normalMap 将模拟法线方向并在细分无关的情况下为表面添加细节,可以使用 normalScale 属性更改法线强度。请注意,这个值是 Vector2:
// MeshStandardMaterial
const material = new THREE.MeshStandardMaterial()
material.metalness = 1
material.roughness = 1
material.map = doorColorTexture
material.aoMap = doorAmbientOcclusionTexture
material.aoMapIntensity = 1
material.displacementMap = doorHeightTexture
material.displacementScale = 0.1
material.metalnessMap = doorMetalnessTexture
material.roughnessMap = doorRoughnessTexture
material.normalMap = doorNormalTexture
material.normalScale.set(0.5, 0.5)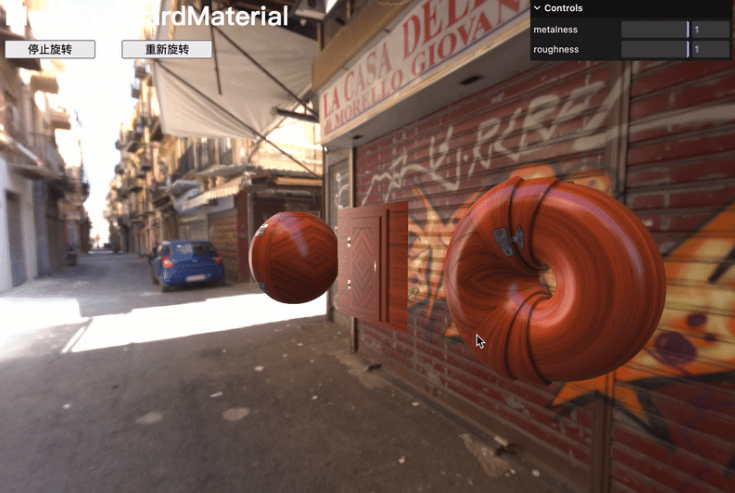
alphaMap
可以使用 alphaMap 属性来控制透明度,前提是将 transparent 属性设置为 true:
// MeshStandardMaterial
const material = new THREE.MeshStandardMaterial()
material.metalness = 1
material.roughness = 1
material.map = doorColorTexture
material.aoMap = doorAmbientOcclusionTexture
material.aoMapIntensity = 1
material.displacementMap = doorHeightTexture
material.displacementScale = 0.1
material.metalnessMap = doorMetalnessTexture
material.roughnessMap = doorRoughnessTexture
material.normalMap = doorNormalTexture
material.normalScale.set(0.5, 0.5)material.transparent = true
material.alphaMap = doorAlphaTexture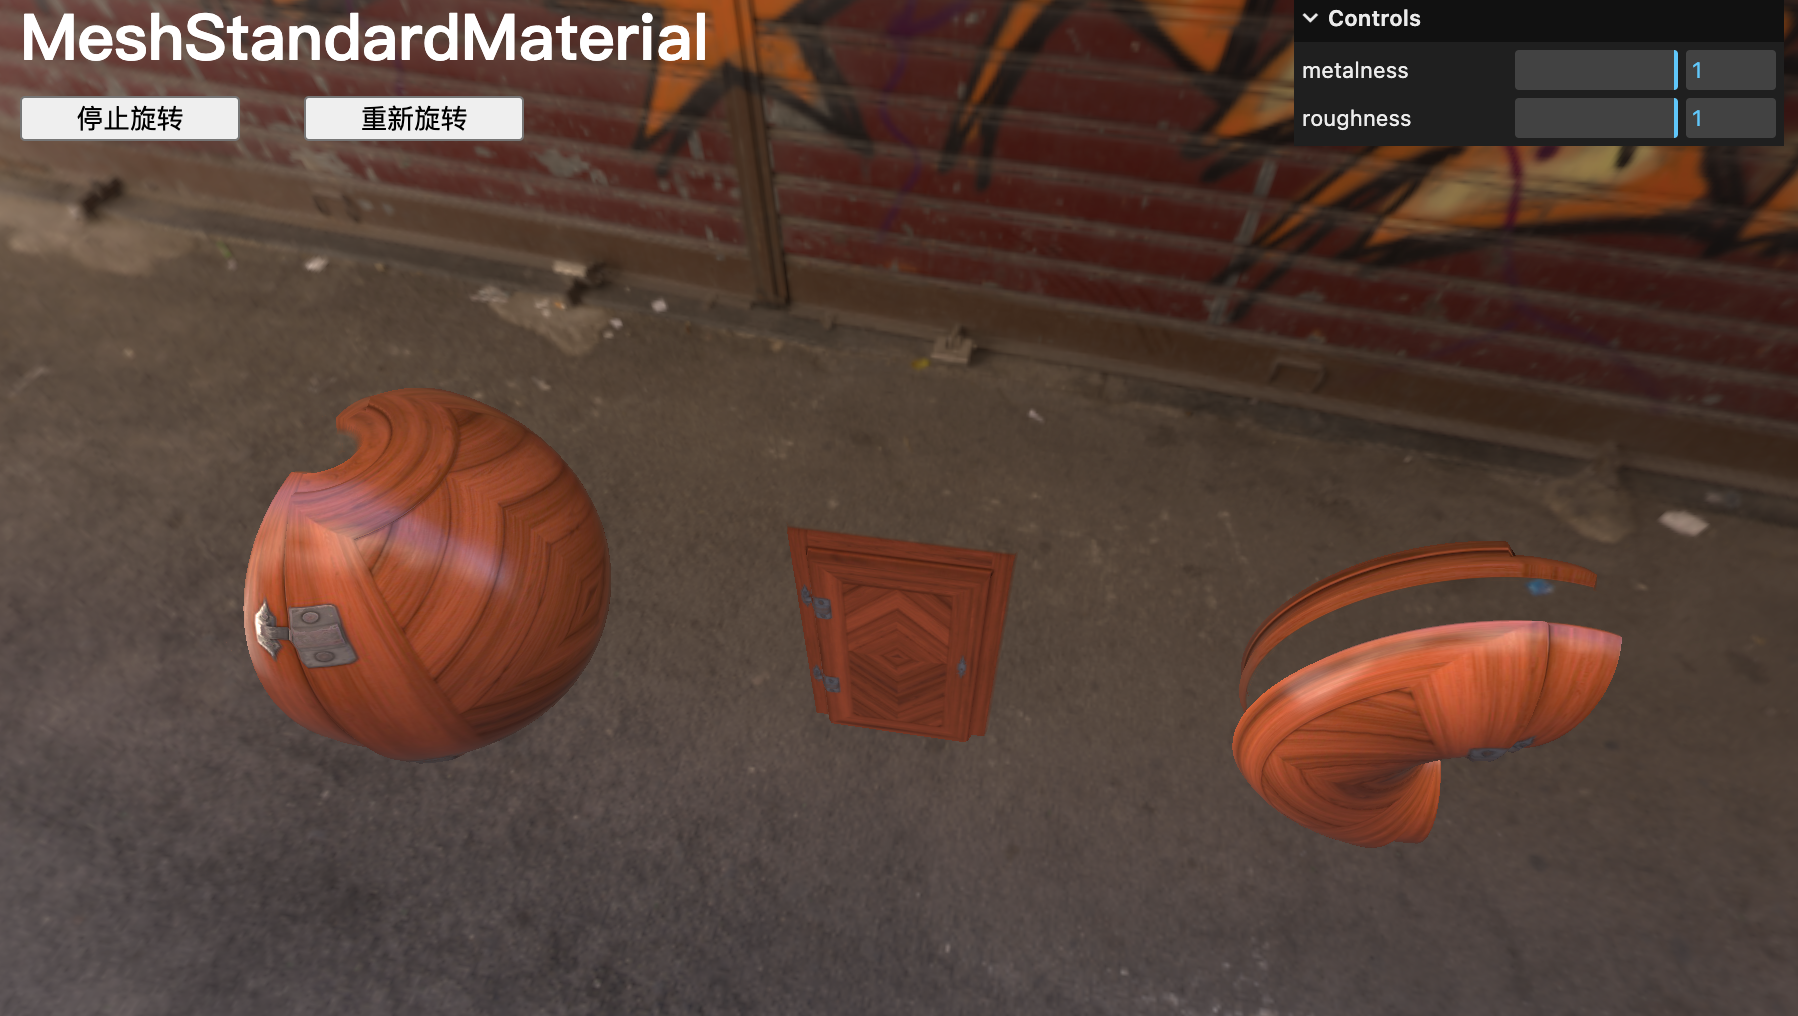
MeshPhysicalMaterial
MeshPhysicalMaterial 与 MeshStandardMaterial 类似,但支持额外的效果,如清漆、光泽、彩虹色和透射。
Clearcoat 清漆
// Clearcoat
material.clearcoat = 1
material.clearcoatRoughness = 0gui.add(material, 'clearcoat').min(0).max(1).step(0.0001)
gui.add(material, 'clearcoatRoughness').min(0).max(1).step(0.0001)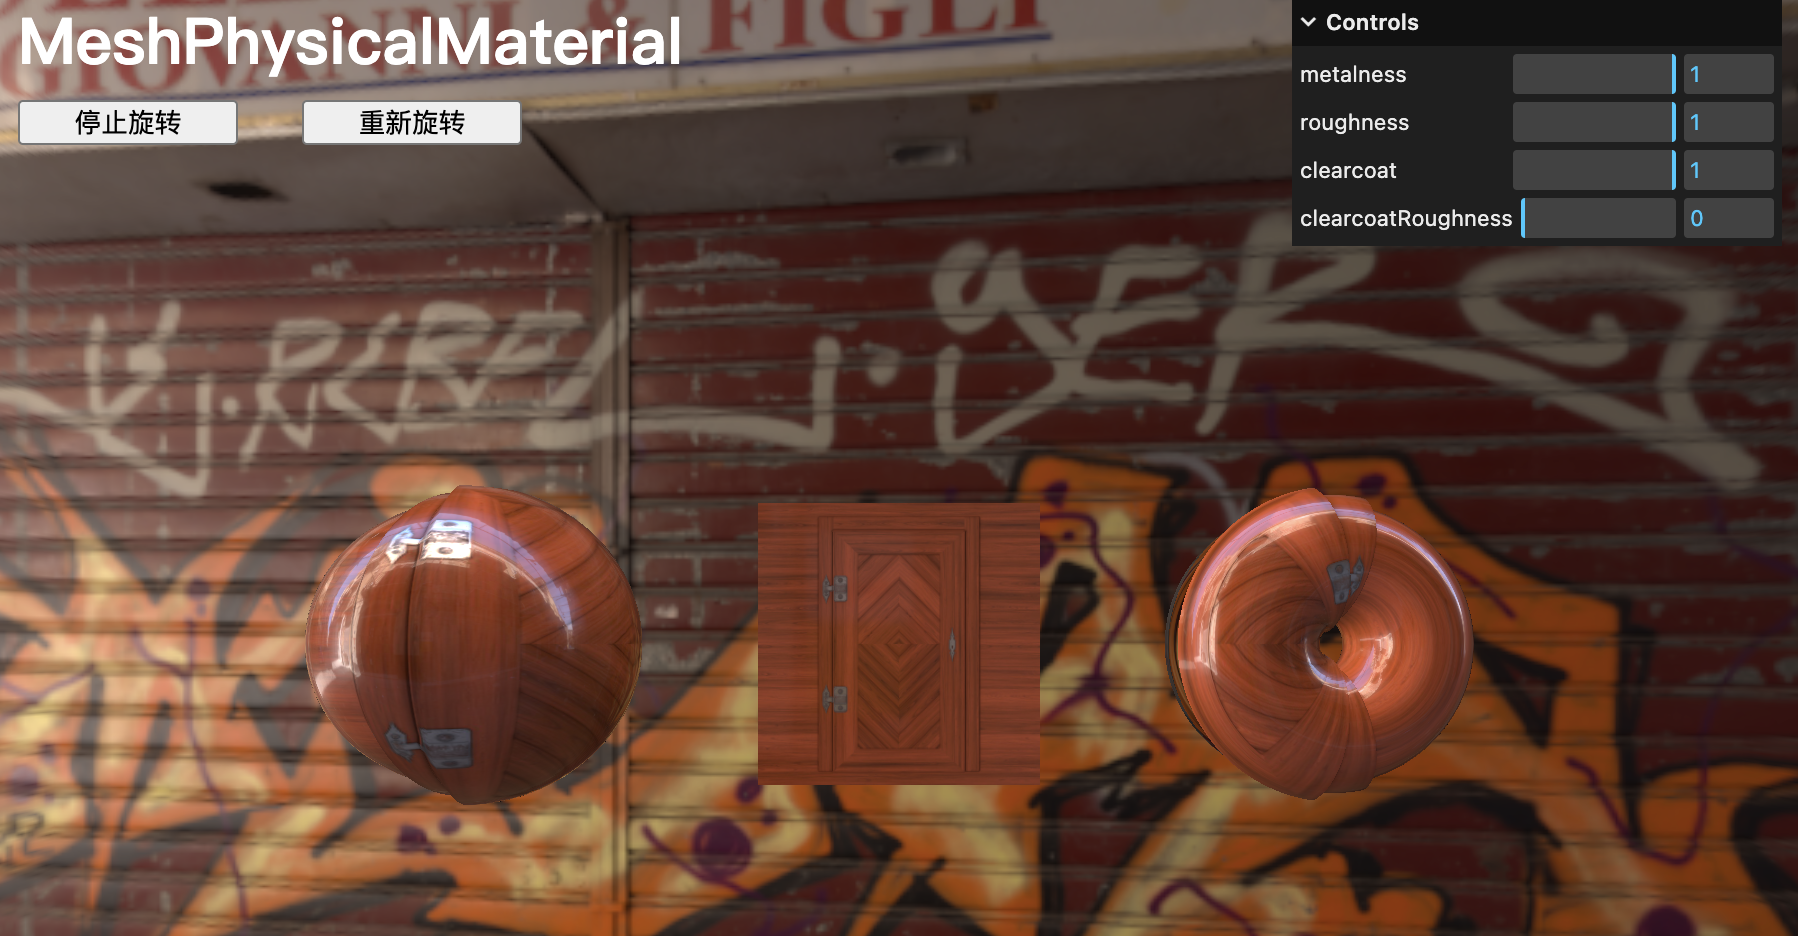
sheen 光泽度
当从狭窄的角度观察时,光泽会突出材料的质感,通常可以在像织物这样的蓬松材料上看到这种效果。
注释掉清漆部分,添加 sheen、sheenRoughness 和 sheenColor 属性及其相应的调整:
// Sheen
material.sheen = 1
material.sheenRoughness = 0.25
material.sheenColor.set(1, 1, 1)gui.add(material, 'sheen').min(0).max(1).step(0.0001)
gui.add(material, 'sheenRoughness').min(0).max(1).step(0.0001)
gui.addColor(material, 'sheenColor')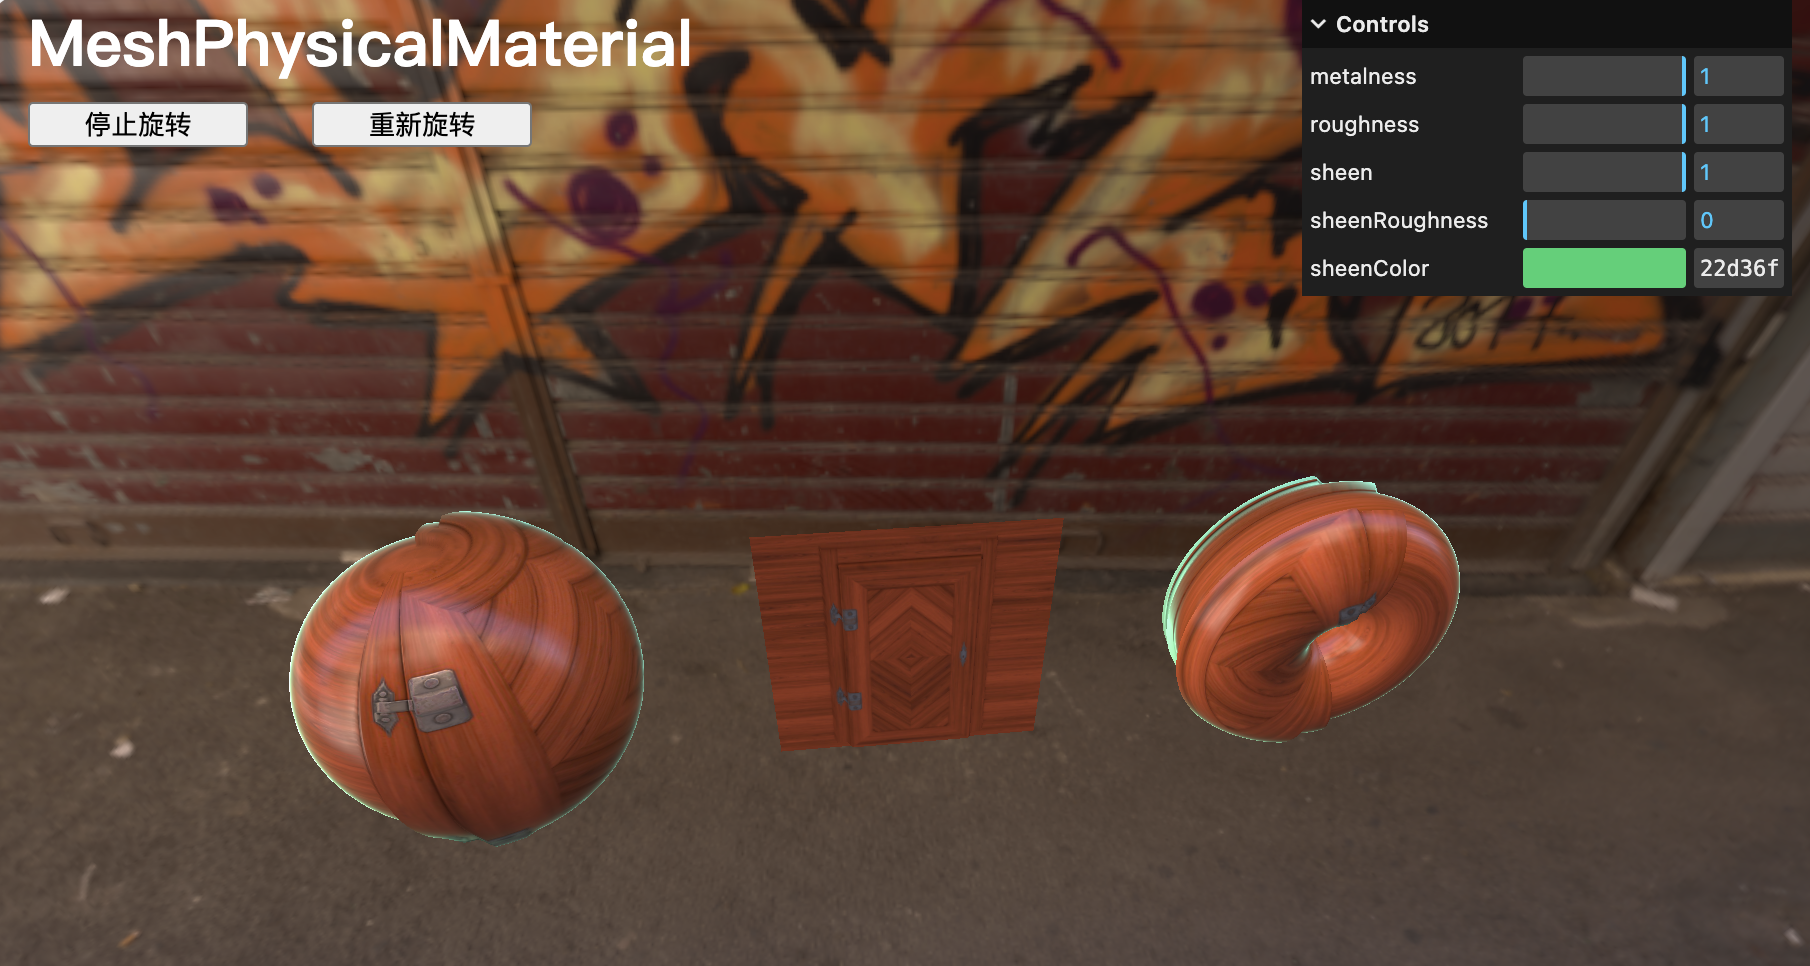
iridescence 彩虹色效果
彩虹色效果是指可以看到类似燃料油池、肥皂泡、激光影碟的效果,这些颜色的伪影。就像前两个效果一样,当从狭窄的角度观察时,光泽主要在材质上可见。
添加 iridescence、iridescenceIOR 和 iridescenceThicknessRange 属性及其相应的调整:
// Iridescence
material.iridescence = 1
material.iridescenceIOR = 1
material.iridescenceThicknessRange = [ 100, 800 ]gui.add(material, 'iridescence').min(0).max(1).step(0.0001)
gui.add(material, 'iridescenceIOR').min(1).max(2.333).step(0.0001)
gui.add(material.iridescenceThicknessRange, '0').min(1).max(1000).step(1)
gui.add(material.iridescenceThicknessRange, '1').min(1).max(1000).step(1)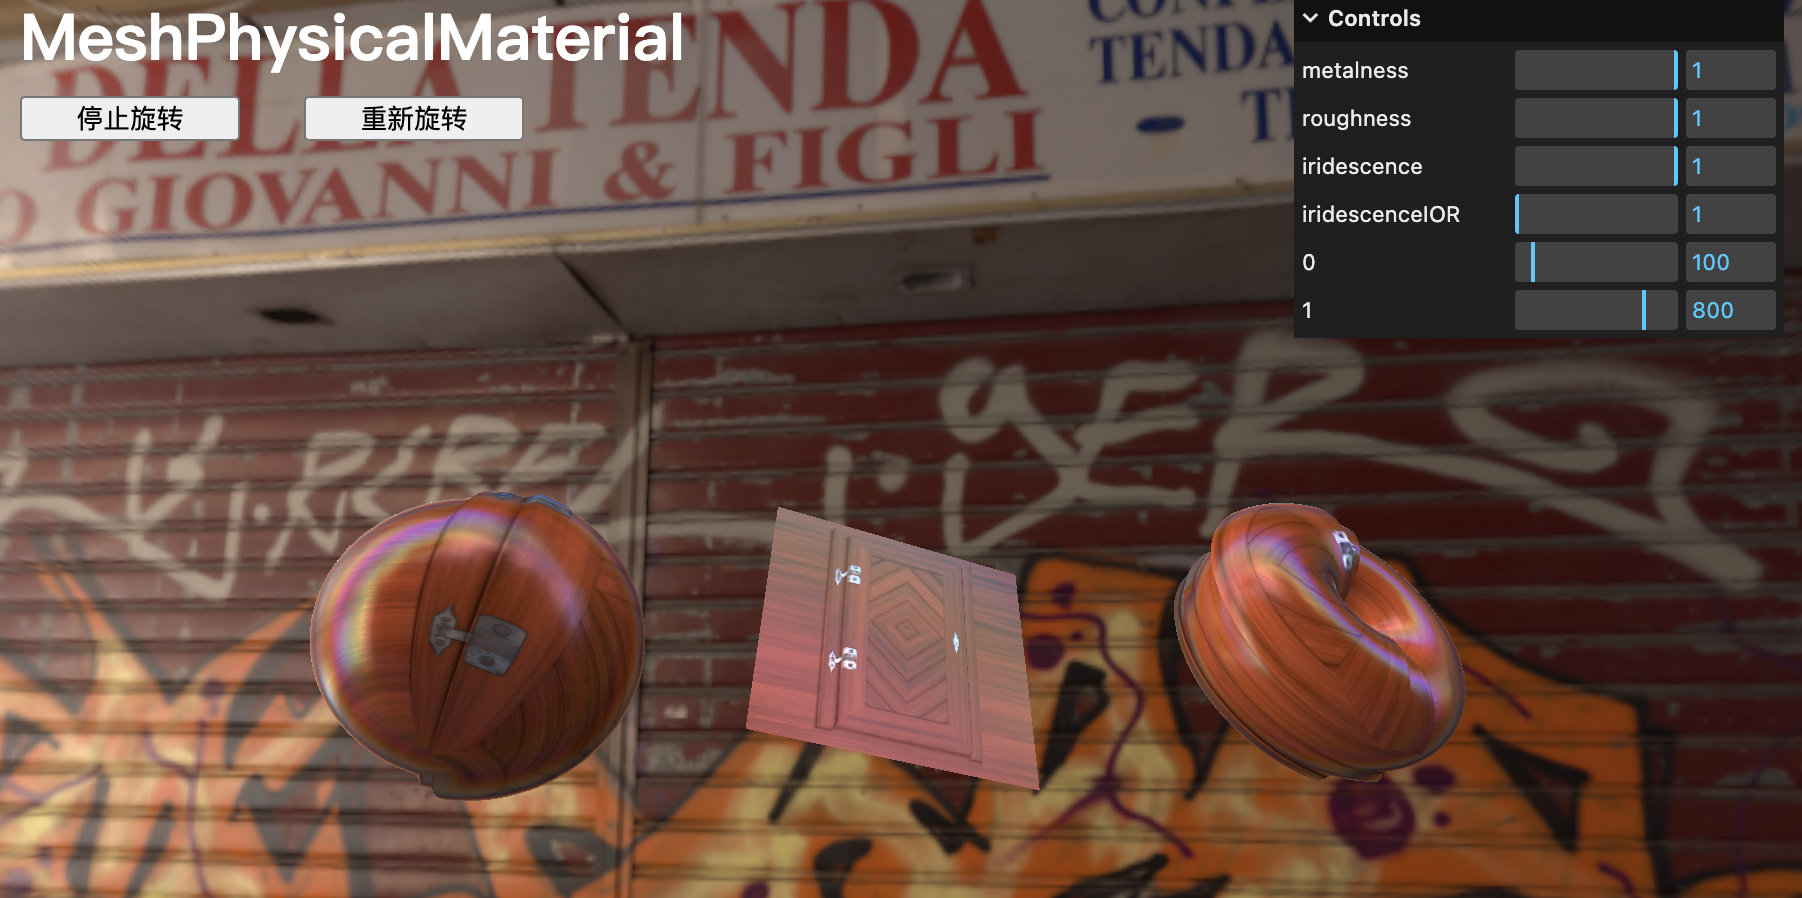
Transmission 透射
投射,传输将使光线穿过材料。这不仅仅是透明度,带有 opacity 时,因为对象后面的图像会被变形。
添加 transmission、ior 和 thickness 属性及其相应的调整:
// Transmission
material.transmission = 1
material.ior = 1.5
material.thickness = 0.5gui.add(material, 'transmission').min(0).max(1).step(0.0001)
gui.add(material, 'ior').min(1).max(10).step(0.0001)
gui.add(material, 'thickness').min(0).max(1).step(0.0001)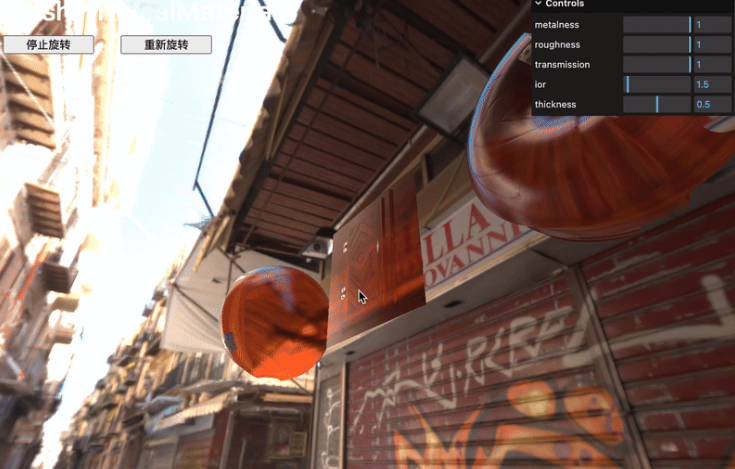
ior 表示折射率,取决于你想要模拟的材料类型。
钻石的 ior 为 2.417,水的 ior 为 1.333,而空气的 ior 为 1.000293。
厚度是一个固定值,并未考虑对象的实际厚度。
目前,很多地图干扰了我们的材质,但纯材质的透传效果非常好。
移除或注释所有地图,并将金属度 metalness 和粗糙度 roughness 设置为 0(仍然可以调整 粗糙度 并得到光泽效果):
const material = new THREE.MeshPhysicalMaterial()
material.metalness = 0
material.roughness = 0
// material.map = doorColorTexture
// material.aoMap = doorAmbientOcclusionTexture
// material.aoMapIntensity = 1
// material.displacementMap = doorHeightTexture
// material.displacementScale = 0.1
// material.metalnessMap = doorMetalnessTexture
// material.roughnessMap = doorRoughnessTexture
// material.normalMap = doorNormalTexture
// material.normalScale.set(0.5, 0.5)
// material.transparent = true
// material.alphaMap = doorAlphaTexture// Transmission
material.transmission = 1
material.ior = 1.5
material.thickness = 0.5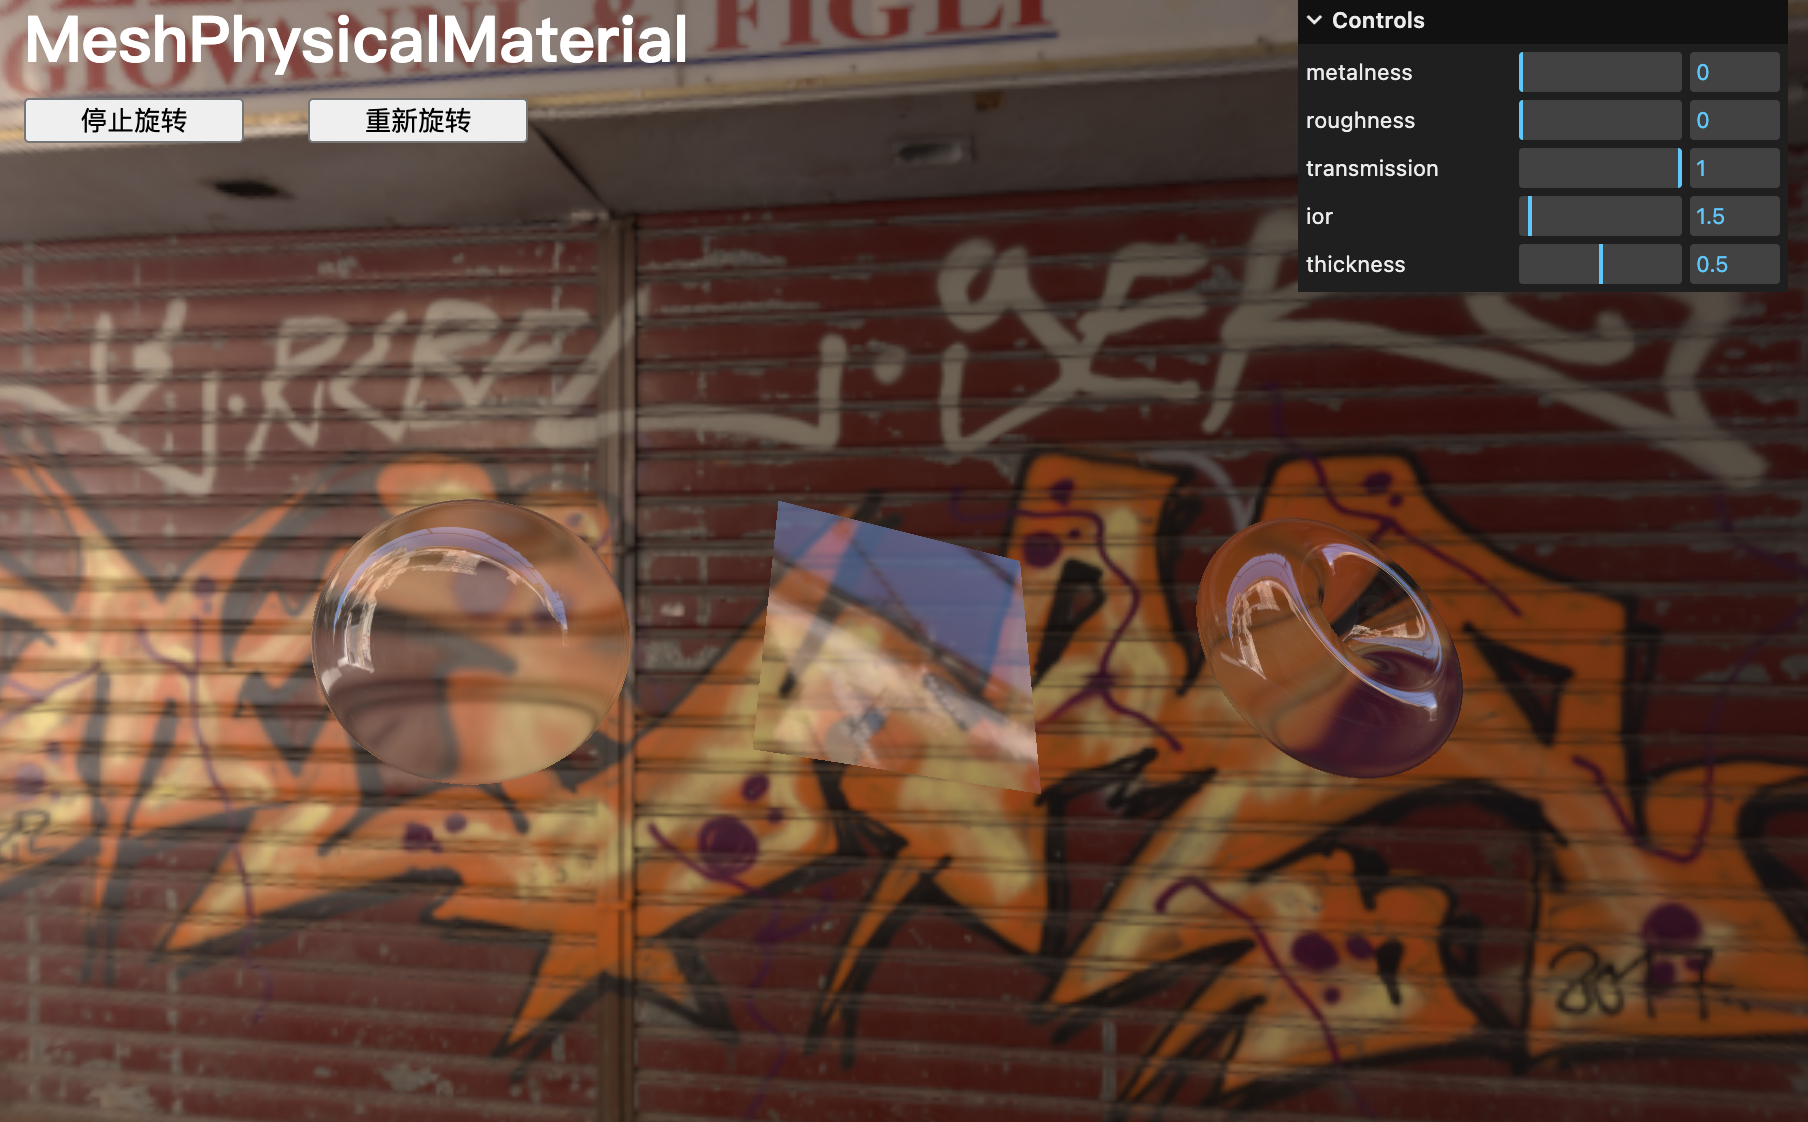
【完整代码】
// Texture Link: https://polyhaven.com/a/metal_plateimport * as THREE from 'three'
import { OrbitControls } from 'three/examples/jsm/controls/OrbitControls.js'
import { EXRLoader } from 'three/examples/jsm/loaders/EXRLoader.js';
import gsap from 'gsap'
import GUI from 'lil-gui'
// import { VertexNormalsHelper } from 'three/examples/jsm/helpers/VertexNormalsHelper.js';
import { RGBELoader } from 'three/examples/jsm/loaders/RGBELoader.js'
// const mesh = new THREE.Mesh(geometry, material);/*** Debug*/
const gui = new GUI()// Canvas
const canvas = document.querySelector('canvas.webgl')// Scene
const scene = new THREE.Scene()/*** Textures*/
const textureLoader = new THREE.TextureLoader()// doorColorTexture,作为 `map` 和 `matcap` 使用的纹理应该以 `sRGB` 编码
const doorColorTexture = textureLoader.load('./textures/door/color.jpg')
const doorAlphaTexture = textureLoader.load('./textures/door/alpha.jpg')
const doorAmbientOcclusionTexture = textureLoader.load('./textures/door/ambientOcclusion.jpg')
const doorHeightTexture = textureLoader.load('./textures/door/height.jpg')
const doorNormalTexture = textureLoader.load('./textures/door/normal.jpg')
const doorMetalnessTexture = textureLoader.load('./textures/door/metalness.jpg')
const doorRoughnessTexture = textureLoader.load('./textures/door/roughness.jpg')
// matcapTexture,作为 `map` 和 `matcap` 使用的纹理应该以 `sRGB` 编码
const matcapTexture = textureLoader.load('./textures/matcaps/3.png')
const gradientTexture = textureLoader.load('./textures/gradients/5.jpg')doorColorTexture.colorSpace = THREE.SRGBColorSpace
matcapTexture.colorSpace = THREE.SRGBColorSpace/*** Object*/// MashBasicMaterial
// 方式一
// const material = new THREE.MeshBasicMaterial({ map: doorColorTexture })// 方式二
// const material = new THREE.MeshBasicMaterial()
// `map` 属性将在几何体表面应用纹理
// material.map = textures.diffTexture// `color` 属性将在几何体表面应用统一颜色
// material.color = new THREE.Color('#f00')// 线框模式
// material.wireframe = true// 透明度
// material.transparent = true
// material.opacity = 0.5
// 现在透明效果已经生效,可以使用 alphaMap 属性通过纹理来控制透明度
// material.alphaMap = doorAlphaTexture // 此处代码没有 alpha 材质// Side 可决定哪些面可见,THREE.FrontSide 正面可见,THREE.BackSide 背面, THREE.DoubleSide 两面皆可
// 【注意】尽量避免在渲染时使用 THREE.DoubleSide,因为即使这个面不可见,它实际上也会消耗更多的资源
// material.side = THREE.DoubleSide// MeshNormalMaterial
// const material = new THREE.MeshNormalMaterial()
// material.flatShading = true// MeshNormalMaterial 可以使用 MeshBasicMaterial 中的一些属性,比如 `wireframe`、`transparent`、`opacity` 和 `side`
// `flatShading` 会使面变得平坦,这意味着法线不会在顶点之间进行插值
// material.flatShading = true// MeshMatcapMaterial
// const material = new THREE.MeshMatcapMaterial()
// material.matcap = matcapTexture// MeshMatcapMaterial
// const material = new THREE.MeshMatcapMaterial()
// // 材质会根据法线相对于相机的方向从纹理中选择颜色
// material.matcap = matcapTexture// MeshDepthMaterial
// const material = new THREE.MeshDepthMaterial()// MeshLambertMaterial
// const material = new THREE.MeshLambertMaterial()// MeshPhongMaterial
// const material = new THREE.MeshPhongMaterial()
// material.shininess = 100
// material.specular = new THREE.Color(0x1188ff)// MeshToonMaterial
// const material = new THREE.MeshToonMaterial()
// gradientTexture.minFilter = THREE.NearestFilter
// gradientTexture.magFilter = THREE.NearestFilter
// gradientTexture.generateMipmaps = false
// material.gradientMap = gradientTexture// MeshStandardMaterial
// const material = new THREE.MeshStandardMaterial()
// material.metalness = 1
// material.roughness = 1
// material.map = doorColorTexture
// material.aoMap = doorAmbientOcclusionTexture
// material.aoMapIntensity = 1
// material.displacementMap = doorHeightTexture
// material.displacementScale = 0.1
// material.metalnessMap = doorMetalnessTexture
// material.roughnessMap = doorRoughnessTexture
// material.normalMap = doorNormalTexture
// material.normalScale.set(0.5, 0.5)// material.transparent = true
// material.alphaMap = doorAlphaTexture/*** MeshPhysicalMaterial*/
// Base material
const material = new THREE.MeshPhysicalMaterial()
material.metalness = 0
material.roughness = 0
// material.map = doorColorTexture
// material.aoMap = doorAmbientOcclusionTexture
// material.aoMapIntensity = 1
// material.displacementMap = doorHeightTexture
// material.displacementScale = 0.1
// material.metalnessMap = doorMetalnessTexture
// material.roughnessMap = doorRoughnessTexture
// material.normalMap = doorNormalTexture
// material.normalScale.set(0.5, 0.5)gui.add(material, 'metalness').min(0).max(1).step(0.0001)
gui.add(material, 'roughness').min(0).max(1).step(0.0001)// Clearcoat
// material.clearcoat = 1
// material.clearcoatRoughness = 0// gui.add(material, 'clearcoat').min(0).max(1).step(0.0001)
// gui.add(material, 'clearcoatRoughness').min(0).max(1).step(0.0001)// Sheen
// material.sheen = 1
// material.sheenRoughness = 0.25
// material.sheenColor.set(1, 1, 1)// gui.add(material, 'sheen').min(0).max(1).step(0.0001)
// gui.add(material, 'sheenRoughness').min(0).max(1).step(0.0001)
// gui.addColor(material, 'sheenColor')// Iridescence
// material.iridescence = 1
// material.iridescenceIOR = 1
// material.iridescenceThicknessRange = [ 100, 800 ]// gui.add(material, 'iridescence').min(0).max(1).step(0.0001)
// gui.add(material, 'iridescenceIOR').min(1).max(2.333).step(0.0001)
// gui.add(material.iridescenceThicknessRange, '0').min(1).max(1000).step(1)
// gui.add(material.iridescenceThicknessRange, '1').min(1).max(1000).step(1)// Transmission
// material.transmission = 1
// material.ior = 1.5
// material.thickness = 0.5// gui.add(material, 'transmission').min(0).max(1).step(0.0001)
// gui.add(material, 'ior').min(1).max(10).step(0.0001)
// gui.add(material, 'thickness').min(0).max(1).step(0.0001)/*** Environment map*/
const rgbeLoader = new RGBELoader()
rgbeLoader.load('./textures/environmentMap/2k.hdr', (environmentMap) =>
{environmentMap.mapping = THREE.EquirectangularReflectionMappingscene.background = environmentMapscene.environment = environmentMap
})const sphere = new THREE.Mesh(new THREE.SphereGeometry(0.5, 64, 64),material
)const plane = new THREE.Mesh(new THREE.PlaneGeometry(1, 1, 100, 100),material
)const torus = new THREE.Mesh(new THREE.TorusGeometry(0.3, 0.2, 64, 128),material
)sphere.position.x = -1.5
torus.position.x = 1.5scene.add(sphere, plane, torus)// const normalsHelper1 = new VertexNormalsHelper(sphere, 1, 0xff0000);
// const normalsHelper2 = new VertexNormalsHelper(plane, 1, 0xff0000);
// const normalsHelper3 = new VertexNormalsHelper(torus, 1, 0xff0000);
// scene.add(normalsHelper1,normalsHelper2,normalsHelper3);/*** Lights*/
// const ambientLight = new THREE.AmbientLight(0xffffff, 1)
// scene.add(ambientLight)// const pointLight = new THREE.PointLight(0xffffff, 30)
// pointLight.position.x = 2
// pointLight.position.y = 3
// pointLight.position.z = 4
// scene.add(pointLight)/*** Sizes*/
const sizes = {width: window.innerWidth,height: window.innerHeight
}/*** Camera*/// 自定义控制
const camera = new THREE.PerspectiveCamera(75, sizes.width / sizes.height, 1, 1000)
camera.position.z = 3
scene.add(camera)/*** Controls*/
const controls = new OrbitControls(camera, canvas)
controls.enableDamping = true/*** Renderer*/
const renderer = new THREE.WebGLRenderer({canvas: canvas
})
renderer.setSize(sizes.width, sizes.height)
renderer.setPixelRatio(Math.min(window.devicePixelRatio, 2))
renderer.render(scene, camera)/*** Animate*/
const clock = new THREE.Clock()
let isRotate = true
let pauseTime = 0 // 记录暂停时的时间
let totalPausedTime = 0 // 记录总共暂停的时间const tick = () => {let elapsedTimeif (isRotate) {// 如果是恢复旋转,调整时间计算elapsedTime = clock.getElapsedTime() - totalPausedTime// update objectsphere.rotation.y = 0.1 * elapsedTimeplane.rotation.y = 0.1 * elapsedTimetorus.rotation.y = 0.1 * elapsedTimesphere.rotation.x = -0.15 * elapsedTimeplane.rotation.x = -0.15 * elapsedTimetorus.rotation.x = -0.15 * elapsedTime} else {// 如果是第一次暂停,记录暂停时间if (pauseTime === 0) {pauseTime = clock.getElapsedTime()}// 保持对象旋转为0sphere.rotation.y = 0plane.rotation.y = 0torus.rotation.y = 0sphere.rotation.x = 0plane.rotation.x = 0torus.rotation.x = 0}// Update controlscontrols.update()renderer.render(scene, camera)window.requestAnimationFrame(tick)
}
tick()window.addEventListener('resize', () => {// 1. 更新 sizessizes.width = window.innerWidthsizes.height = window.innerHeight// 2.1 更新 camera aspect 纵横比camera.aspect = sizes.width / sizes.height// 2.2 更新 aspect 时要配合更新投影矩阵 updateProjectionMatrixcamera.updateProjectionMatrix()// 3. 更新 rendererrenderer.setSize(sizes.width, sizes.height)renderer.setPixelRatio(Math.min(window.devicePixelRatio, 2))})window.addEventListener('dblclick', () => {// 注释原来的双击全屏if (!document.fullscreenElement) {canvas.requestFullscreen();} else {document.exitFullscreen();}})// 生成页面大标题
let labelIndex = 8
const headerArr = ['MashBasicMaterial', 'MeshNormalMaterial', 'MeshMatcapMaterial', 'MeshDepthMaterial', 'MeshLambertMaterial', 'MeshPhongMaterial', 'MeshToonMaterial', 'MeshStandardMaterial', 'MeshPhysicalMaterial']
const headerHTML = `
<div class="action-buttons" style="position: absolute; left: 16px;">${headerArr.map((label, index) => {if (labelIndex == index) {return `<h1 class="action-btn" style="color: #fff;">${label}</h1>`}
}
).join('')}
</div>
`;
// 添加到文档
document.body.insertAdjacentHTML('beforeend', headerHTML);// 生成按钮,控制切换const buttonLabels = ['停止旋转', '重新旋转',]
const buttonsHTML = `
<div class="action-buttons" style="position: absolute; top: 36px;">${buttonLabels.map(label =>`<button class="action-btn" style="width: 110px; margin: 16px; cursor: pointer;">${label}</button>`
).join('')}
</div>
`;
// 添加到文档
document.body.insertAdjacentHTML('beforeend', buttonsHTML);// 生成按钮,控制切换 END// 为按钮添加事件
document.querySelectorAll('.action-btn').forEach(btn => {btn.addEventListener('click', function () {// 停止旋转 if (this.textContent == '停止旋转') {if (isRotate) {// 暂停时记录当前时间pauseTime = clock.getElapsedTime() // 如果重新开始旋转,这个变量就用不上isRotate = !isRotate}}// 旋转 if (this.textContent == '重新旋转') {if (!isRotate) {// 恢复时计算总共暂停的时间// totalPausedTime += clock.getElapsedTime() - pauseTime // 从上次旋转结束的位置开始totalPausedTime = clock.getElapsedTime() // 重新开始旋转pauseTime = 0  // 如果重新开始旋转,这个变量就用不上isRotate = !isRotate}}});
});
项目创建参考
01-three.js vite基础示例_three.js示例-CSDN博客文章浏览阅读400次。three.js 基本示例代码_three.js示例https://blog.csdn.net/gaowxx/article/details/147954918?spm=1001.2014.3001.5501

![[BrowserOS] Nxtscape浏览器核心 | 浏览器状态管理 | 浏览器交互层](http://pic.xiahunao.cn/[BrowserOS] Nxtscape浏览器核心 | 浏览器状态管理 | 浏览器交互层)


)


—— 多元素控件)

)


:AI辅助的质检与交付)

