在iOS中,最常见的网络请求方式是NSURLSession,它是苹果推荐的现代API,简单安全且易于拓展。
一次完整的网络请求流程:
构造 NSURL 对象
创建 NSURLSessionDataTask
发起请求(resume)
在回调中解析数据
回到主线程更新 UI
下面,我们用一个简单的程序来试一下。
NSString *city = @"Beijing";
NSString *apiKey = @"你的API密钥";
NSString *urlString = [NSString stringWithFormat:@"https://api.weatherapi.com/v1/current.json?key=%@&q=%@&lang=zh", apiKey, city];
urlString = [urlString stringByAddingPercentEncodingWithAllowedCharacters:[NSCharacterSet URLQueryAllowedCharacterSet]];NSURL *url = [NSURL URLWithString:urlString];
NSURLSessionDataTask *task = [[NSURLSession sharedSession] dataTaskWithURL:url completionHandler:^(NSData *data, NSURLResponse *response, NSError *error) {if (error) {NSLog(@"请求失败:%@", error.localizedDescription);return;}NSDictionary *json = [NSJSONSerialization JSONObjectWithData:data options:0 error:nil];NSLog(@"天气数据:%@", json);dispatch_async(dispatch_get_main_queue(), ^{// 更新 UI});
}];
[task resume];
首页
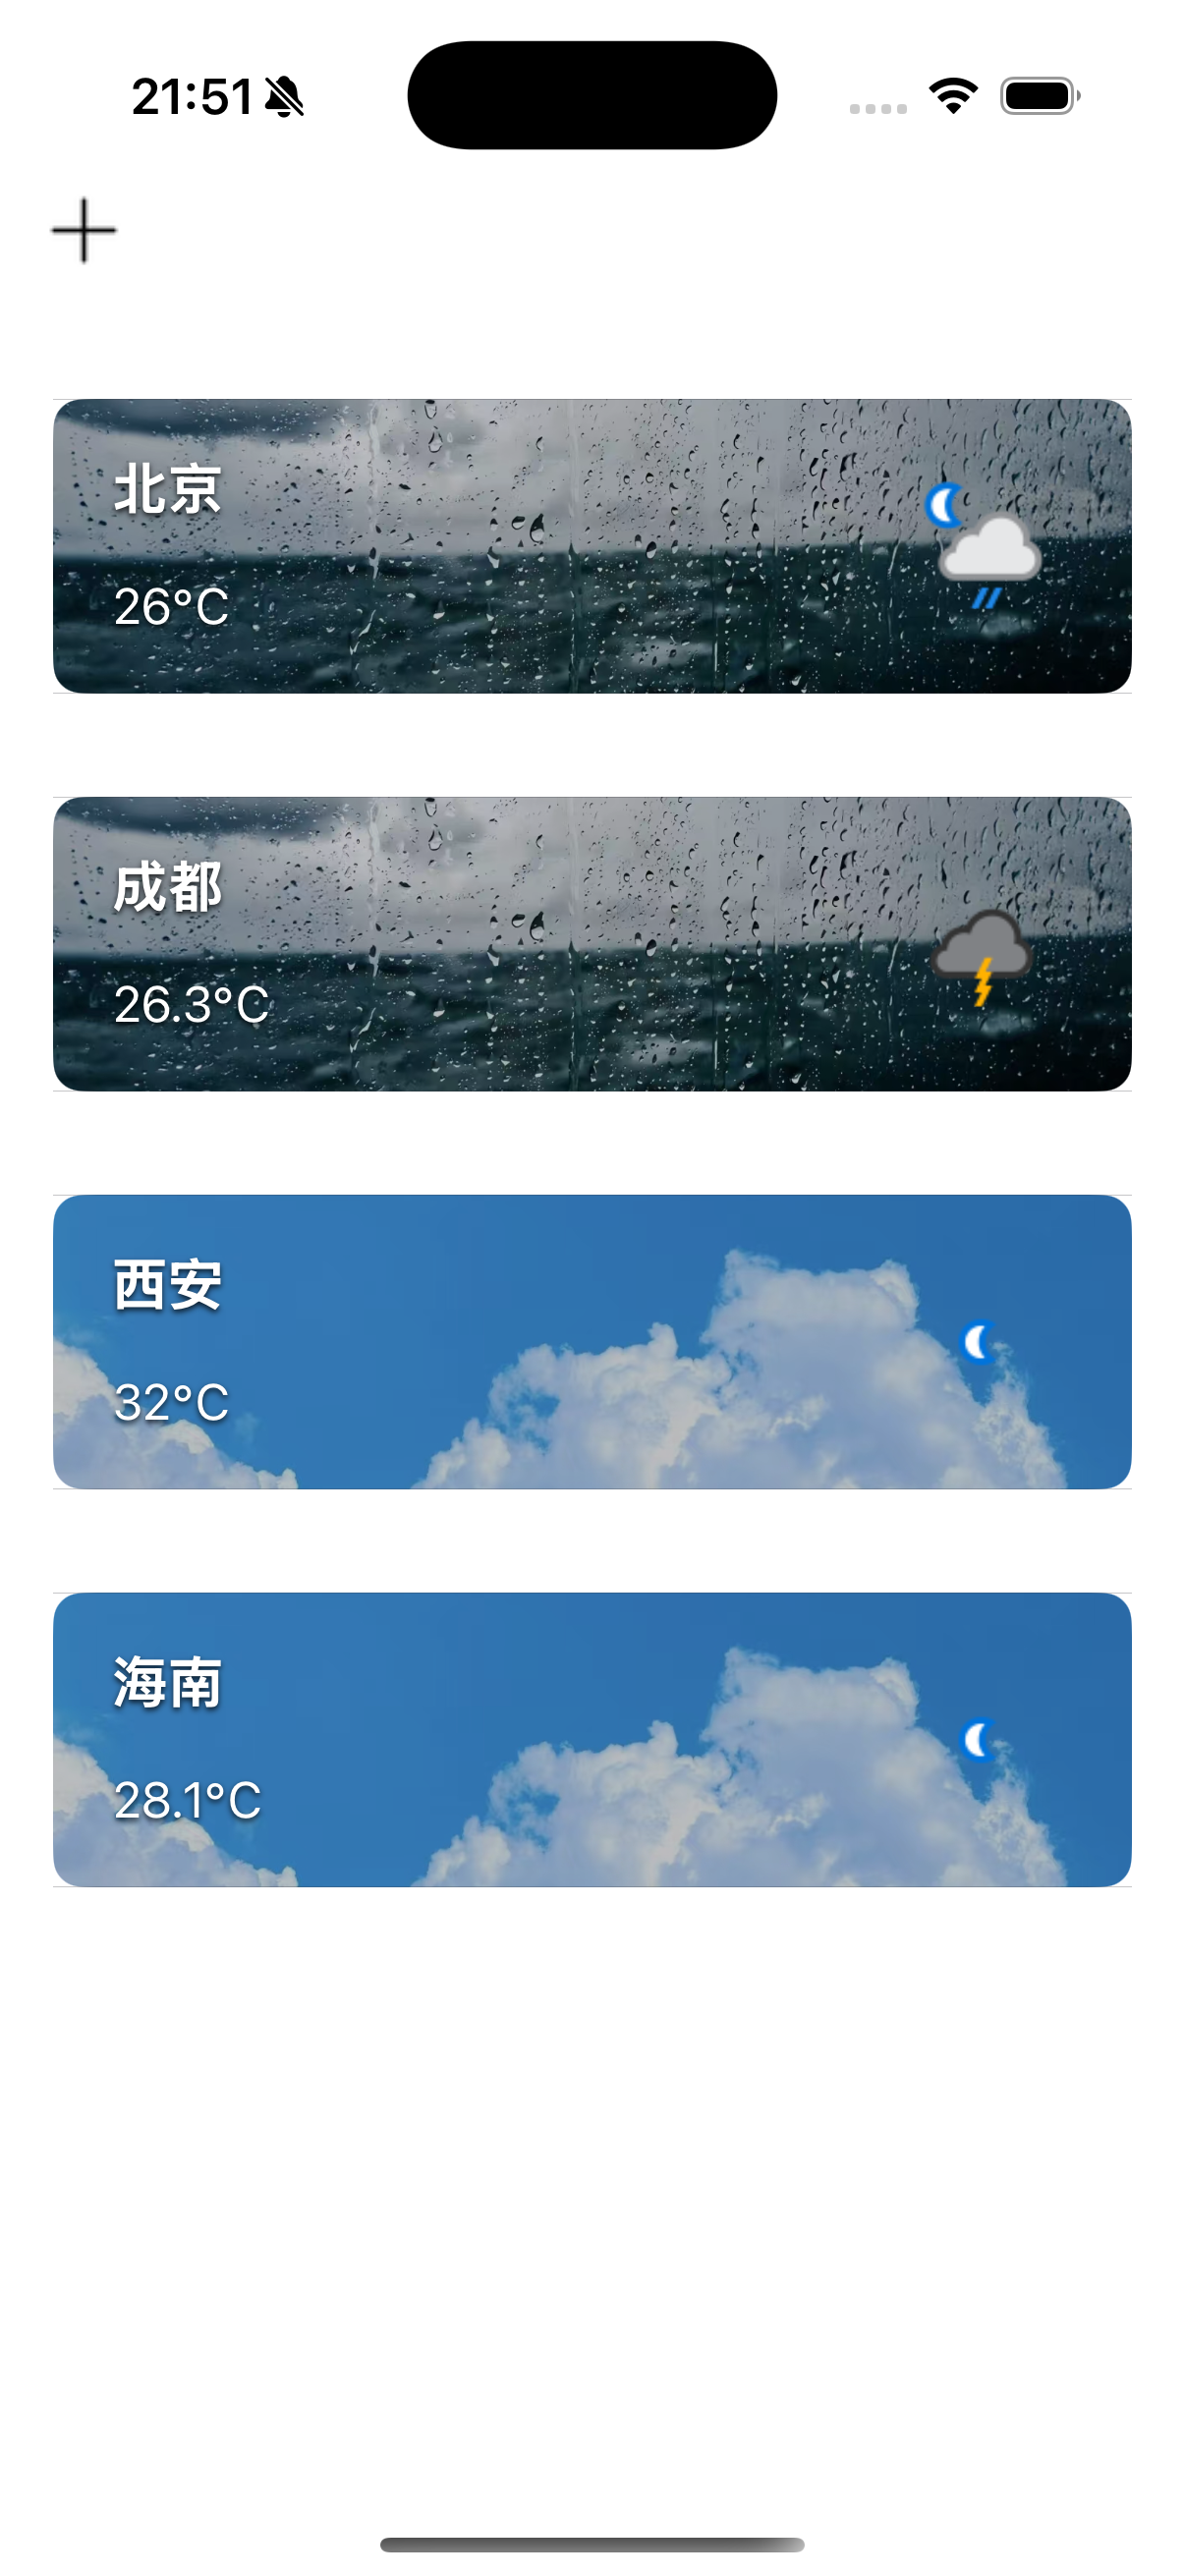
[[NSNotificationCenter defaultCenter] addObserver:selfselector:@selector(handleAddCityNotification:)name:@"AddNewCityNotification"object:nil];[[NSNotificationCenter defaultCenter] addObserver:selfselector:@selector(handleDeleteCityNotification:)name:@"DeleteCityNotification"object:nil];接收两个通知,一个是搜索页面的城市,另一个是详情页面的删除指令。
-(void) handleAddCityNotification:(NSNotification *)notification {NSDictionary *userInfo = [notification userInfo];NSString *newCity = userInfo[@"cityName"];BOOL exists = NO;for (NSDictionary *city in self.cityData) {if ([city[@"name"] isEqualToString:newCity]) {exists = YES;break;}}if (!exists) {[self.cityData addObject:@{@"name": newCity}];[self createUrl];}
}- (void)handleDeleteCityNotification:(NSNotification *)notification {NSDictionary *userInfo = [notification userInfo];NSString *cityName = userInfo[@"cityName"];// 从城市列表中删除该城市NSMutableArray *citiesToRemove = [NSMutableArray array];for (NSDictionary *city in self.cityData) {if ([city[@"name"] isEqualToString:cityName]) {[citiesToRemove addObject:city];}}[self.cityData removeObjectsInArray:citiesToRemove];[self.tableView reloadData];
}
这个页面要执行两个操作: 点击加号添加城市,删除城市。
这里给出我的网络请求代码:
- (void)createUrl {if (self.cityData.count == 0) return;dispatch_group_t group = dispatch_group_create();NSURLSession *session = [NSURLSession sharedSession];NSMutableArray *tempDicArray = [NSMutableArray array];NSLog(@"1");for (NSDictionary *city in self.cityData) {dispatch_group_enter(group);NSString *cityName = city[@"name"];NSString *urlString = [NSString stringWithFormat:@"https://api.weatherapi.com/v1/current.json?key=2db0265c1d084416b9275428252207&q=%@&lang=zh   ", cityName];urlString = [urlString stringByAddingPercentEncodingWithAllowedCharacters:[NSCharacterSet URLQueryAllowedCharacterSet]];NSURL *url = [NSURL URLWithString:urlString];NSURLSessionDataTask *task = [session dataTaskWithURL:url completionHandler:^(NSData *data, NSURLResponse *response, NSError *error) {if (error) {NSLog(@"错错错!! %@: %@", city, error.localizedDescription);dispatch_group_leave(group);return;}if (data) {NSError *jsonError;//解析数据NSDictionary *dic = [NSJSONSerialization JSONObjectWithData:data options:0 error:&jsonError];if (jsonError) {NSLog(@"JSON解析失败: %@", jsonError.localizedDescription);} else {NSLog(@"API响应: %@", dic);// 检查是否有错误if (dic[@"error"]) {NSLog(@"API返回错误: %@", dic[@"error"][@"message"]);} else {@synchronized (tempDicArray) {//赋值到tempDicArray[tempDicArray addObject:dic];NSLog(@"成功添加城市: %@", cityName);}}}} else {NSLog(@"无响应数据");}dispatch_group_leave(group);}];[task resume];
}dispatch_group_notify(group, dispatch_get_main_queue(), ^{NSLog(@"所有请求完成,获取到%ld个城市数据", tempDicArray.count);//最终到dicArrayself.dicArray = tempDicArray;[self.tableView reloadData];});
}
// 添加支持滑动删除
- (BOOL)tableView:(UITableView *)tableView canEditRowAtIndexPath:(NSIndexPath *)indexPath {return YES;
}
搜索页面
-(void) addCityToMain:(NSDictionary *)cityInfo {NSString *cityName = cityInfo[@"name"];NSDictionary *userInfo = @{@"cityName": cityName};[[NSNotificationCenter defaultCenter] postNotificationName:@"AddNewCityNotification" object:nil userInfo:userInfo];// 关闭添加页面
//    [self dismissViewControllerAnimated:YES completion:nil];
}
//选中哪个就传给主页
- (void)tableView:(UITableView *)tableView didSelectRowAtIndexPath:(NSIndexPath *)indexPath {[tableView deselectRowAtIndexPath:indexPath animated:YES];if (indexPath.row < self.searchResults.count) {NSDictionary *city = self.searchResults[indexPath.row];DetailViewController *detailVC = [[DetailViewController alloc] init];detailVC.cityName = city[@"name"];detailVC.canAddCity = YES;UINavigationController *nav = [[UINavigationController alloc] initWithRootViewController:detailVC];nav.modalPresentationStyle = UIModalPresentationFullScreen;[self presentViewController:nav animated:YES completion:nil];}
}
当我们点击其中一行时,我们会跳转到该城市
城市详细天气
给出我的每小时天气预报代码
- (void)setupHourlyForecastData {NSArray *forecastDays = self.weatherData[@"forecast"][@"forecastday"];if (forecastDays.count == 0) return;//WeatherAPI 返回的 forecast 结构中,每天包含一个 hour 数组(24 小时)。为了支持“跨天展示”,你先拼接所有天的小时数组// 拼接所有 forecastday 的 hour 数据NSMutableArray *allHours = [NSMutableArray array];for (NSDictionary *day in forecastDays) {NSArray *hours = day[@"hour"];if (hours) [allHours addObjectsFromArray:hours];}if (allHours.count == 0) return;UIView *hourlyCard = [self.contentView viewWithTag:1000];UIScrollView *scrollView = [hourlyCard viewWithTag:1001];if (!scrollView) return;CGFloat itemWidth = 60;CGFloat spacing = 10;//当前小时NSDate *now = [NSDate date];NSDateFormatter *formatter = [[NSDateFormatter alloc] init];formatter.dateFormat = @"yyyy-MM-dd HH";NSString *nowHourString = [formatter stringFromDate:now];NSInteger startIndex = 0;//找出当前时间匹配的小时for (int i = 0; i < allHours.count; i++) {NSString *hourString = [allHours[i][@"time"] substringToIndex:13];if ([hourString isEqualToString:nowHourString]) {startIndex = i;break;}}//主要是防止数组越界NSInteger count = MIN(24, allHours.count - startIndex);//给7个格子赋值for (int i = 0; i < count; i++) {NSDictionary *hour = allHours[startIndex + i];NSString *time = [hour[@"time"] substringFromIndex:11];NSString *temp = [NSString stringWithFormat:@"%.0f°", [hour[@"temp_c"] floatValue]];NSString *iconUrl = [NSString stringWithFormat:@"https:%@", hour[@"condition"][@"icon"]];UIView *hourView = [[UIView alloc] initWithFrame:CGRectMake(i * (itemWidth + spacing), 0, itemWidth, 70)];UILabel *timeLabel = [[UILabel alloc] initWithFrame:CGRectMake(0, 0, itemWidth, 20)];timeLabel.text = time;timeLabel.font = [UIFont systemFontOfSize:12];timeLabel.textColor = [UIColor whiteColor];timeLabel.textAlignment = NSTextAlignmentCenter;[hourView addSubview:timeLabel];UIImageView *icon = [[UIImageView alloc] initWithFrame:CGRectMake(10, 20, 40, 30)];icon.contentMode = UIViewContentModeScaleAspectFit;[hourView addSubview:icon];[self loadIcon:iconUrl forImageView:icon];UILabel *tempLabel = [[UILabel alloc] initWithFrame:CGRectMake(0, 50, itemWidth, 20)];tempLabel.text = temp;tempLabel.font = [UIFont systemFontOfSize:12];tempLabel.textColor = [UIColor whiteColor];tempLabel.textAlignment = NSTextAlignmentCenter;[hourView addSubview:tempLabel];[scrollView addSubview:hourView];}scrollView.contentSize = CGSizeMake((itemWidth + spacing) * count, 70);
}//每小时天气
同时,我下面的每部分都以卡片形式呈现
//卡片
- (UIView *)createCardViewWithFrame:(CGRect)frame {UIView *card = [[UIView alloc] initWithFrame:frame];card.backgroundColor = [UIColor colorWithWhite:1 alpha:0.2];card.layer.cornerRadius = 20;card.layer.borderWidth = 1;card.layer.borderColor = [UIColor colorWithWhite:1 alpha:0.3].CGColor;return card;
}
//卡片标题
- (UILabel *)createSectionTitleLabel:(NSString *)title frame:(CGRect)frame {UILabel *label = [[UILabel alloc] initWithFrame:frame];label.text = title;label.font = [UIFont systemFontOfSize:20 weight:UIFontWeightBold];label.textColor = [UIColor whiteColor];return label;
}
我的背景可以根据天气不同自动切换,代码如下:
- (void)setBackgroundBasedOnWeather {if (!self.weatherData) return;NSDictionary *current = self.weatherData[@"current"];NSDictionary *condition = current[@"condition"];NSInteger code = [condition[@"code"] integerValue];NSString *bgImageName;// 晴天if (code == 1000) {bgImageName = @"pic1.jpg";}// 多云或阴天else if (code >= 1003 && code <= 1009) {bgImageName = @"pic2.jpg";}// 雨(小雨~大雨)else if ((code >= 1063 && code <= 1087) || (code >= 1150 && code <= 1195) || (code >= 1240 && code <= 1246)) {bgImageName = @"pic3.jpg";}// 雪(小雪~暴雪)else if ((code >= 1066 && code <= 1074) || (code >= 1114 && code <= 1237)) {bgImageName = @"pic4.jpg";}// 雷暴、雨夹雪等恶劣天气else if (code >= 1273 && code <= 1282) {bgImageName = @"pic5.jpg";}// 默认else {bgImageName = @"pic1.jpg";}self.backgroundImageView.image = [UIImage imageNamed:bgImageName];
}
//日期字符串转换为周几
- (NSString *)formatDate:(NSString *)dateString {NSDateFormatter *inputFormatter = [[NSDateFormatter alloc] init];inputFormatter.dateFormat = @"yyyy-MM-dd";NSDate *date = [inputFormatter dateFromString:dateString];NSDateFormatter *outputFormatter = [[NSDateFormatter alloc] init];outputFormatter.locale = [NSLocale localeWithLocaleIdentifier:@"zh_CN"];outputFormatter.dateFormat = @"EEE";return [outputFormatter stringFromDate:date];
}
详情页的删除按钮:
- (void)deleteCity {if (self.cityName) {NSDictionary *userInfo = @{@"cityName": self.cityName};[[NSNotificationCenter defaultCenter] postNotificationName:@"DeleteCityNotification"object:niluserInfo:userInfo];[self dismissViewControllerAnimated:YES completion:nil];}
}
关于多个城市横向滑动查看详情,我使用了UIPageController。
- (id)init {self = [super initWithTransitionStyle:UIPageViewControllerTransitionStyleScrollnavigationOrientation:UIPageViewControllerNavigationOrientationHorizontaloptions:nil];return self;
}
这段代码实现了页面的横向滑动效果。
// MainVC.m- (void)tableView:(UITableView *)tableView didSelectRowAtIndexPath:(NSIndexPath *)indexPath {[tableView deselectRowAtIndexPath:indexPath animated:YES];NSMutableArray *cityNames = [NSMutableArray array];for (NSDictionary *city in self.cityData) {[cityNames addObject:city[@"name"]];}CitiesDetailViewController *containerVC = [[CitiesDetailViewController alloc] init];containerVC.cityNames = cityNames;containerVC.initialIndex = indexPath.section;containerVC.modalPresentationStyle = UIModalPresentationFullScreen;[self presentViewController:containerVC animated:YES completion:nil];
}
// CitiesDetailViewController.m- (void)viewDidLoad {[super viewDidLoad];self.delegate = self;self.dataSource = self;self.cities = self.cityNames; // 城市名列表由外部传入self.currentIndex = self.initialIndex; // 初始城市索引也由外部设置DetailViewController *initialVC = [self detailViewControllerForIndex:self.initialIndex];[self setViewControllers:@[initialVC] direction:UIPageViewControllerNavigationDirectionForward animated:NO completion:nil];
#pragma mark - Page View Controller Data Source
// 获取前一个VC
- (UIViewController *)pageViewController:(UIPageViewController *)pageViewController viewControllerBeforeViewController:(UIViewController *)viewController {//下标NSInteger index = [(DetailViewController *)viewController index];//不是第一个就去上一个if (index > 0) {return [self detailViewControllerForIndex:index - 1];}return nil;
}//获取后一个VC
- (UIViewController *)pageViewController:(UIPageViewController *)pageViewController viewControllerAfterViewController:(UIViewController *)viewController {NSInteger index = [(DetailViewController *)viewController index];if (index < self.cities.count - 1) {return [self detailViewControllerForIndex:index + 1];}return nil;
}//进入指定页面
- (DetailViewController *)detailViewControllerForIndex:(NSInteger)index {if (index < 0 || index >= self.cities.count) return nil;DetailViewController *detailVC = [[DetailViewController alloc] init];detailVC.cityName = self.cities[index];detailVC.index = index;detailVC.canAddCity = NO;return detailVC;
}- (void)deleteCurrentCity {if (self.cities.count == 0) {[self dismissViewControllerAnimated:YES completion:nil];return;}// 获取当前显示的视图控制器DetailViewController *currentVC = (DetailViewController *)self.viewControllers.firstObject;NSInteger currentIndex = currentVC.index;// 防止索引越界if (currentIndex >= self.cities.count) {[self dismissViewControllerAnimated:YES completion:nil];return;}NSString *cityName = self.cities[currentIndex];// 发送删除通知NSDictionary *userInfo = @{@"cityName": cityName};[[NSNotificationCenter defaultCenter] postNotificationName:@"DeleteCityNotification"object:niluserInfo:userInfo];// 从数据源中删除NSMutableArray *mutableCities = [self.cities mutableCopy];[mutableCities removeObjectAtIndex:currentIndex];self.cities = [mutableCities copy];// 如果删除后没有城市了,关闭页面if (self.cities.count == 0) {[self dismissViewControllerAnimated:YES completion:nil];return;}// 计算新的当前索引NSInteger newIndex;if (currentIndex >= self.cities.count) {newIndex = self.cities.count - 1;} else {newIndex = currentIndex;}// 确定导航方向:如果删除的是最后一个,则向前翻一页,否则保持当前页UIPageViewControllerNavigationDirection direction = UIPageViewControllerNavigationDirectionForward;if (newIndex < currentIndex) {direction = UIPageViewControllerNavigationDirectionReverse;}// 获取新的视图控制器DetailViewController *newVC = [self detailViewControllerForIndex:newIndex];if (newVC) {[self setViewControllers:@[newVC]direction:directionanimated:YEScompletion:nil];self.currentIndex = newIndex;}
}


靶场攻略)


)
![[数据结构]#7 哈希表](http://pic.xiahunao.cn/[数据结构]#7 哈希表)


