- 版本
node:v22.17.1
pnpm:v10.13.1
vue:^3.5.18
vite:^7.0.6
typescipt:~5.8.0
- 脚手架初始化vue
pnpm create vue@latest
只选择: TypeScript, JSX
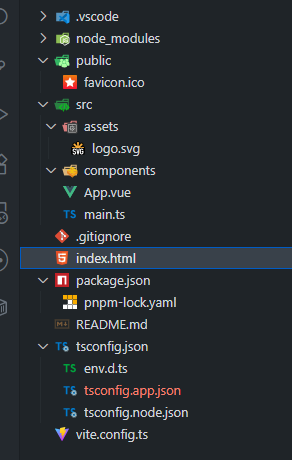
3. 用vscode打开创建的项目,并删除多余的代码
- eslint安装
参考:https://blog.csdn.net/hhhjjjj/article/details/150929338?spm=1011.2124.3001.6209
- tsconfig.json修改,删除 tsconfig.app.json和 tsconfig.node.json
{"compilerOptions": {"target": "esnext","jsx": "preserve","lib": ["esnext", "dom"],"experimentalDecorators": true,"baseUrl": ".","module": "esnext","moduleResolution": "node","paths": {"/@/*": ["src/*"]},"resolveJsonModule": true,"typeRoots": ["./node_modules/@types/", "./types"],"types": ["vite/client", "node"],"strict": true,"noUnusedLocals": true,"noUnusedParameters": true,"sourceMap": true,"allowSyntheticDefaultImports": true,"esModuleInterop": true,"forceConsistentCasingInFileNames": true,"skipLibCheck": true},"include": ["env.d.ts","src/**/*.ts","src/**/*.tsx","src/**/*.vue","tests/**/*.ts","src/utils/path.js","types/**/*.d.ts","types/**/*.ts","types/global.d.ts","types/shims-tsx.d.ts","types/shims-vue.d.ts","mock/asyncRoutes.ts"],"exclude": ["node_modules", "dist", "**/*.js"]
}
- stylelint安装
参考:https://blog.csdn.net/hhhjjjj/article/details/150987432?spm=1011.2415.3001.5331
editorconfig安装
官网:https://editorconfig.org/
插件:vscode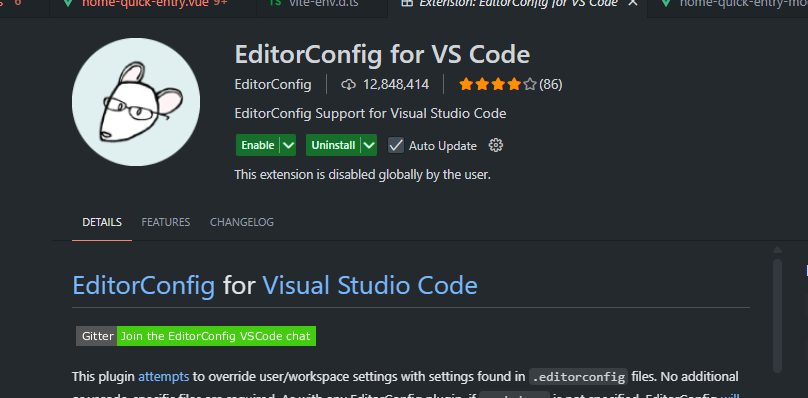
.editorconfig的配置
# 告诉EditorConfig插件,这是根文件,不用继续往上查找
root = true# 匹配全部文件
[*]
# 设置字符集
charset = utf-8
# 缩进风格,可选space、tab
indent_style = space
# 缩进的空格数
indent_size = 2
# 结尾换行符,可选lf、cr、crlf
end_of_line = lf
# 在文件结尾插入新行
insert_final_newline = true
# 删除一行中的前后空格
trim_trailing_whitespace = true# 匹配md结尾的文件
[*.md]
insert_final_newline = false
trim_trailing_whitespace = false
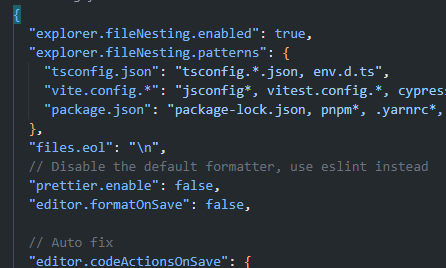
- 默认换行符改为\n
修改.vscode/settings.json
"files.eol": "\n",
10. vite-env.d.ts 为了能够识别环境变量
否则会有以下警告
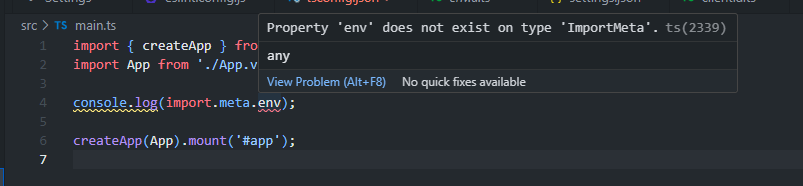
在src目录新建 vite-env.d.ts,内容如下
/// <reference types="vite/client" />
- 引入lodash,工具类
官网:https://lodash.com/docs

npm install lodash
npm install --save-dev @types/lodash
- 引入sass/less
a. sass
npm install sass sass-loader -D
b. less
npm install less less-loader -D
- 引入pinia 用于本地存储(基于内存的,如果持久化需要引入pinia-persistedstate-plugin或者手动写入)
a. 安装依赖
pnpm install pinia
b. main.ts引用
import {createPinia} from 'pinia';const pinia = createPinia();const app = createApp(App);app.use(pinia);
app.mount('#app');
c. 使用
1)通常在src目录下,新增一个目录store
2)新建一个业务文件,定义defineStrore,如下hello.ts
import {defineStore} from 'pinia';export const useHelloStore = defineStore('hello', {state: () => ({count: 0,}),getters: {doubleCount(state) {return state.count * 2;}},actions: {increment() {this.count++;}}
});
在用到的地方,使用
import {useHelloStore} from '/@/store/hello';const hello = useHelloStore();hello.count;
hello.doubleCount; //对于getters调用不要加括号
hello.increment();
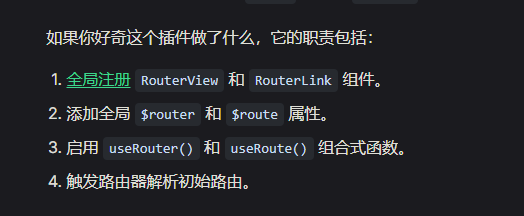
- 引入vue-router
a. 安装依赖
npm install vue-router
b. main.ts注册
import { createWebHashHistory, createRouter } from 'vue-router'import HomeView from './HomeView.vue'
import AboutView from './AboutView.vue'const routes = [{ path: '/', component: HomeView },{ path: '/about', component: AboutView },
]const router = createRouter({history: createWebHashHistory(),routes,
})
c. 使用 在App.vue
<template><RouterLink to="/home">首页</RouterLink><RouterLink to="/about">关于</RouterLink><RouterView />
</template>
ps识别:Swin Transformer-T 与 ResNet50 结合的 PS 痕迹识别模型训练过程解析)
![[ICCV25]TRACE:用3D高斯直接学习物理参数,让AI“推演”未来场景](http://pic.xiahunao.cn/[ICCV25]TRACE:用3D高斯直接学习物理参数,让AI“推演”未来场景)

)

)

的应用)


:(八)栈)
:多节点集群配置踩坑记)

