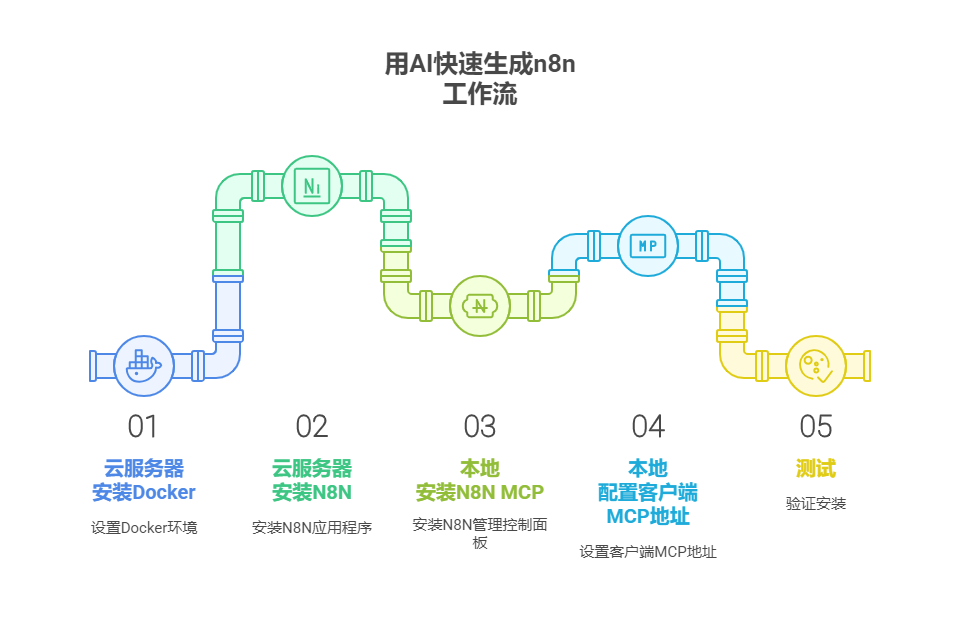
在数字化时代的浪潮中,AI技术正以前所未有的速度改变着我们的生活和工作方式。从智能家居到智能办公,从数据分析到自动化流程,AI的应用场景无处不在。今天,我们将带你走进一个充满创新与效率的世界,探索如何通过AI大眼萌的指引,轻松搭建起属于自己的N8N工作流。
一、云服务器-安装 Docker
centOS 内核:
sudo uname -r
查看系统内核
centOS 系统版本:
sudo cat /etc/os-release安装
卸载旧版 Docker:
sudo yum remove docker \docker-client \docker-client-latest \docker-common \docker-latest \docker-latest-logrotate \docker-logrotate \docker-engine安装依赖:
sudo yum install -y yum-utils
#设置镜像仓库(需要翻墙)
sudo yum-config-manager --add-repo https://download.docker.com/linux/centos/docker-ce.repo
# 腾讯云
yum-config-manager --add-repo http://mirrors.aliyun.com/docker-ce/linux/centos/docker-ce.repo
更新 yum 软件包索引:
sudo yum makecache fast安装最新版 Docker 引擎(Docker 社区(ee 企业版)、客户端、容器):
sudo yum install docker-ce docker-ce-cli containerd.io docker-buildx-plugin docker-compose-plugin配置Docker国内镜像源
# 您可以通过修改daemon配置文件/etc/docker/daemon.json来使用加速器
sudo mkdir -p /etc/docker
sudo tee /etc/docker/daemon.json <<-'EOF'
{"registry-mirrors": ["https://xxxxx.mirror.aliyuncs.com"]
}
EOF
sudo systemctl daemon-reload
sudo systemctl restart docker
启动 Docker:
sudo systemctl start docker
sudo docker versionsudo systemctl stop docker
二、云服务器-安装N8N
#创建数据卷docker volume create n8n_data#docker pull n8nio/n8n:latest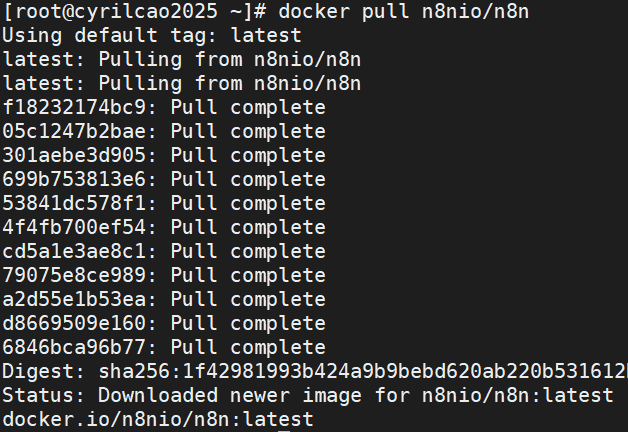
代码语言:javascript
代码运行次数:0
运行
AI代码解释
docker run -it --rm --name n8n ##长期后台运行换成--rm参数更换为-d参数-e GENERIC_TIMEZONE=Asia/Shanghai -e N8N_SECURE_COOKIE=false ##测试用,跳过https的限制-p 5678:5678 -v n8n_data:/home/node/.n8n n8nio/n8n三、本地部署-安装N8N MCP
#npm修改成国内镜像源1. 命令npm config set registry https://registry.npmmirror.com2. 验证命令npm config get registry如果返回https://registry.npmmirror.com,说明镜像配置成功。# Clone the repository
git clone https://github.com/leonardsellem/n8n-mcp-server.git
cd n8n-mcp-server# Install dependencies
npm install# Build the project
npm run build# Optional: Install globally
npm install -g .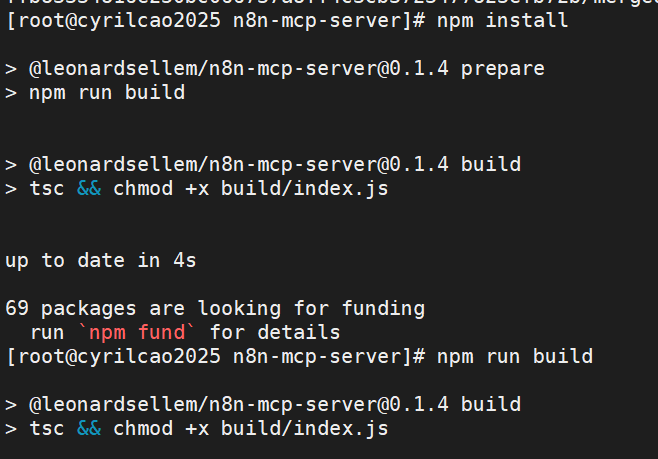
四、本地-配置客户端的MCP 地址
根据官方手册https://github.com/leonardsellem/n8n-mcp-server
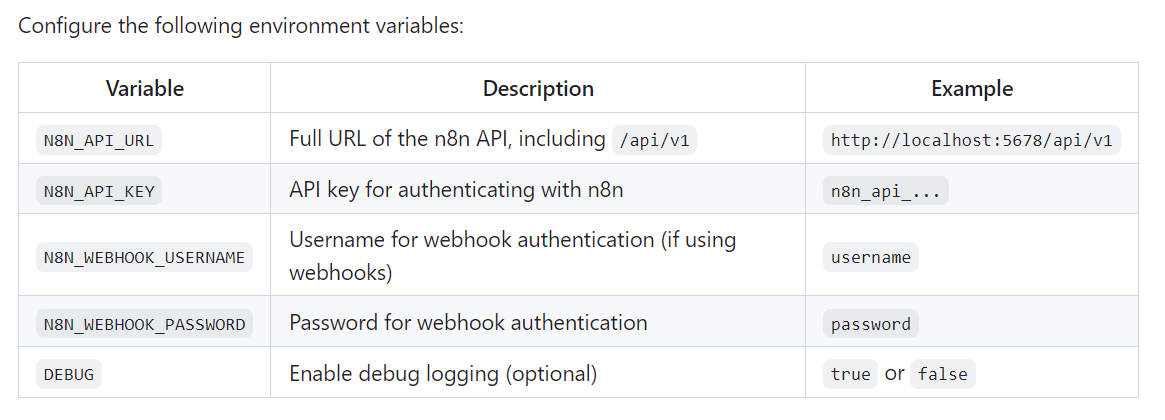
N8N_API_URL
本地部署为:http://localhost:5678/api/v1
异地部署为:http://详细地址/api/v1
创建n8n_api_key
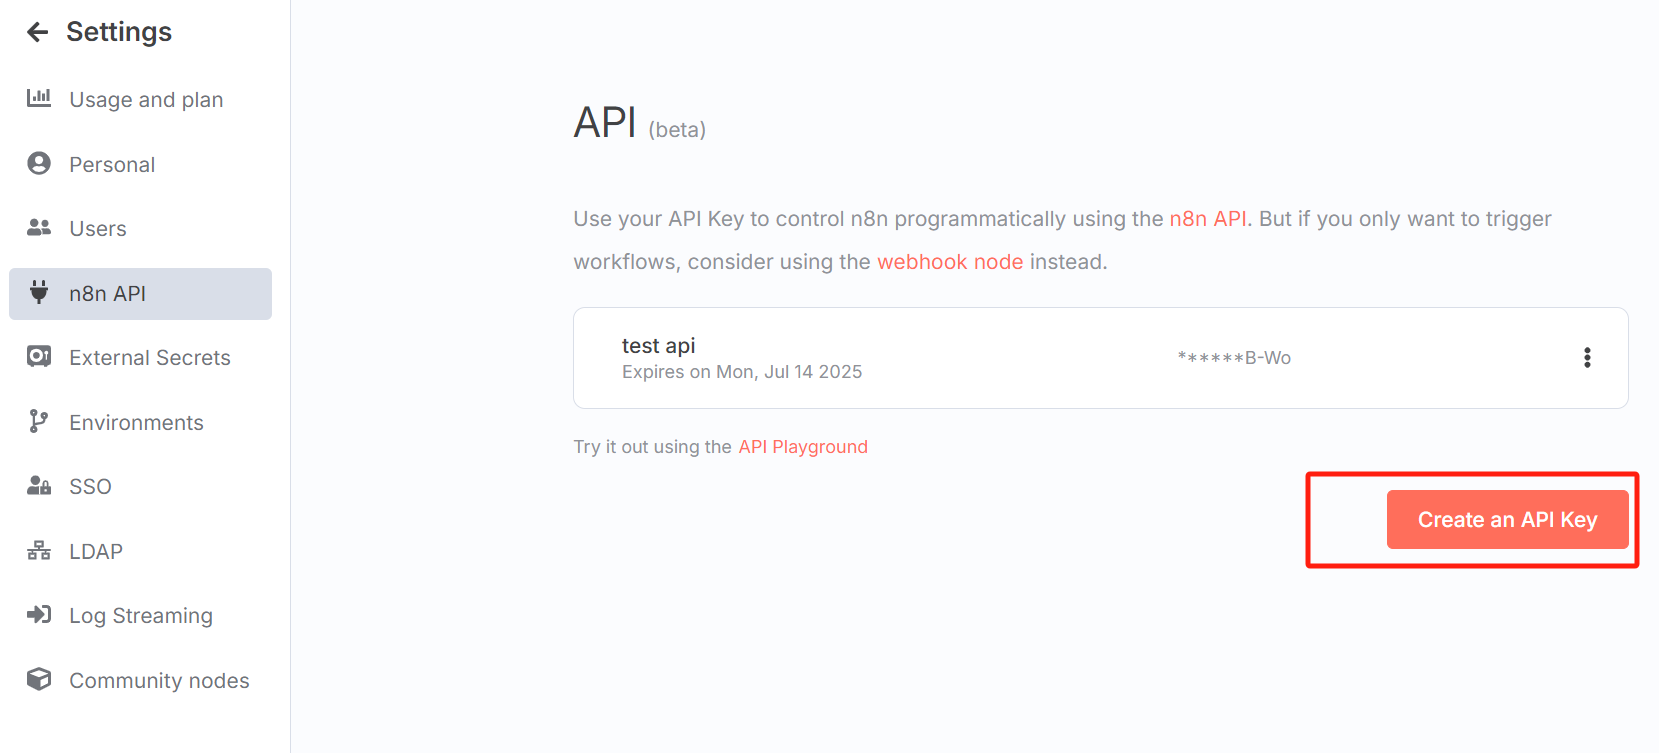
json配置文件
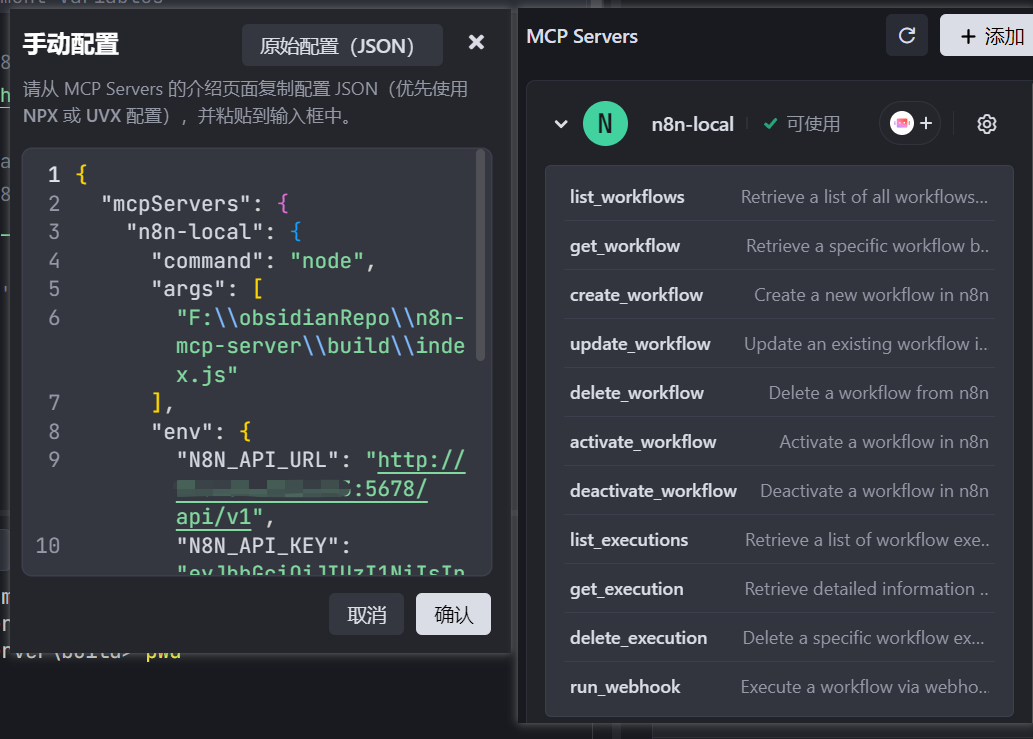
构建服务器( npm run build )后,配置你的 AI 助手来运行它。这通常需要编辑 JSON 配置文件。
{"mcpServers": {// Give your server a unique name"n8n-local": {// Use 'node' to execute the built JavaScript file"command": "node",// Provide the *absolute path* to the built index.js file"args": [//更改为具体的mcp build文件夹的位置// "/root/n8n/n8n-mcp-server/build/index.js"    //linux下位置// On Windows, use double backslashes:"F:\\obsidianRepo\\n8n-mcp-server\\build\\index.js"],// Environment variables needed by the server"env": {"N8N_API_URL": "http://localhost:5678/api/v1", // Replace with your n8n URL"N8N_API_KEY": "xxxxxx", // Replace with your key// Add webhook credentials only if you plan to use webhook tools// "N8N_WEBHOOK_USERNAME": "your_webhook_user",// "N8N_WEBHOOK_PASSWORD": "your_webhook_password"},// Ensure the server is enabled"disabled": false,// Default autoApprove settings"autoApprove": []}// ... other servers might be configured here}
}
以Trae为例子 配置
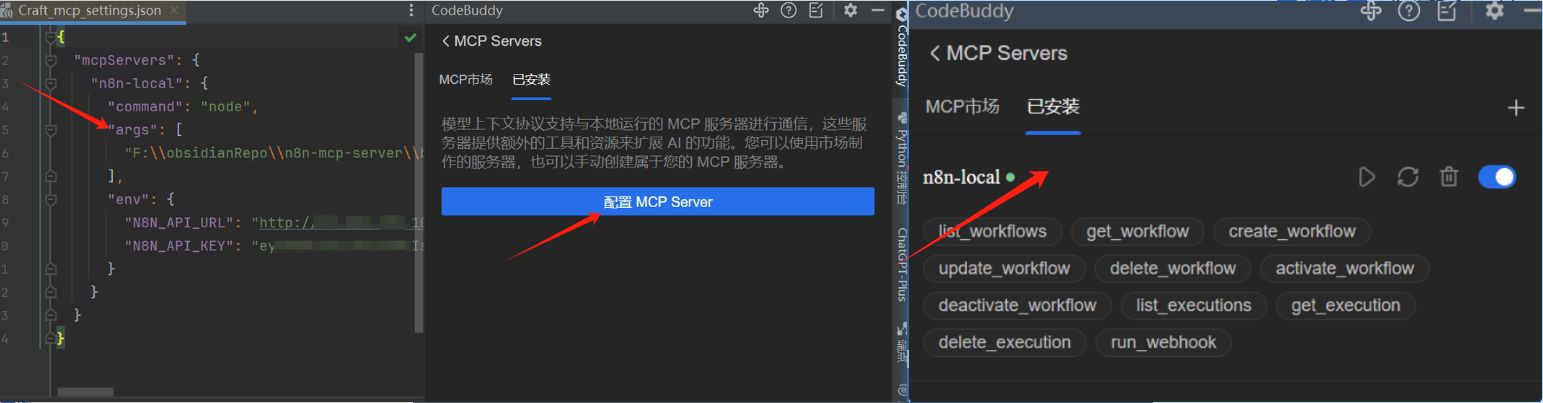
以腾讯CodeBuddy为例
五、运行测试
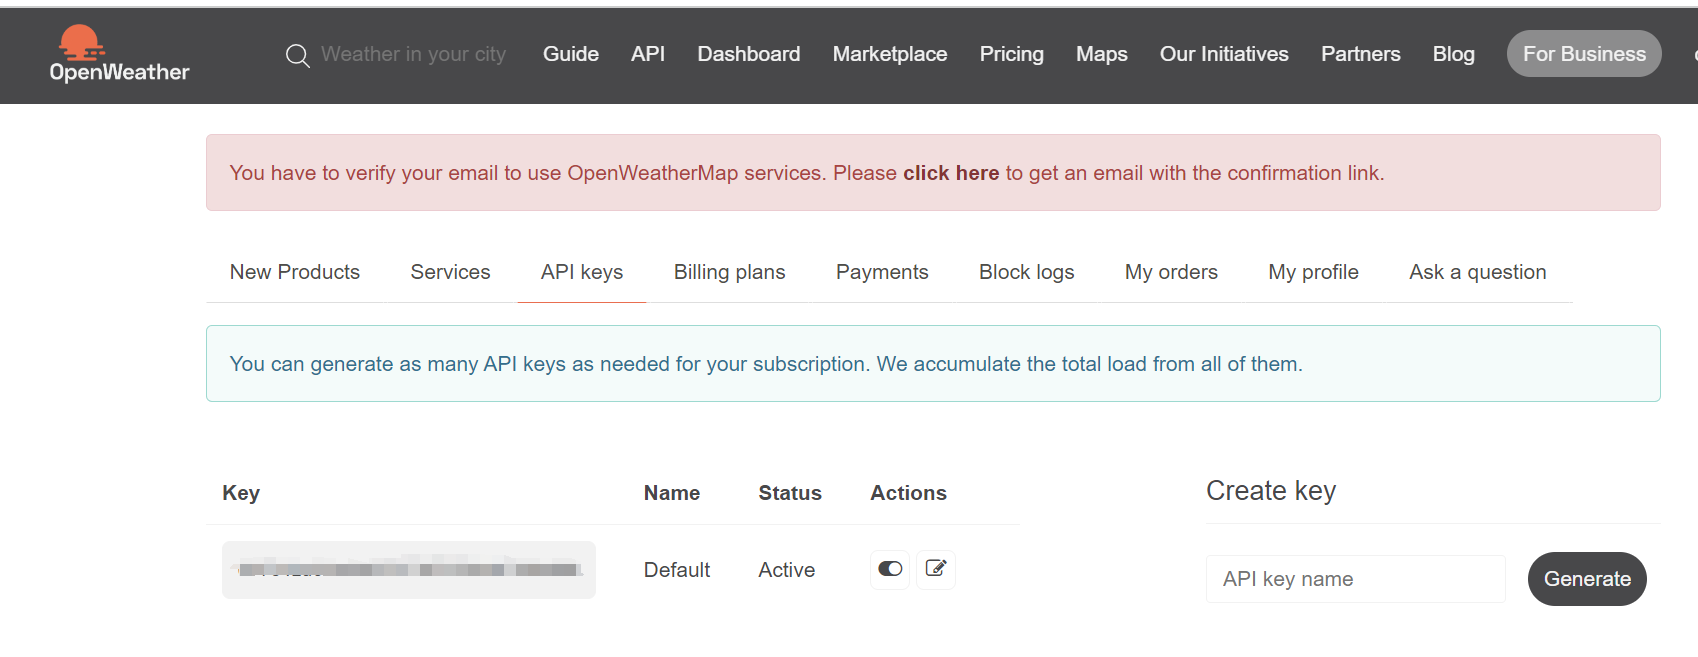
申请OpenWeather天气API
https://home.openweathermap.org/api_keys
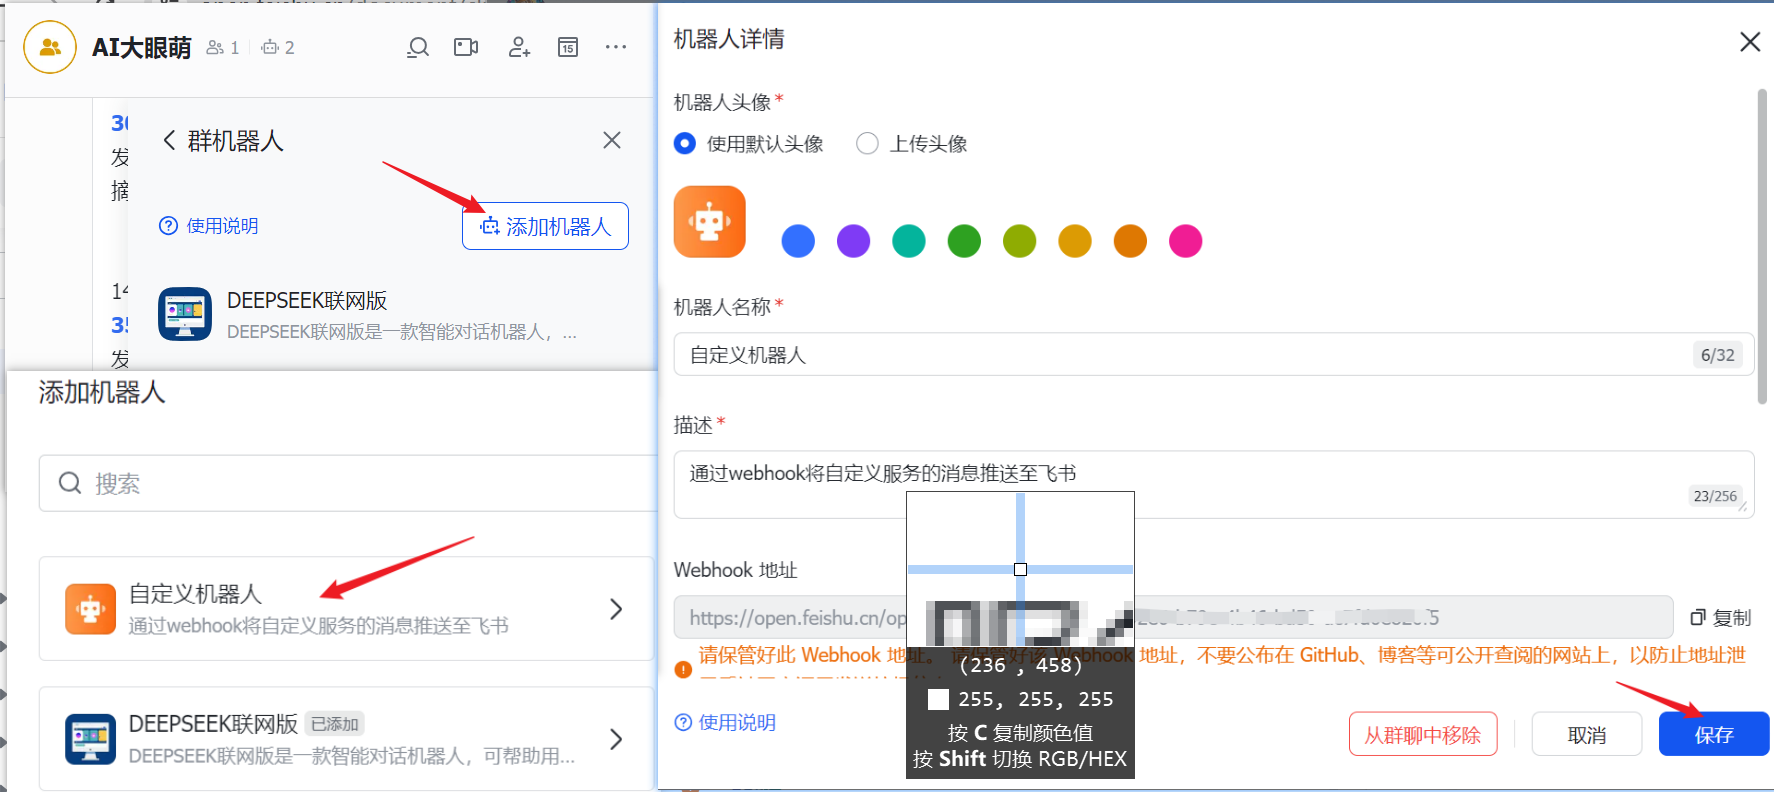
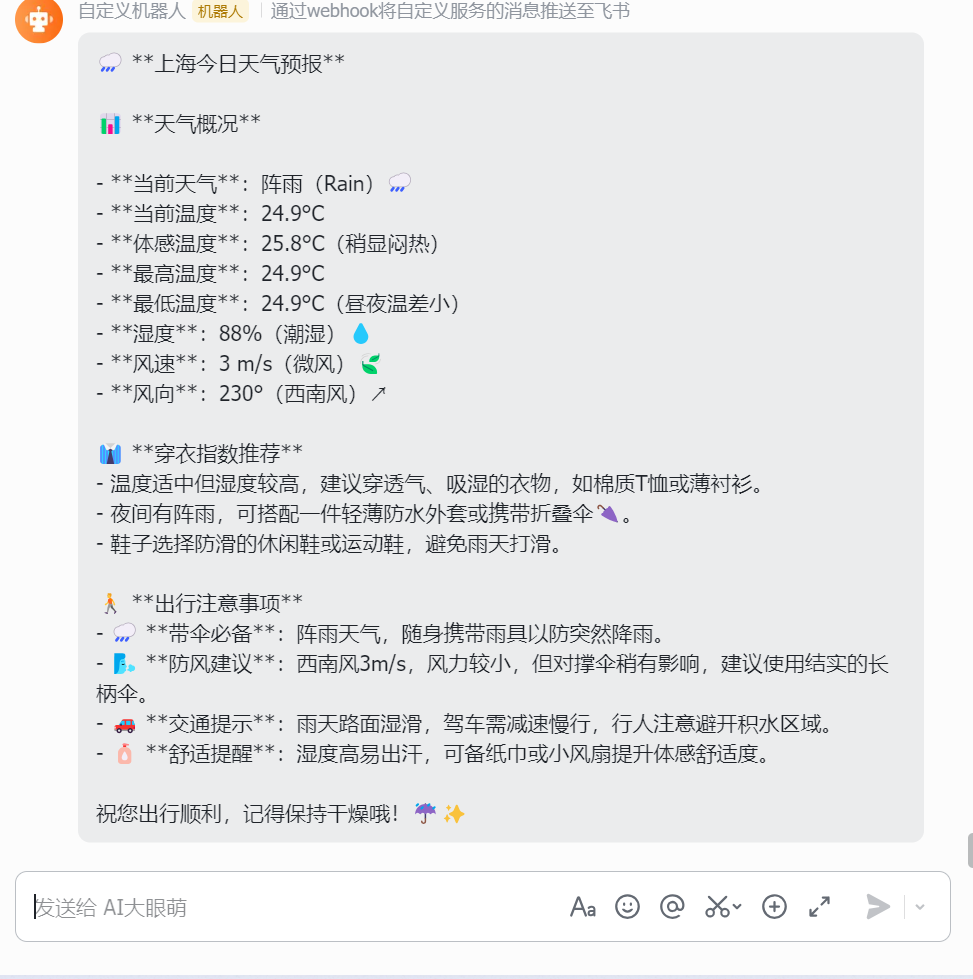
飞书添加webhook
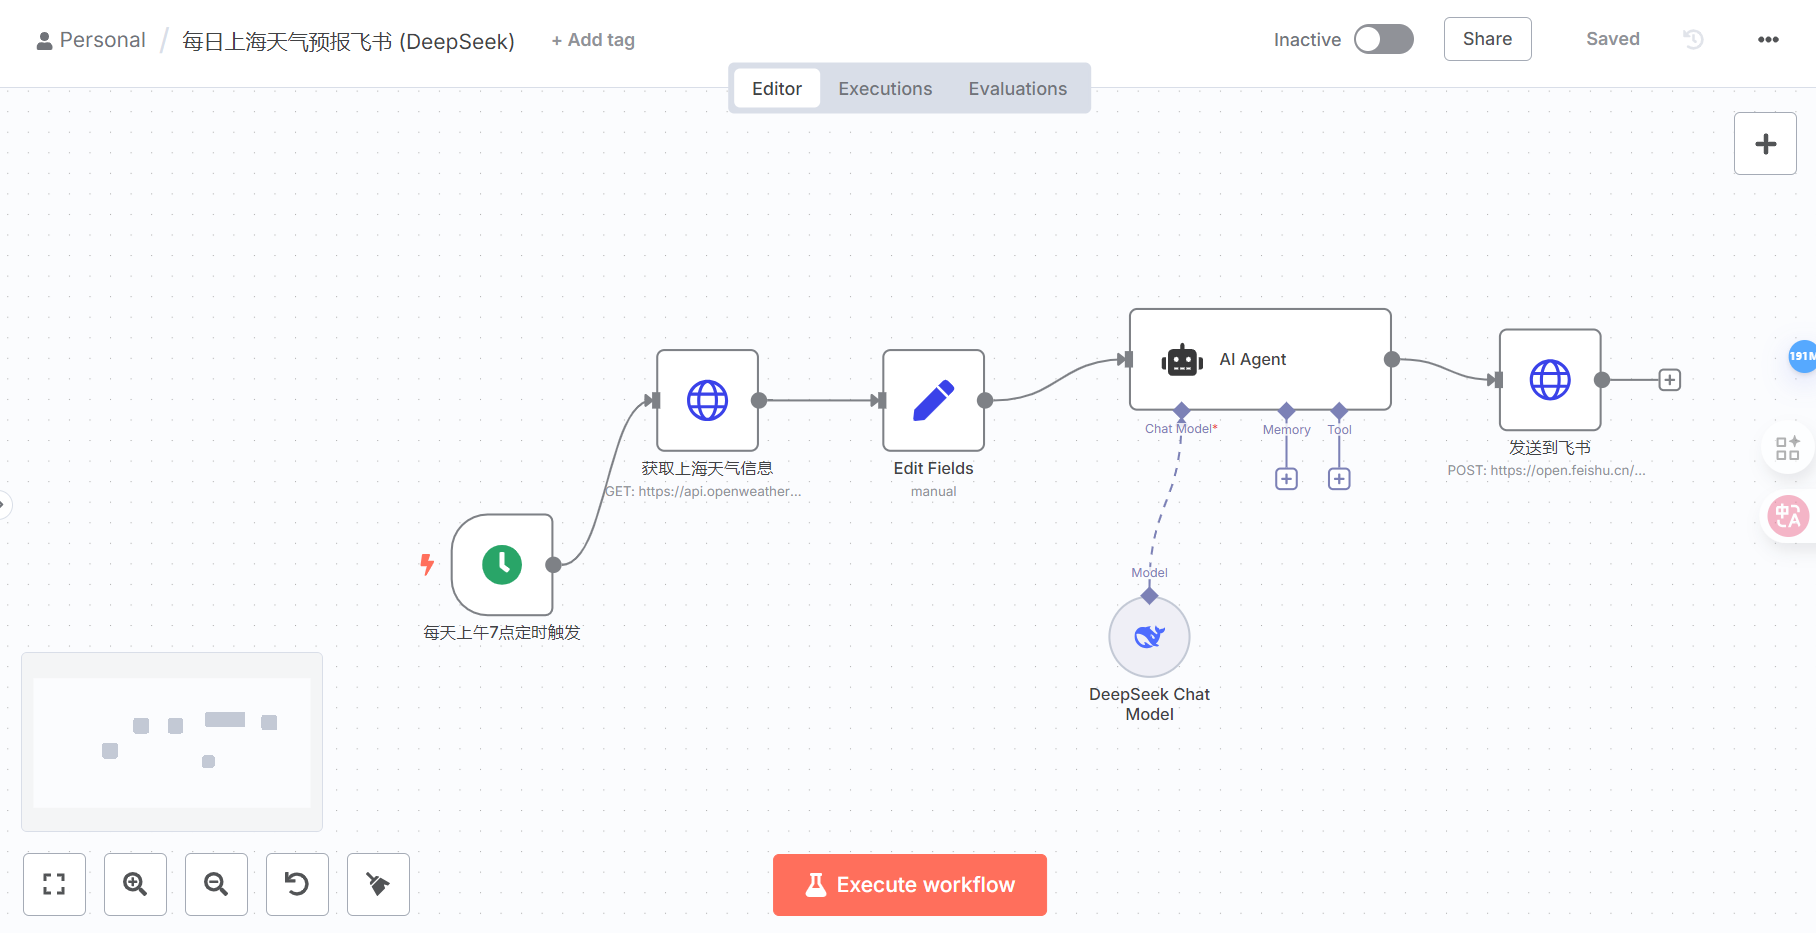
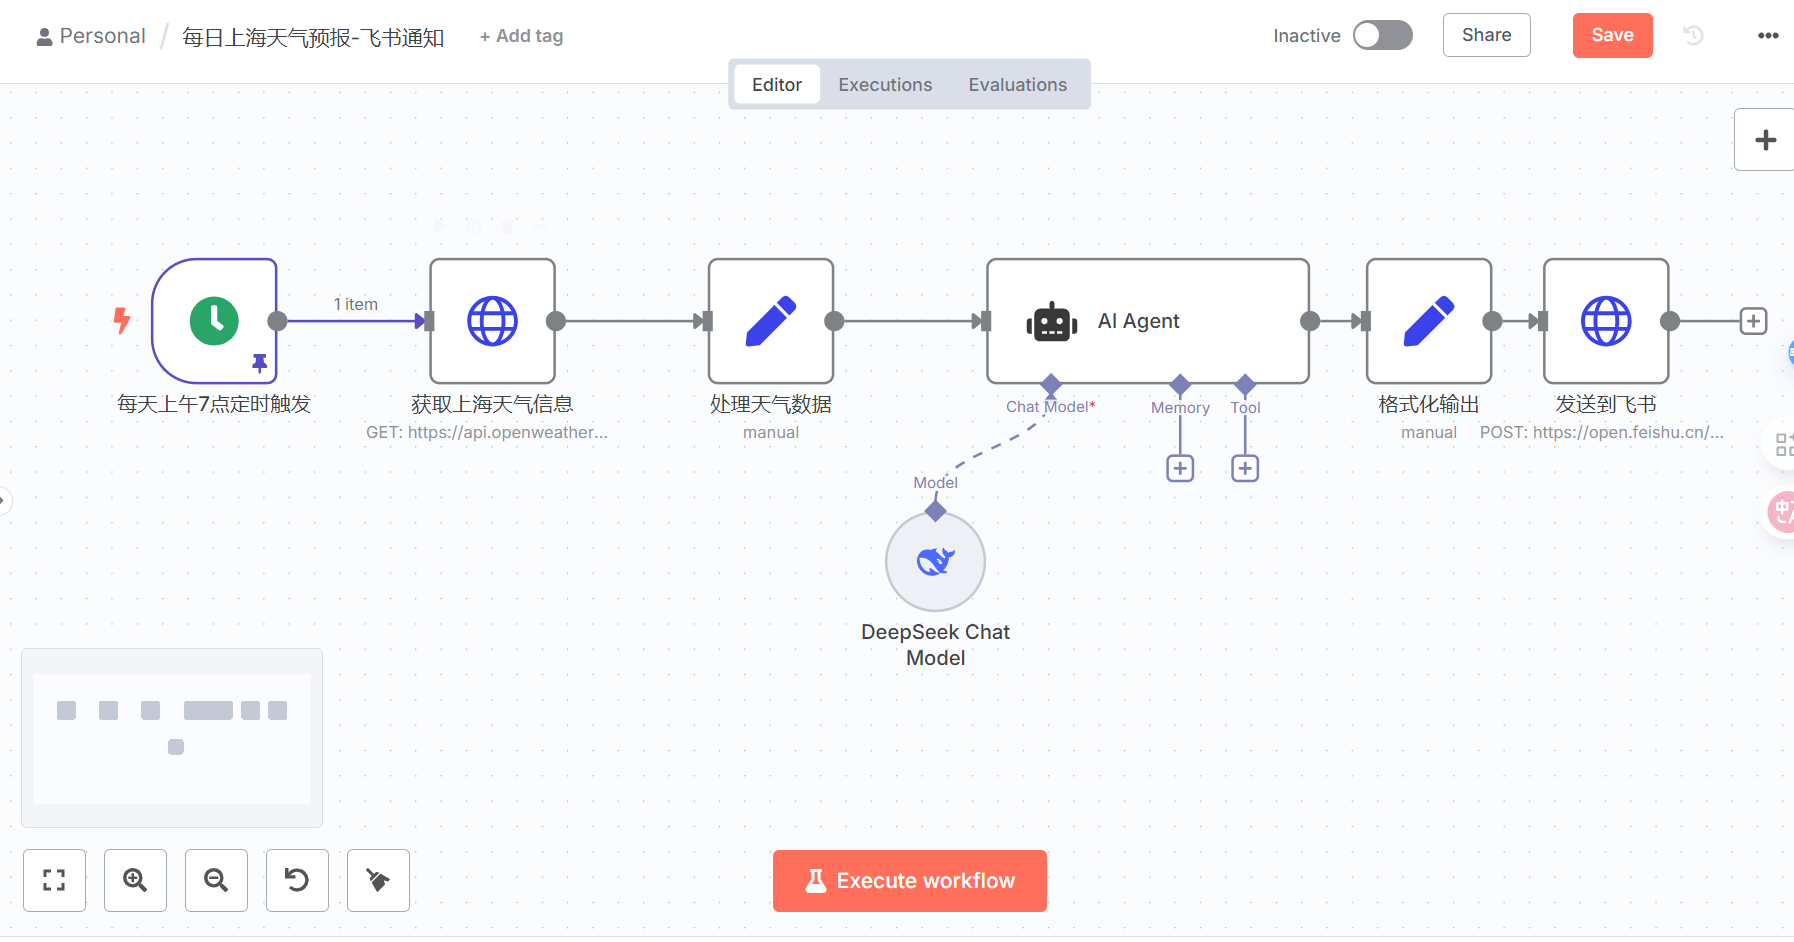
用Trae 通过MCP生成n8n工作流
提示词:
新建一个n8n工作流,功能如下:
每天上午7点定时查询,上海当天的天气信息。然后使用AI(Deepseek模型)对天气信息进行分析后,生成一份美观的天气预报,内容包括当天天气,穿衣指数推荐、出行注意事项。最后把天气预报信息,发送到飞书。
参考工作流xxxx.json
##参考的工作流可以去https://n8n.io/workflows/ 下载
用claude4模型效果最好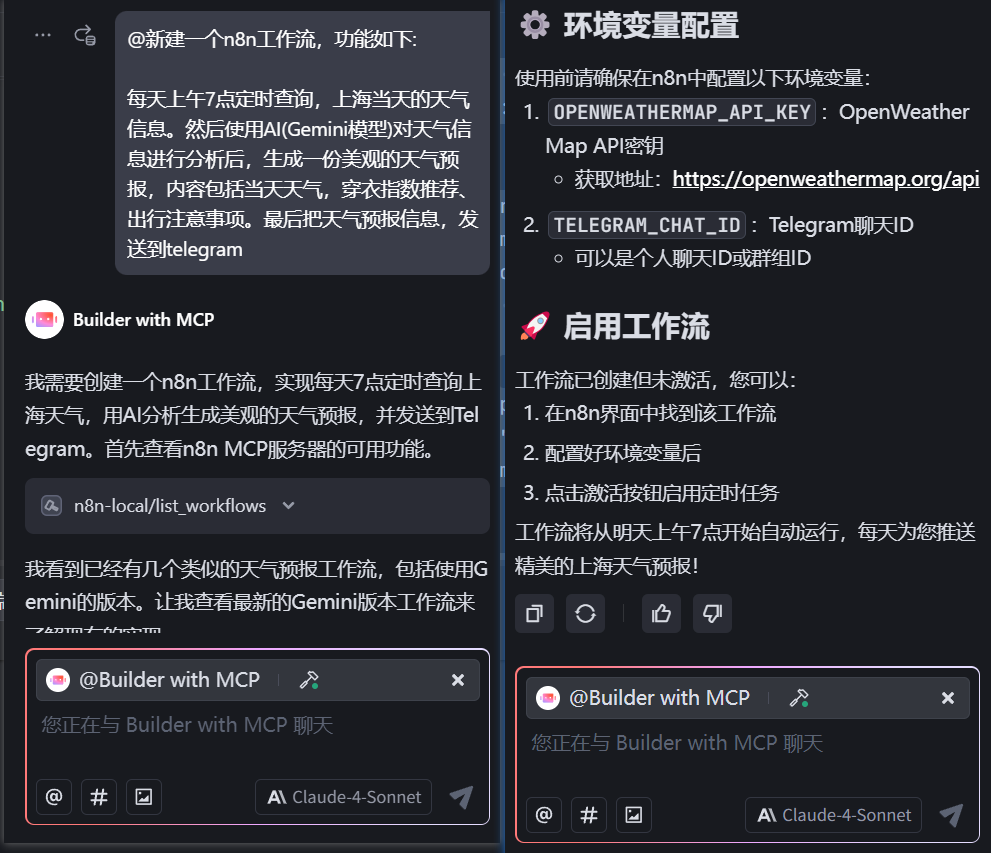
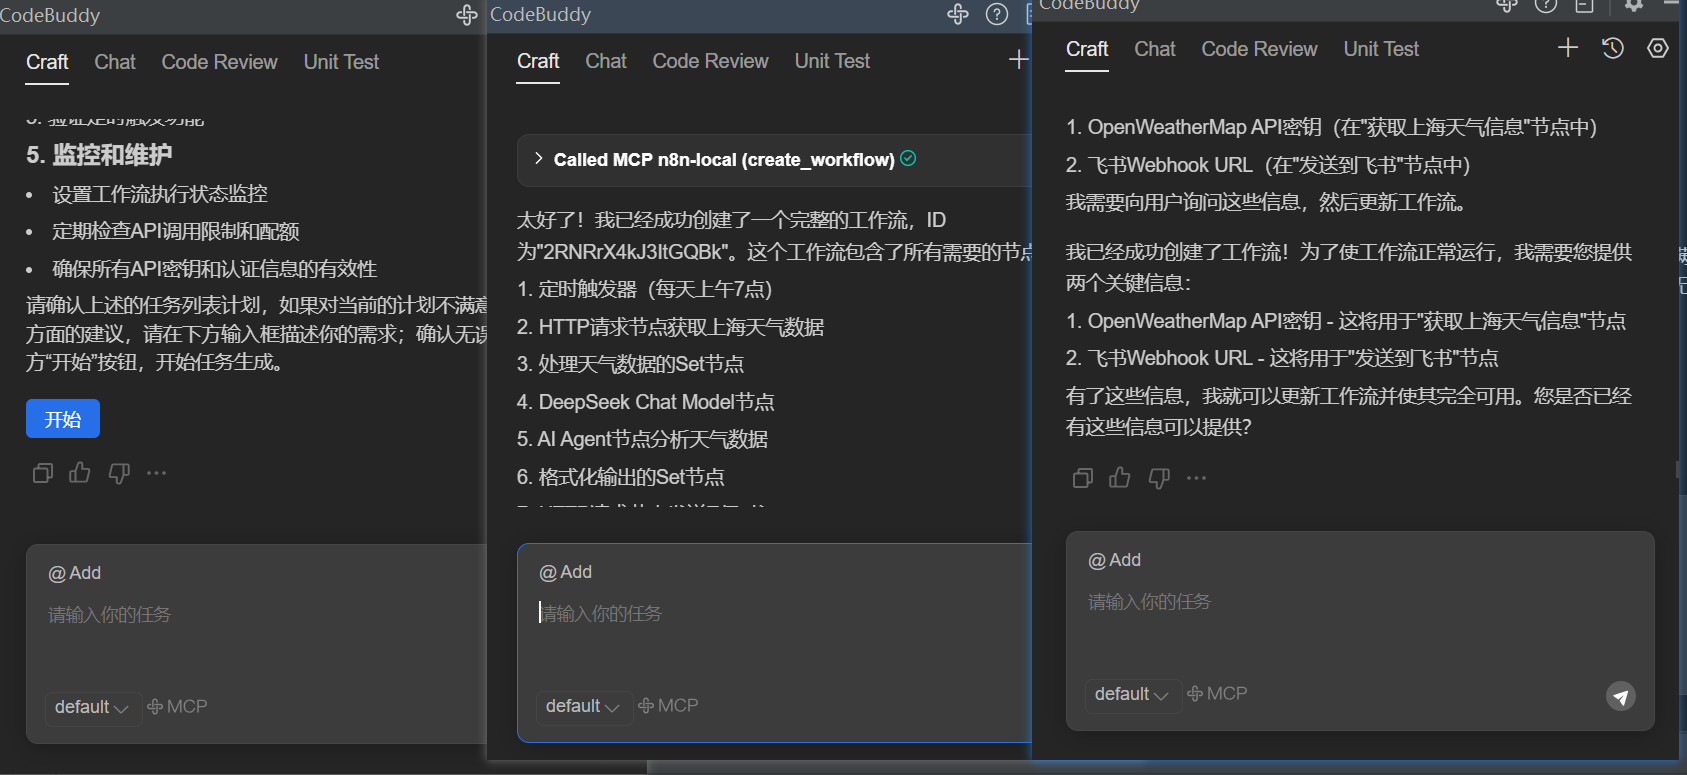
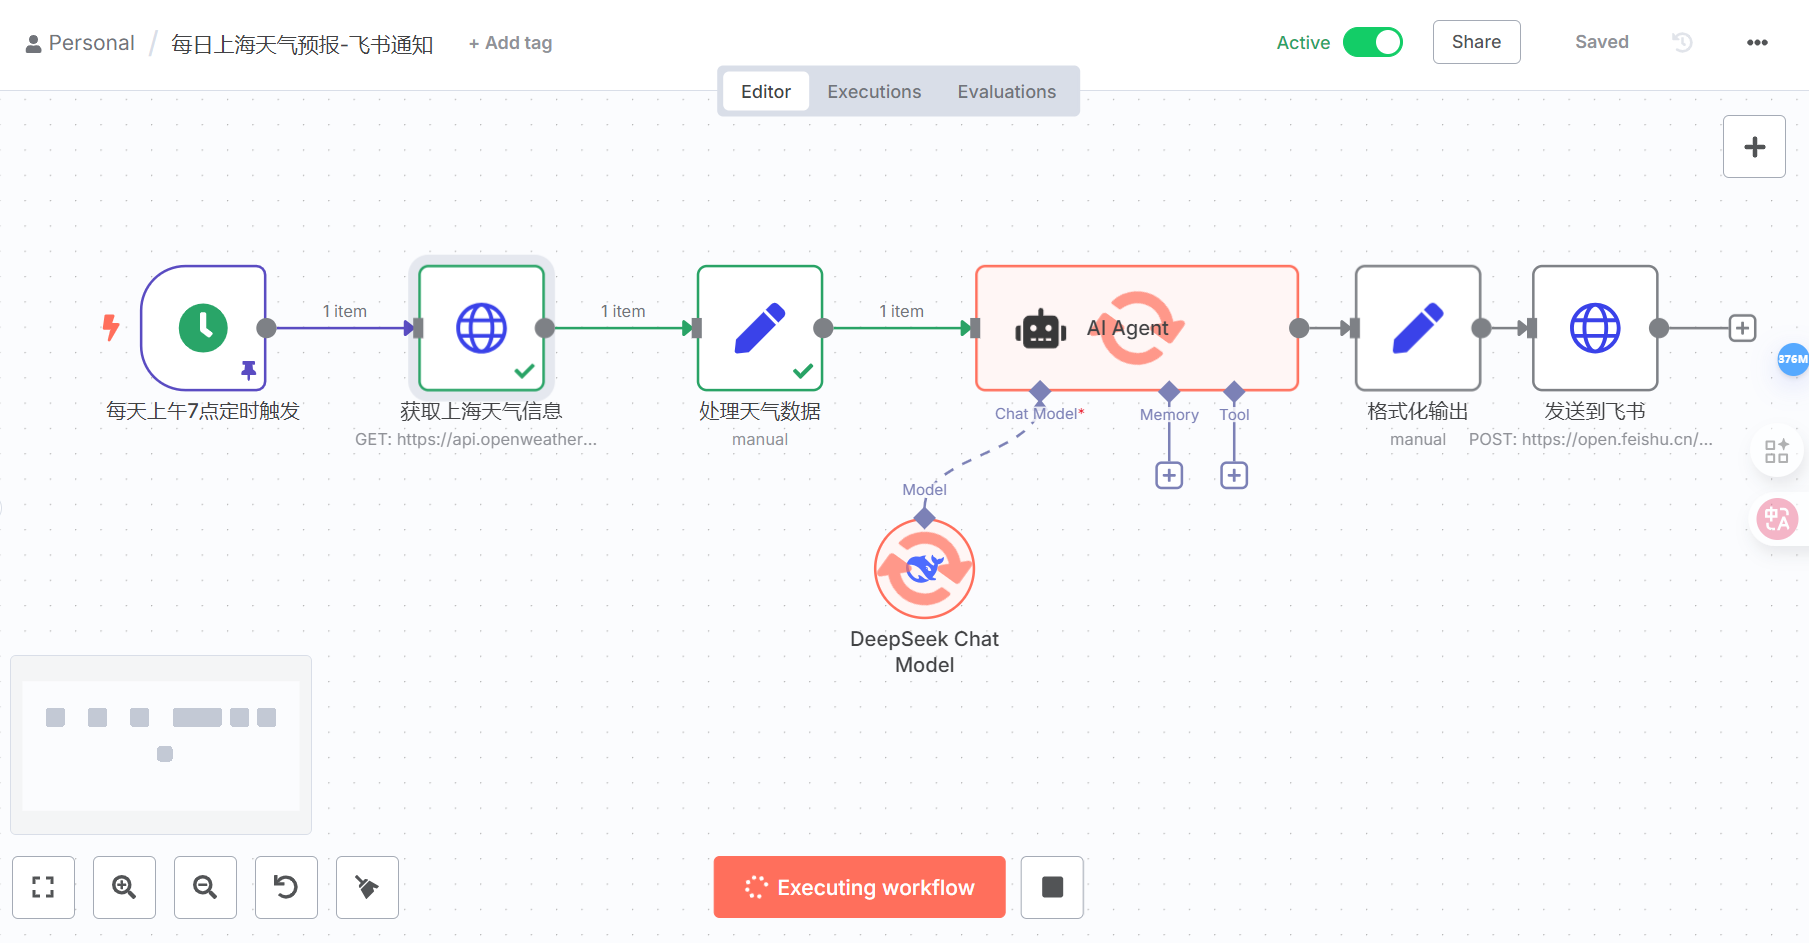
用Codebuddy 通过MCP生成n8n工作流
Trae用的人太多了,排队时间太长,用codebuddy效果好多了
六、测试遇到的问题
deepseek 返回EAI_AGAIN的问题
修改云服务器dns即可
vim /etc/resolv.conf#dns内容修改为
nameserver 8.8.8.8
nameserver 8.8.4.4#重启docker容器
docker ps
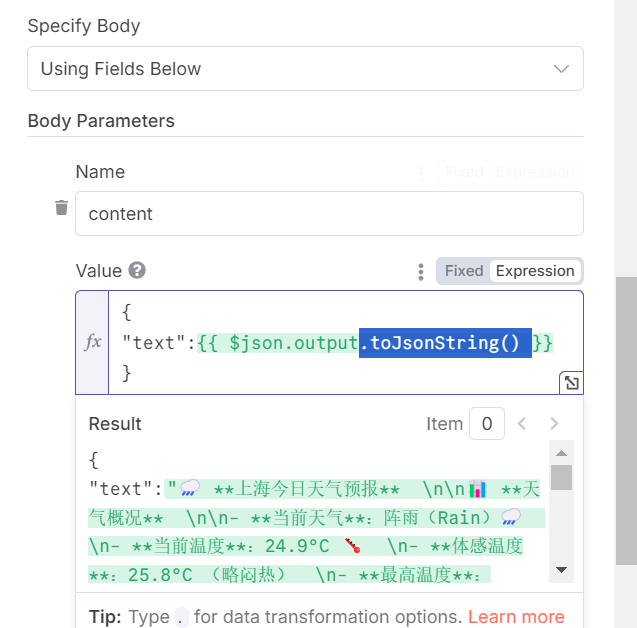
docker restart c32f744843b7一直提示json格式不对或者params error
如果您发现这篇文章对您有所启发或帮助, 请不吝赐赞,为我【点赞】、【转发】、【关注】,带你一起玩转AI !
全网ID|AI大眼萌


:可解释性)


RISC-V)


全解:从数学基础到实现细节)

)