1.注册 EmailJS 账号:
访问 EmailJS 官网并注册
2.添加电子邮件服务:
- 在 Dashboard 中点击 "Add New Service"
- 选择 SMTP server
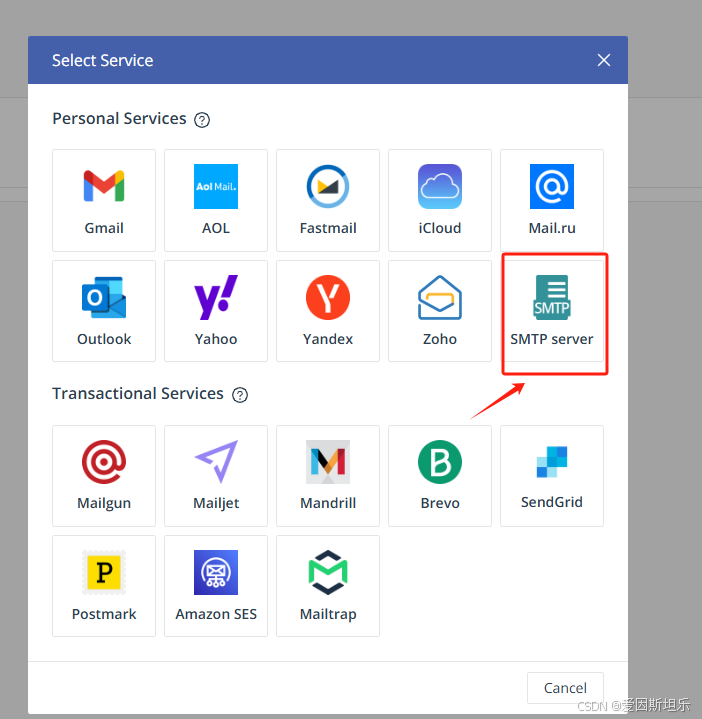
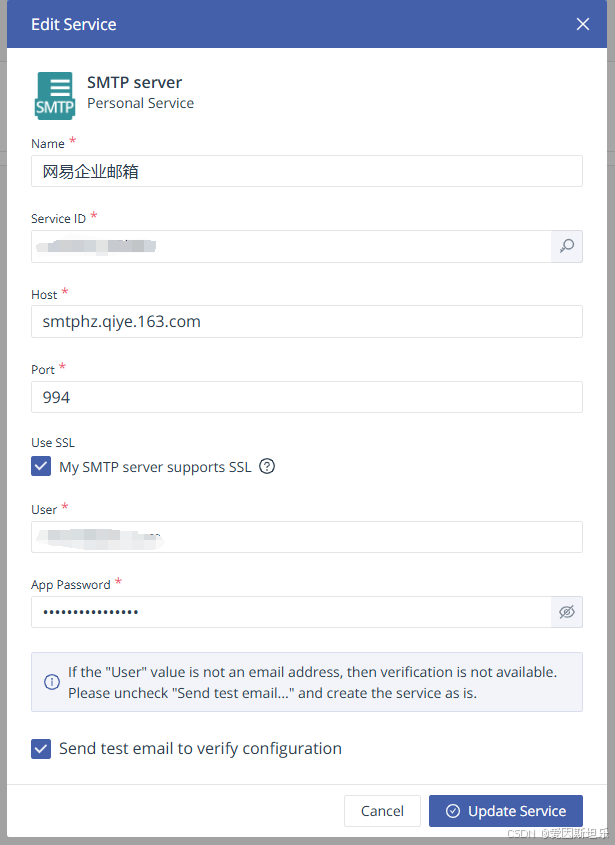
- 填写 SMTP 服务器信息
- SMTP Host: smtphz.qiye.163.com (网易企业邮箱)
- SMTP Port: 994 (SSL)
- User: 你的邮箱
- App Password: 你的邮箱密码或授权码(建议用授权码)
3.创建邮件模板:
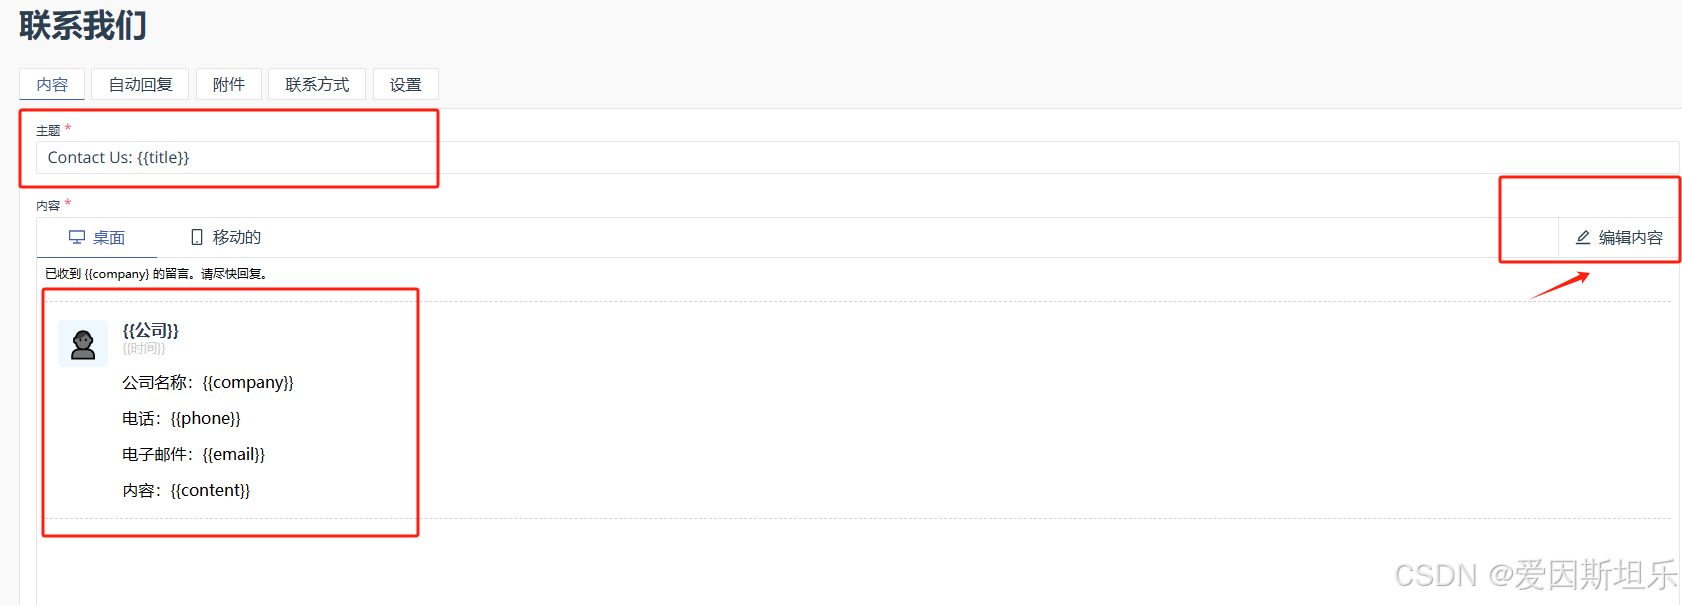
- 点击 "Email Templates" → "Create New Template"
- 设计你的模板,使用变量如
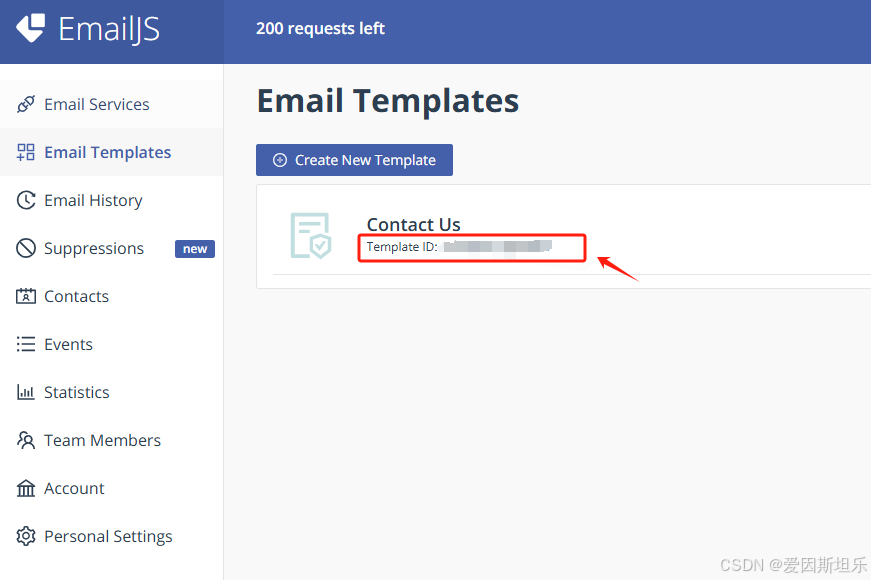
{{to_email}},{{from_name}}等 - 保存模板并记下模板ID
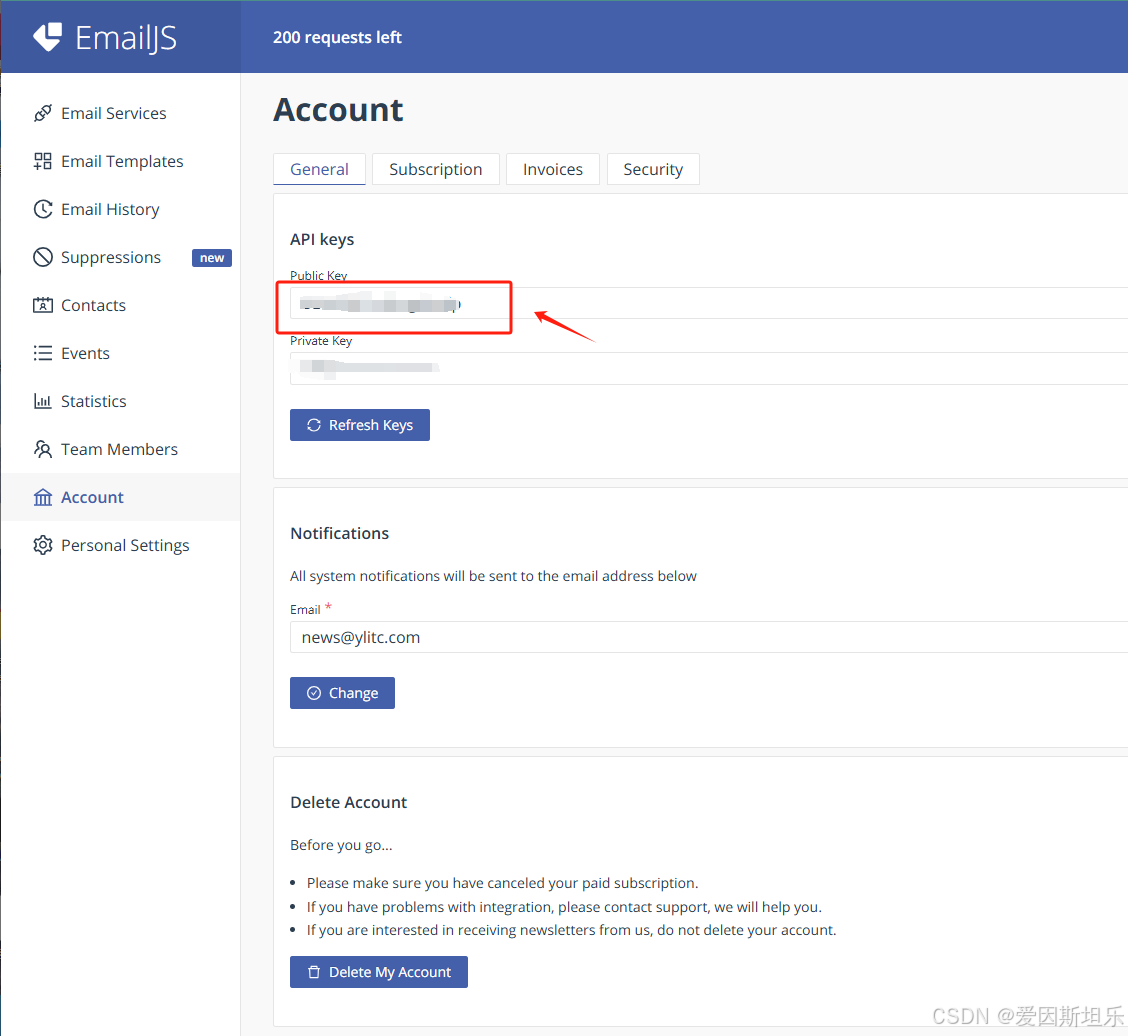
4.获取 API 密钥:
在 Account 的 "Public Key" 部分就是你的 User ID
5.替换代码中的占位符:
安装EmailJS:
npm install emailjs-com•将 your_user_id替换为你的用户ID
•将 template_your_template_id替换为你的模板ID
•将代码中的 service_your_service_id替换为你的服务ID
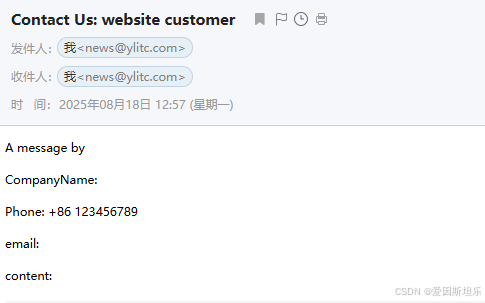
methods: {async submitFormData() {this.submitting = true;try {await emailjs.send('smtp_netease', // 你在EmailJS中配置的SMTP服务ID'template_contact', // 模板ID{to_email: 'wael@ylitc.com',company: this.form.company,phone: `${this.form.areaCode} ${this.form.phone}`,email: this.form.email,content: this.form.content},'user_xxxxxxxx' // EmailJS用户ID);this.$message.success('邮件已发送至 wael@ylitc.com');this.resetForm();} catch (error) {console.error('邮件发送失败:', error);this.$message.error('发送失败,请检查网络或稍后重试');} finally {this.submitting = false;}}
}
页面测试后发送成功


图像标签的三个常用属性:width、height、border)


导出 DLL 函数的功能)


