在 Web 开发中,处理用户上传的图片时,前端压缩可以有效减少服务器压力并提升上传效率。本文将详细讲解如何通过<input type="file">实现图片上传,结合 Canvas 实现图片压缩,并实时展示压缩前后的图片预览和文件大小对比。
一、核心功能架构
我们将实现以下功能模块:
- 文件选择组件:使用 HTML 原生文件输入控件
- 图片预览区域:展示原始图片和压缩后图片
- 大小对比显示:实时显示压缩前后的文件大小(KB/MB)
- 压缩操作按钮:触发图片压缩逻辑
- 进度反馈:通过视觉提示显示处理状态
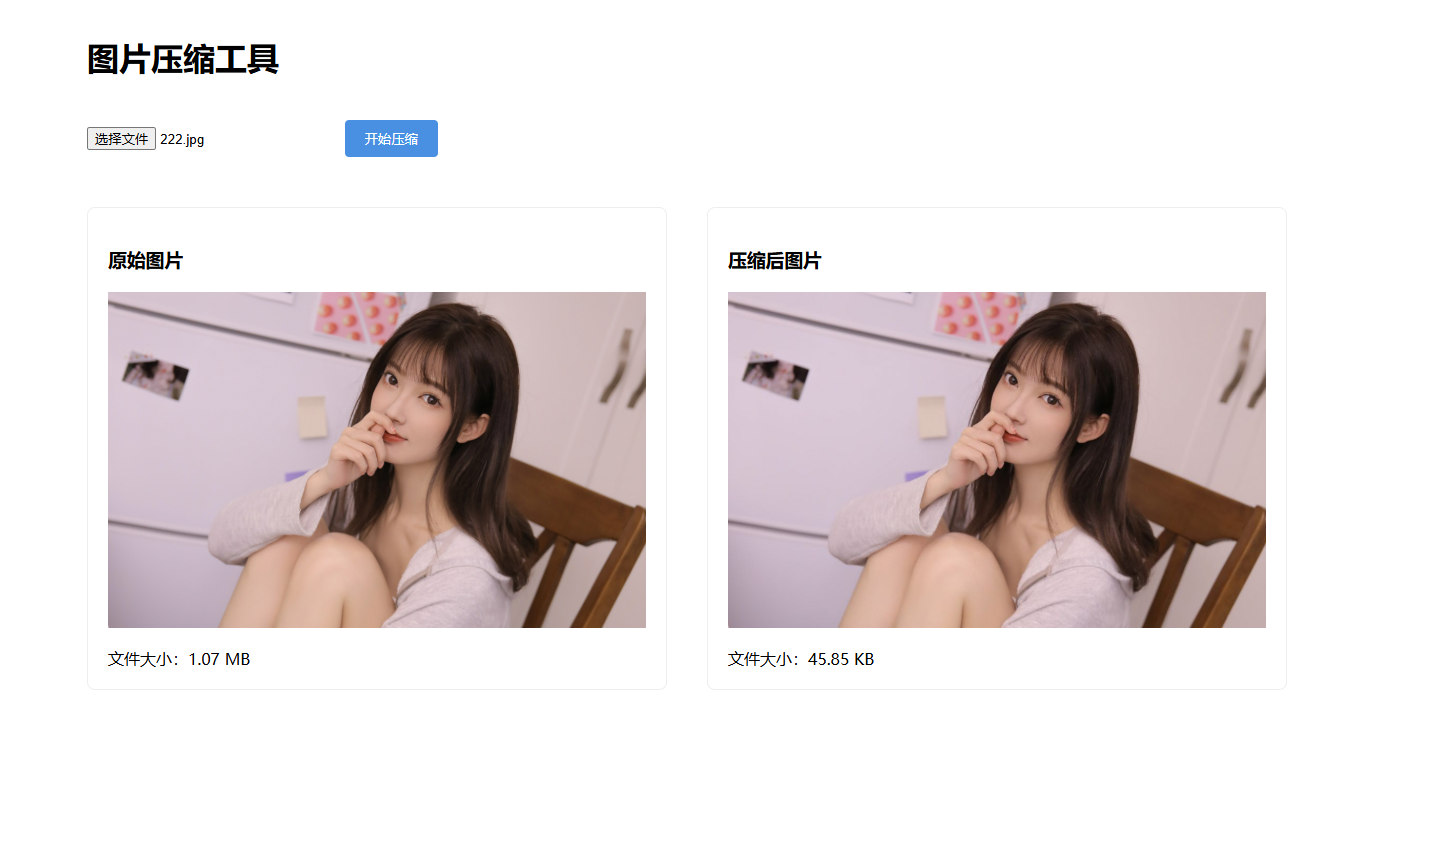
最终效果如下:
二、HTML 基础结构
首先构建页面骨架,包含文件输入、预览区域和信息展示模块:
<div class="container"><h1>图片压缩工具</h1><!-- 文件上传组件 --><input type="file" accept="image/*" id="imageInput" /><!-- 操作按钮 --><button id="compressBtn" disabled>开始压缩</button><!-- 预览区域 --><div class="preview-container"><div class="preview-item"><h3>原始图片</h3><div id="originalPreview"></div><span id="originalSize"></span></div><div class="preview-item"><h3>压缩后图片</h3><div id="compressedPreview"></div><span id="compressedSize"></span></div></div>
</div>
三、CSS 样式设计
使用 Flex 布局实现响应式预览,添加视觉反馈样式:
.container {max-width: 1200px;margin: 0 auto;padding: 20px;
}.preview-container {display: flex;gap: 40px;margin-top: 30px;
}.preview-item {flex: 1;border: 1px solid #eee;padding: 20px;border-radius: 8px;
}img {max-width: 100%;max-height: 400px;object-fit: contain;display: block;margin: 20px 0;
}button {padding: 10px 20px;background-color: #4a90e2;color: white;border: none;border-radius: 4px;cursor: pointer;margin: 20px 0;
}button:disabled {background-color: #ccc;cursor: not-allowed;
}.size-info {color: #666;font-size: 0.9em;
}
四、核心 JavaScript 逻辑
1. 初始化事件绑定
const imageInput = document.getElementById('imageInput');
const compressBtn = document.getElementById('compressBtn');
const originalPreview = document.getElementById('originalPreview');
const compressedPreview = document.getElementById('compressedPreview');
const originalSize = document.getElementById('originalSize');
const compressedSize = document.getElementById('compressedSize');imageInput.addEventListener('change', handleImageChange);
compressBtn.addEventListener('click', handleCompression);
2. 图片选择处理函数
let selectedImage = null;function handleImageChange(e) {const file = e.target.files[0];if (file && isImageFile(file)) {selectedImage = {file: file,type:


)


