宝塔think PHP8 安装使用FFmpeg
- 一、 安装think PHP8
- 二、安装 FFmpeg
- 1,登录到宝塔面板。
- 2,进入“软件商店”。
- 3,搜索“FFmpeg”。
- 4,选择版本点击安装。
- 5,检查 FFmpeg 是否安装成功
- 6, 在 ThinkPHP 8 中使用 FFmpeg
- 三、使用 FFmpeg 处理视频
- 1、使用终端命令转码
- 2、用mvc模式
- 3、查看结果
- 四、上传视频
- 1,前端代码
- 2,后端代码
- 3,上传结果
一、 安装think PHP8
1,在站点根目录下执行命令
composer create-project topthink/think tp
2,配置伪静态及运行目录,访问网站
出现上图,安装thinkphp8完成。
二、安装 FFmpeg
宝塔面板提供了一个很方便的命令行工具来安装软件。通过以下步骤安装 FFmpeg:
1,登录到宝塔面板。
2,进入“软件商店”。
3,搜索“FFmpeg”。
4,选择版本点击安装。
5,检查 FFmpeg 是否安装成功
安装完成后,通过 SSH 登录到你的服务器,然后运行以下命令来检查 FFmpeg 是否正确安装:
ffmpeg -version
如果这个命令返回了 FFmpeg 的版本信息,那么说明 FFmpeg 已经成功安装。
6, 在 ThinkPHP 8 中使用 FFmpeg
在 ThinkPHP 8 中使用 FFmpeg,使用一些现成的 PHP 库,如 php-ffmpeg/php-ffmpeg。首先通过 Composer 安装这个库:
composer require php-ffmpeg/php-ffmpeg
安装之前检查php安装fileinfo扩展
cd /www/server/php/php版本/src/ext/fileinfo
/www/server/php/php版本/bin/phpize
./configure --with-php-config=/www/server/php/php版本/bin/php-config
make && make install
三、使用 FFmpeg 处理视频
1、使用终端命令转码
进入demo.MP4所在文件夹,打开终端输入以下命令
ffmpeg -i demo.mp4 -profile:v baseline -level 3.0 -s 1920x1080 -start_number 0 -hls_time 10 -hls_list_size 0 -f hls demo.m3u8
2、用mvc模式
创建控制器Video.php
public function convertVideo(){try {// 使用框架路径助手$inputFile = '需要转码视频问价路径';$outputDir = '转换后文件路径';// 安全验证if (!file_exists($inputFile)) {throw new \Exception('输入文件不存在');}// 完整HLS参数配置$command = "ffmpeg -i {$inputFile} -c:v libx264 -c:a aac -f hls -hls_time 10 {$outputDir}";exec($command, $output, $status);if ($status !== 0) {Log::error('转码失败: '.implode("\n", $output));return json(['code' => 500, 'msg' => '转码失败']);}return json(['code' => 200, 'data' => $outputDir]);} catch (\Exception $e) {Log::error($e->getMessage());return json(['code' => 500, 'msg' => $e->getMessage()]);}}
3、查看结果
1,在转换文件夹中生成.m3u8文件

2,在前端播放.m3u8视频,代码如下
<!DOCTYPE html>
<html>
<head><meta charset="UTF-8"><title>DPlayer演示</title><link rel="stylesheet" href="https://cdn.jsdelivr.net/npm/dplayer@1.26.0/dist/DPlayer.min.css">
</head>
<body><div id="dplayer"></div><script src="https://cdn.jsdelivr.net/npm/hls.js@latest"></script><script src="https://cdn.jsdelivr.net/npm/dplayer@1.26.0/dist/DPlayer.min.js"></script><script>new DPlayer({container: document.getElementById('dplayer'),video: {url: '.m3u8文件url',type: 'hls'}});</script>
</body>
</html>
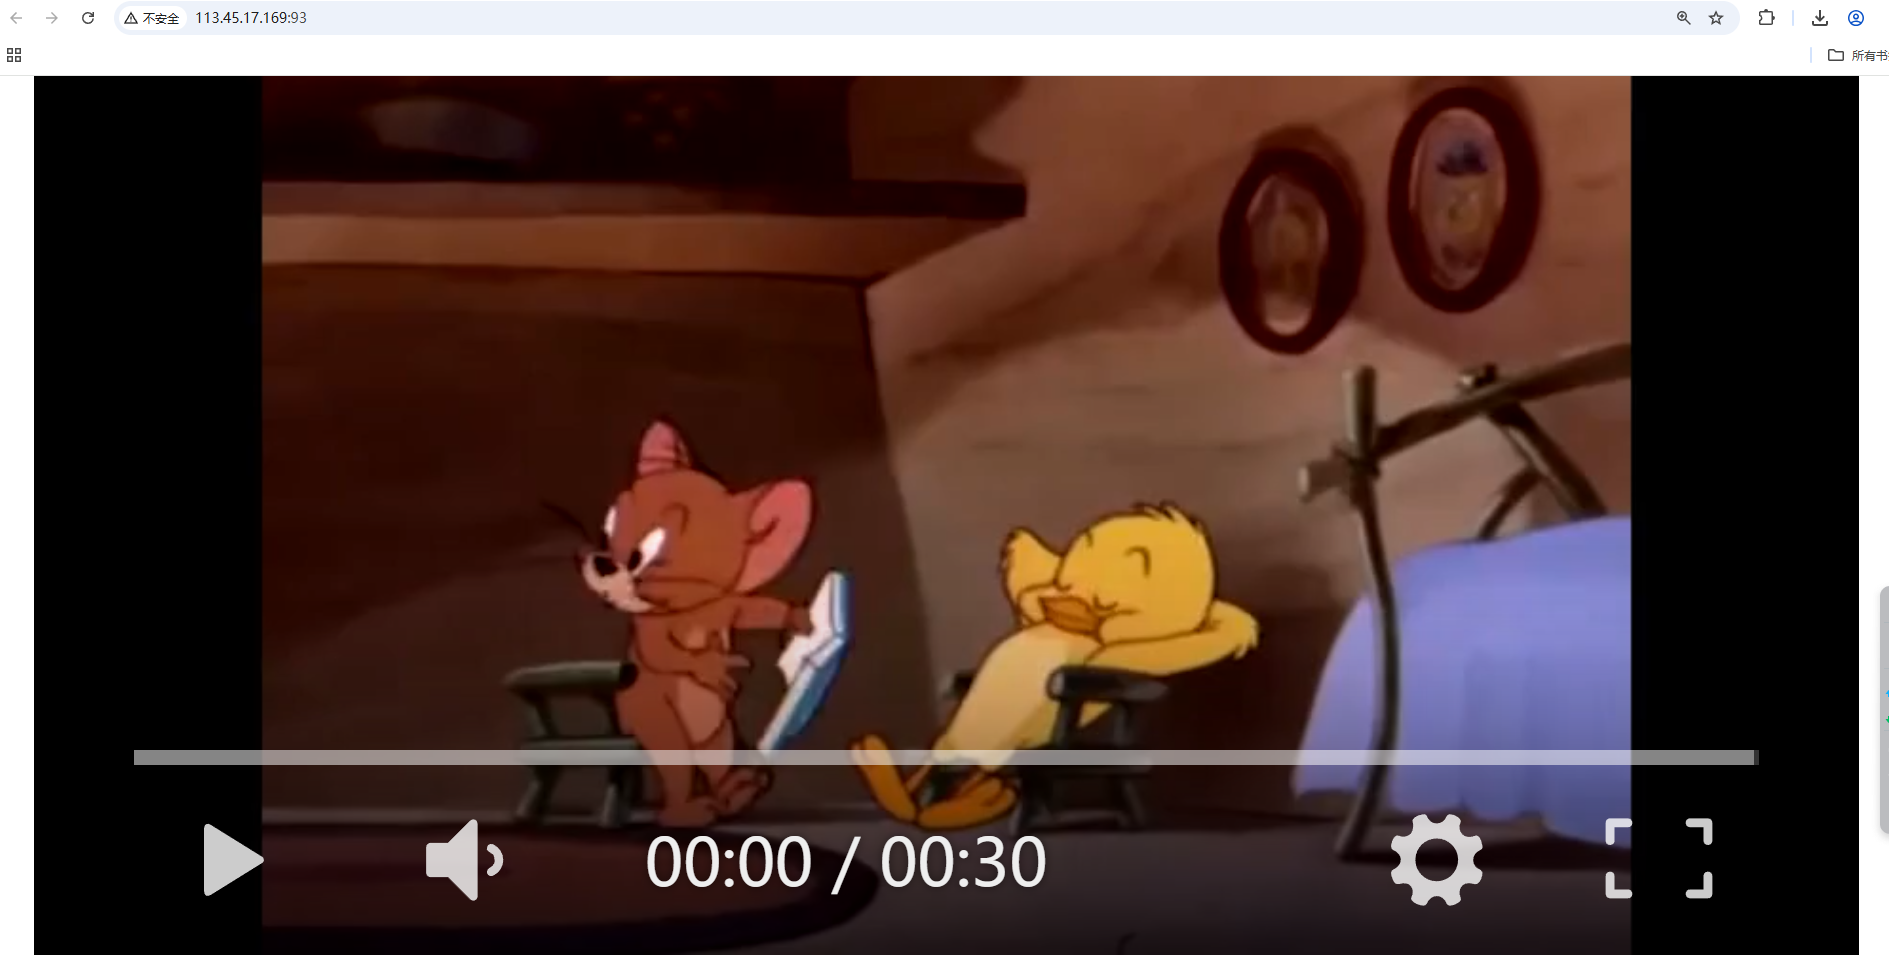
3,效果图
四、上传视频
1,前端代码
<!DOCTYPE html>
<html>
<head><link rel="stylesheet" href="/static/layui/css/layui.css">
</head>
<body>
<button type="button" class="layui-btn" id="uploadVideo"><i class="layui-icon"></i>上传视频
</button><script src="/static/layui/layui.js"></script>
<script>
layui.use('upload', function(){const upload = layui.upload;// 视频上传配置upload.render({elem: '#uploadVideo',url: '接口url',accept: 'video', // 限制视频类型size: 1024 * 1024 * 1024, // 最大1GBexts: 'mp4|avi|mov|mkv', // 允许格式progress: function(n){console.log('上传进度:' + n + '%');},done: function(res){if(res.code === 0) {layer.msg('上传成功');console.log('视频路径:', res.data.src);} else {layer.msg(res.msg || '上传失败');}},error: function(){layer.msg('上传异常');}});
});
</script>
</body>
</html>2,后端代码
引用类库
use think\facade\Filesystem;
use think\exception\FileException;
代码片段
//上传视频public function upload(){try {// 获取上传文件对象$file = request()->file('file');// 验证规则(安全关键)$validate = ['fileSize' => 1024 * 1024 * 1024, // 1GB'fileExt' => 'mp4,avi,mov,mkv,flv,wmv','fileMime' => 'video/mp4,video/avi,video/quicktime' // MIME类型验证];// 保存文件$saveName = Filesystem::disk('public')->putFile('videos', $file, 'md5');// 生成访问路径$savePath = request()->domain() . '/storage/' . $saveName;return json(['code' => 0,'msg' => '上传成功','data' => ['src' => $savePath]]);} catch (FileException $e) {return json(['code' => 1, 'msg' => $e->getMessage()]);}}
3,上传结果
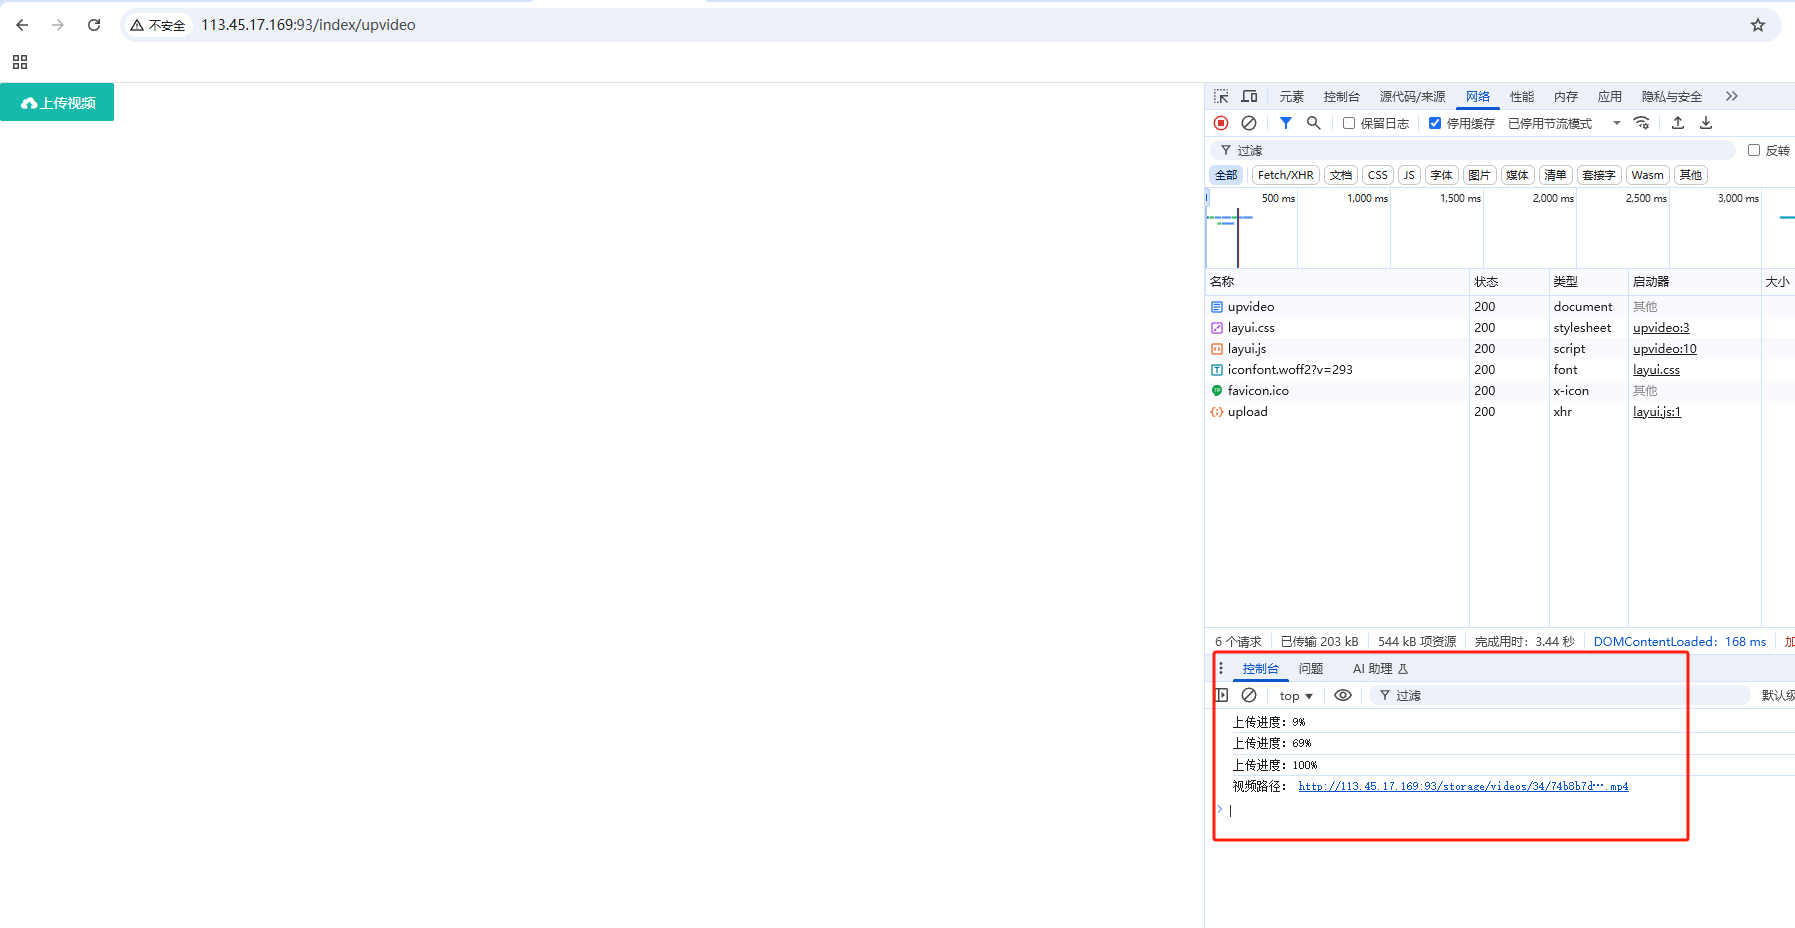
上传的视频存到对应的文件夹里。


)
)

,可最小/大化、关闭(图文详情))
)


”)
)

